How to Make a Fresh Milled Flour Sourdough Starter
Have you ever wondered how to make a sourdough starter with fresh milled flour? This beginner-friendly guide will walk you through step-by-step and cover feeding schedules, maintenance, troubleshooting, and the differences between an all-purpose flour starter and a fresh milled flour sourdough starter.
This post contains affiliate links. I may make a small commission on sales at no extra cost to you. As an Amazon Associate, I make commissions on qualifying purchases
Why Fresh Milled Flour makes a great Sourdough Starter
- More Nutrients – Whole Grain Flour has all the vitamins, minerals, and oil intact making for a healthier starter. Adding more whole grains to your diet is not only more flavorful but much more nutritious!
- More Flavor – Fresh Milled Flour has a deep, nutty flavor which gives the starter even more flavor. Conventional flour does not compare!
- Faster Activity – Because of the increased nutrients of fresh flour, the starter will become active more quickly than one made with white flour.
- More Natural Yeast – Flour has natural yeast which feeds the sourdough starter. Fresh Milled Flour has more natural yeast than store-bought flour making a stronger starter.
Are you brand new to milling your own flour? START HERE
Want to understand wheat berries and their uses? READ MY WHEAT BERRY GUIDE
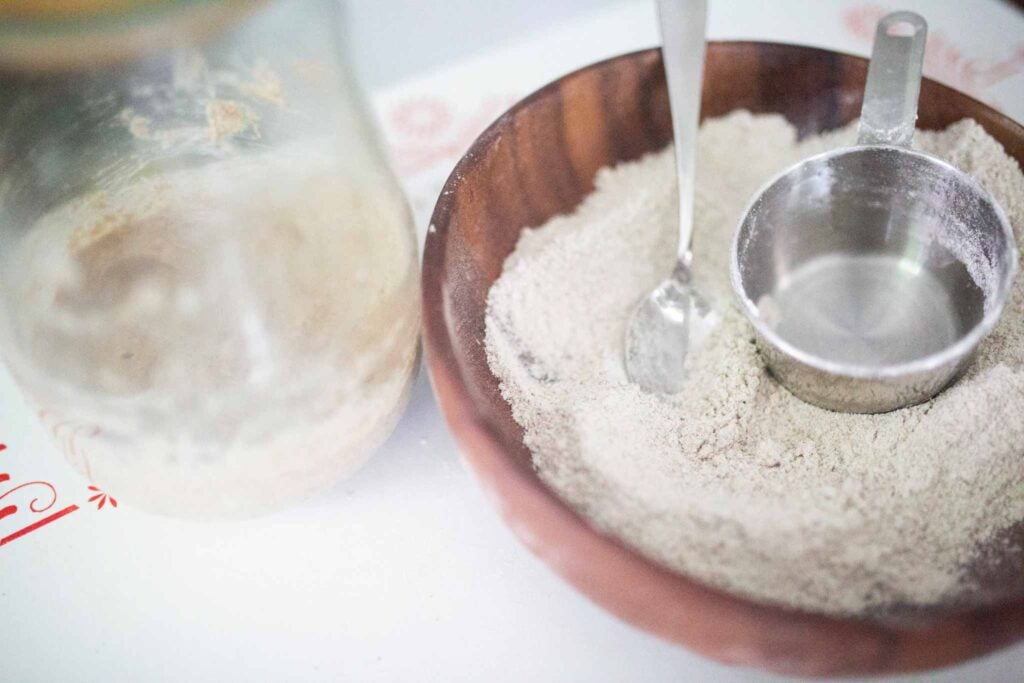
Ingredients you’ll need to make a fresh milled sourdough starter
- Fresh Milled Flour
- Water
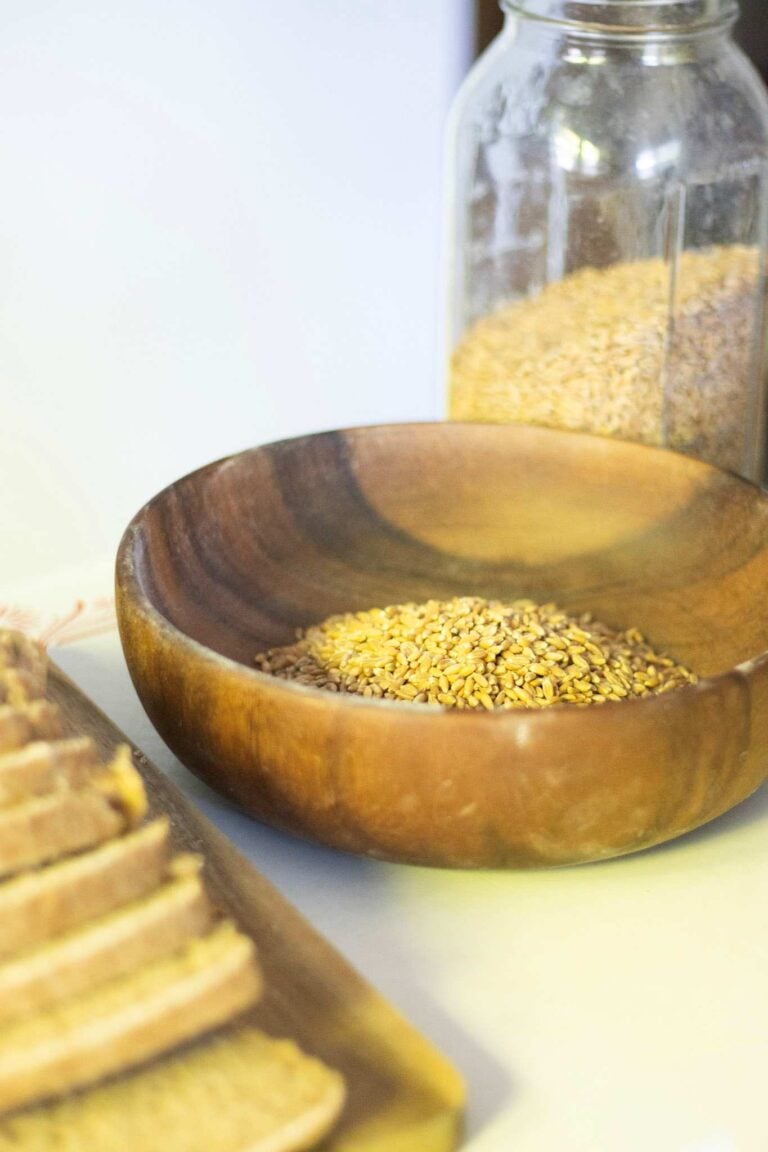
You have many options for which particular variety of wheat to use, but here are a few of the most popular:
- Hard White Wheat/Hard Red Wheat – These 2 wheat berries are modern day wheat varieties. Strong gluten content and low moisture make them perfect for making and maintaining a sourdough starter.
- Spelt – An ancient grain that has a decent gluten structure and low moisture content. Spelt sourdough starters are quick to become active and have a deep, nutty flavor.
- Kamut – Another ancient grain, Kamut flour makes a buttery yellow sourdough starter that is mild in flavor. Kamut has a mildly nutty flavor.
- Einkorn – Perhaps the oldest grain, Einkorn is lower in gluten content and higher in moisture. Sourdough starter made with Einkorn is quite vigorous and has a rich, nutty flavor.
- Rye – Rye flour is low in gluten and higher in moisture. It makes an incredibly strong starter that has a strong, earthy flavor profile.
You can use soft wheat to feed your starter, however I have best results when using hard wheat.
Can you use these flours interchangeably? Yes! I use a mixture of all of the above flours with absolutely no issues
For beginners, I would recommend hard white wheat flour as it is mild in flavor and readily available. Hard white flour is most similar to store-bought bread flour.
For the WATER, I highly recommend chlorine-free water or filtered water. Avoid distilled water as it is void of minerals which sourdough starters need to thrive.
Use ROOM TEMPERATURE water for your sourdough starter.
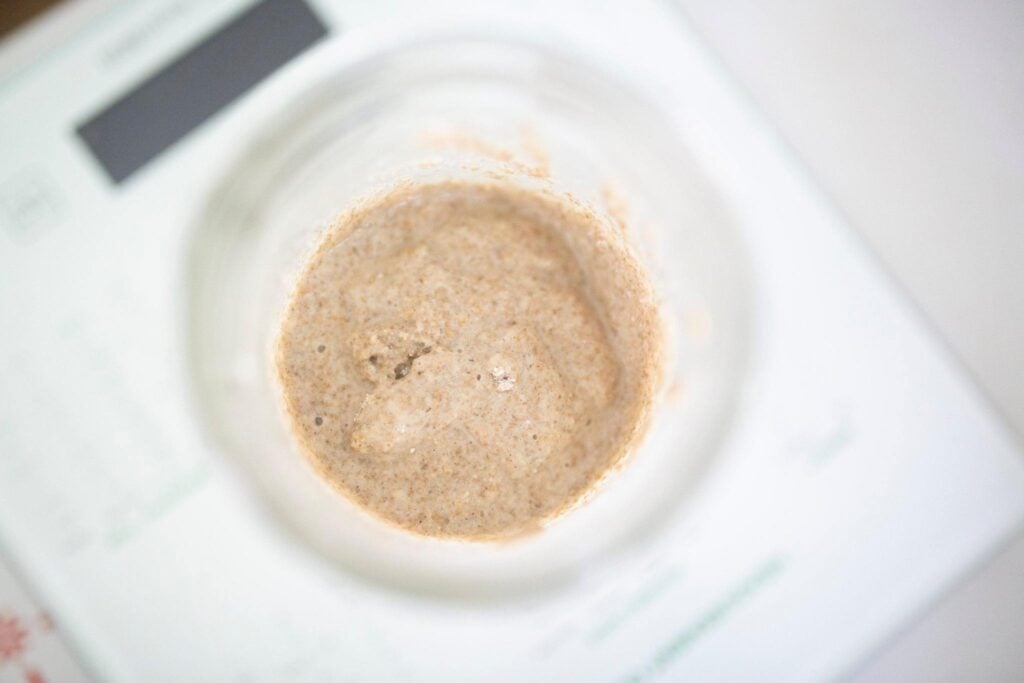
Equipment for making a Sourdough Starter with Fresh Milled Flour
Kitchen Scale – I use the NUTRIMILL SCALE for weighing my flour and water.
Grain Mill – To mill my wheat berries, I use the NUTRIMILL GRAIN (use my coupon: rose20 for $20 off this mill!)
Mason Jar – 2 PACK WIDE MOUTH MASON JARS
Pickel Pipe (optional) – I use PICKLE PIPES to top my jar because they let air in but keep pests out!
How to make a Fresh Milled Sourdough Starter
Day 1
Place your mason jar on the kitchen scale and zero the scale out.
Weigh 32.5g flour and 32.5g water and mix well until no dry bits of flour remain.
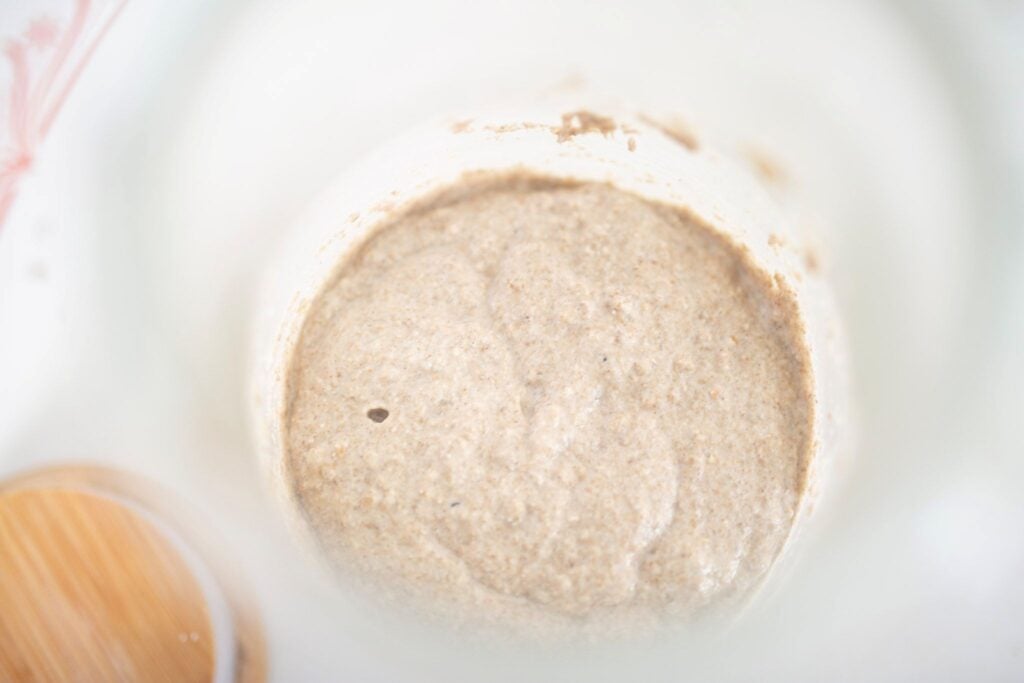
The mixture will be like a thick pancake batter.
Place a loose lid or pickle pipe on the jar and put in a warm, dark spot.
Let this mixture ferment for 24-36 hours at room temperature. Look for a warm spot in your home away from drafts.
Day 2
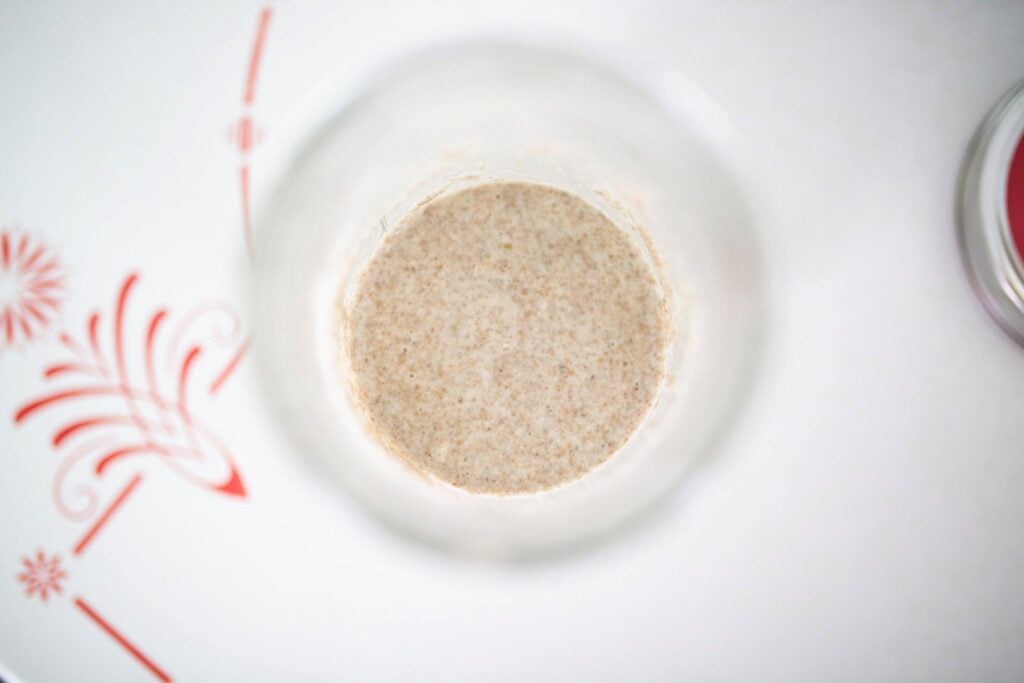
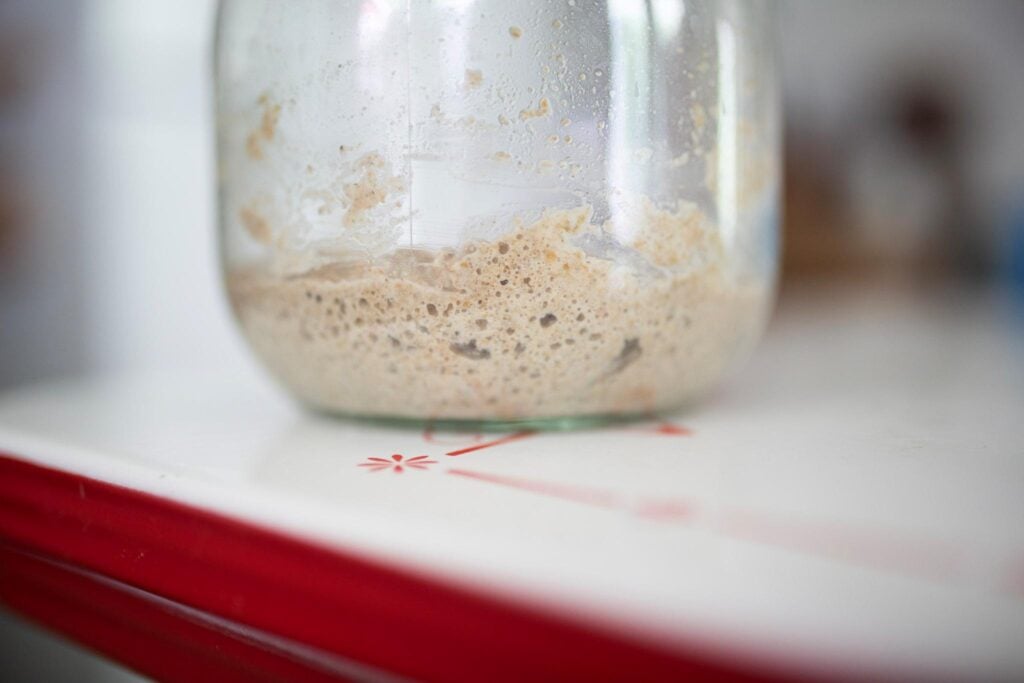
On day 2, you won’t notice a change in the mixture. However, depending on the temperature of your room, you may notice a few small bubbles.
Also, if you notice an off-putting smell, that’s normal! The odor will change as the starter develops.
Remove the lid and place the jar on the kitchen scale. Zero the scale out and weigh the flour and water at the same amount as day 1.
Mix well, cover loosely, and let rest or ferment for 24 hours at room temperature.
Day 3
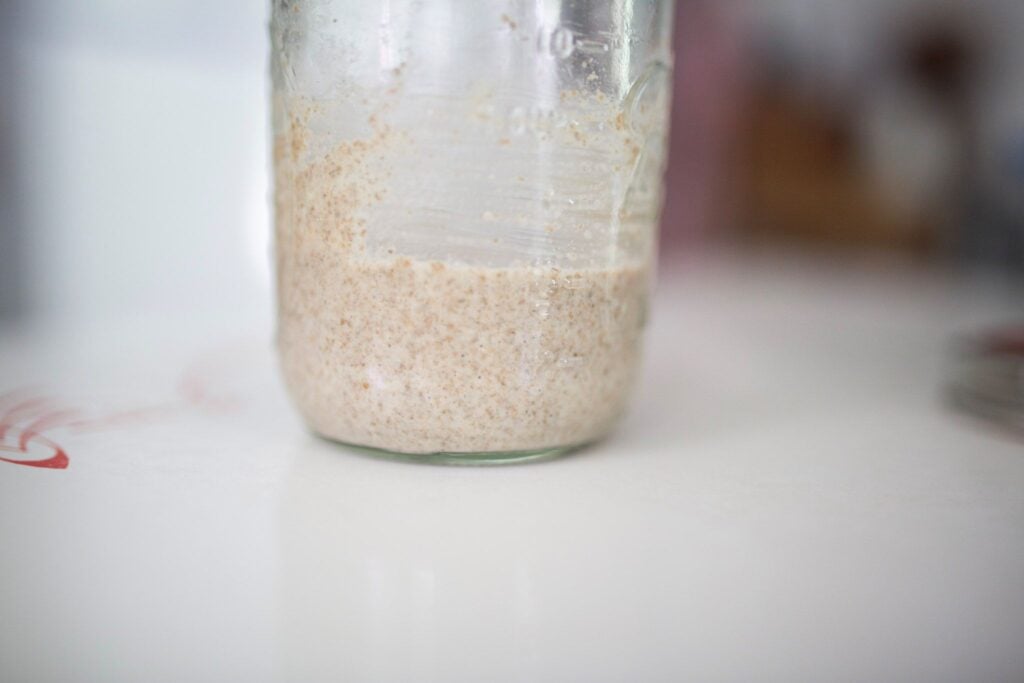
You may notice more bubbles on day 3. Also, the off-putting odor may be stronger as the bacteria and yeast are building.
As on day 2, weigh out the 65g flour and 65g water and mix until completely combined. Cover loosely and let ferment at room temperature for 24 hours.
Let’s talk about “DISCARDING STARTER”
Before you feed the starter on days 4-7, you will need to remove about half of the starter. This is called “discarding” and is somewhat controversial in the sourdough world, so let’s talk about it!
When you are making a new sourdough starter, the balance of good bacteria and yeast are paramount. If you build too much bad bacteria, the starter will mold. If you build too little good bacteria, the starter will be weak and sluggish.
Discarding starter on days 4-7 help to build the right balance of good bacteria and a healthier amount of wild yeast.
This discard should not be eaten as it may still have a high level of bad bacteria and could cause stomach upset.
What I like to do is mix the discard with water in a garden waterer and water my flowers with it or my garden plants.
They will love it and it gives the discarded starter some use.
After your starter is active, you can use the sourdough discard safely in recipes.
Looking for discard recipes? BROWSE THEM HERE!
Days 4-7
For the next several days, we will change how we feed the starter.
On day 4 you may notice a drop in activity from day 3 and that is completely normal.
Remove half the starter and feed what’s left by weighing on a scale.
Feed 65g flour and 65g water each of these days.
TOP TIP: Day 4 would be a great day to change out your jar for a clean jar. Keep in mind you NEVER want to put sourdough starter down the kitchen drain! It will clog the drain. Instead, soak the old jar in a tub of hot soapy water and clean it out initially in the tub and discard that water outside before washing the jar in the sink.
Cover loosely and let the mixture ferment for 24 hours at room temperature.
Days 5-7 will be identical to day 4.
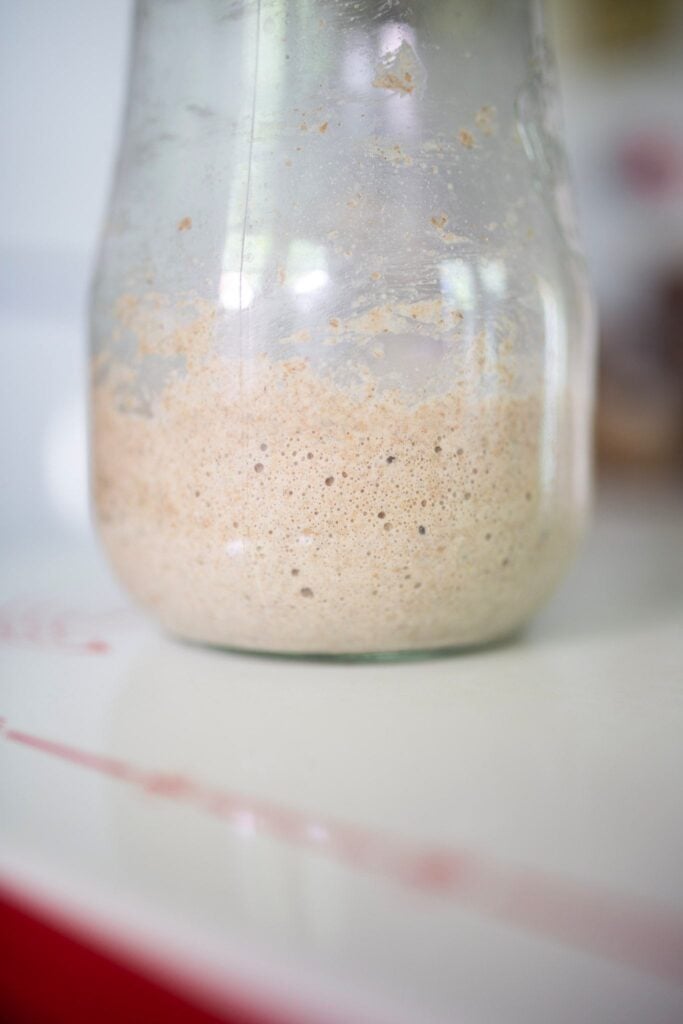
If you see consistent activity on days 4-7 (meaning there are lots of bubbles and a slight rise in the jar), you know the start is becoming active and the balance of bacteria and yeast are good.
Day 8
On day 8 (if you have had consistent activity on days 4-7), you will discard most of the starter until you only have no more than a quarter cup of the starter left in the jar.
Feed this small amount of starter with the larger amount of flour and water.
You will feed the starter 130g flour and 130g water. Mix well and cover loosely.
Either mark the jar with a rubber band or sharpie where the level of the starter is in the jar after feeding.
Let ferment on the counter for up to 24 hours.
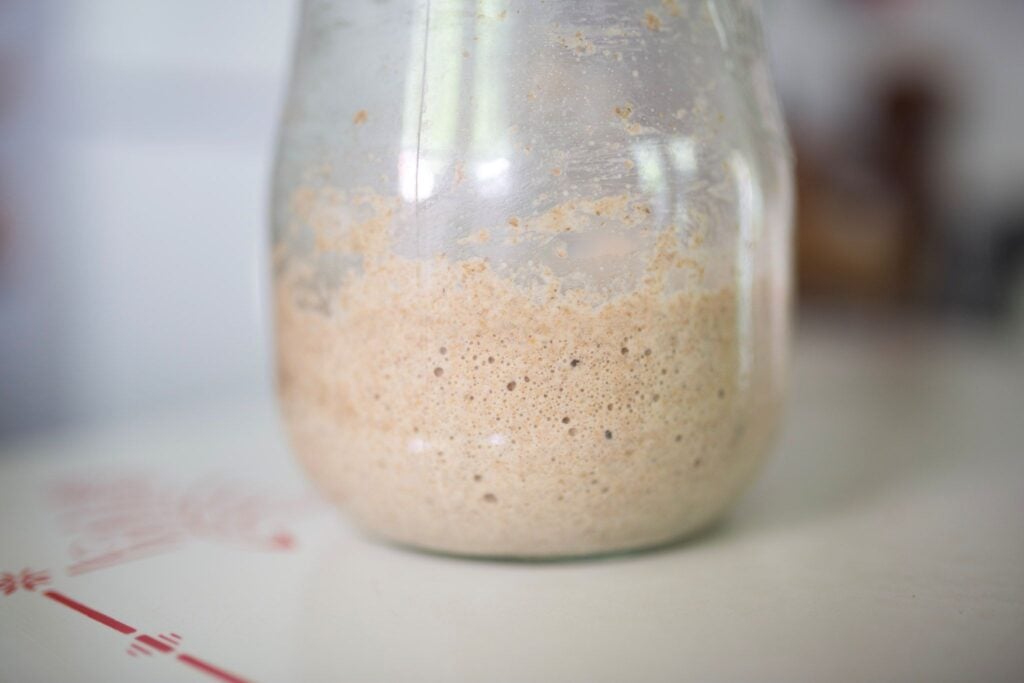
Set a timer to check on the starter after 6-8 hours and look for activity and growth.
If you see lots of bubbles and a slight rise in the starter above the marker your made, the starter is active and ready to be moved to the fridge.
To learn how I maintain my starter in the fridge, CLICK HERE
For instructions on how to maintain a fresh milled starter, CLICK HERE
Want a fresh milled flour sourdough bread recipe, TRY THIS ONE!
Interested in making a stiff starter? LEARN HOW HERE!
What if there is no activity on days 4-7?
If you notice that your starter doesn’t seem to be active after discarding and feeding for a few days, I recommend feeding the starter a bit thicker. Instead of 1/2 cup of water, use 1/4 cup of water.
This should help the starter have more activity.
Now, if there is still no activity, my next recommendation would be to add 3-4 raisins to the mix and wait until you see bubbles to proceed.
It will take different times for each and every starter to become active. It may take up to 14 days to make your own starter and that’s okay!
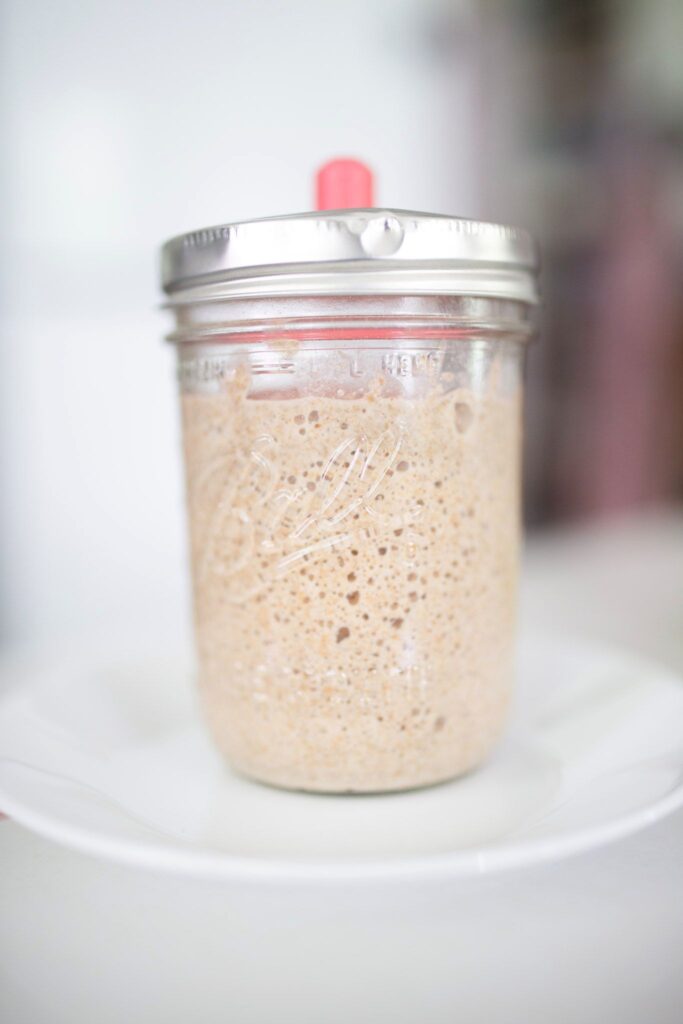
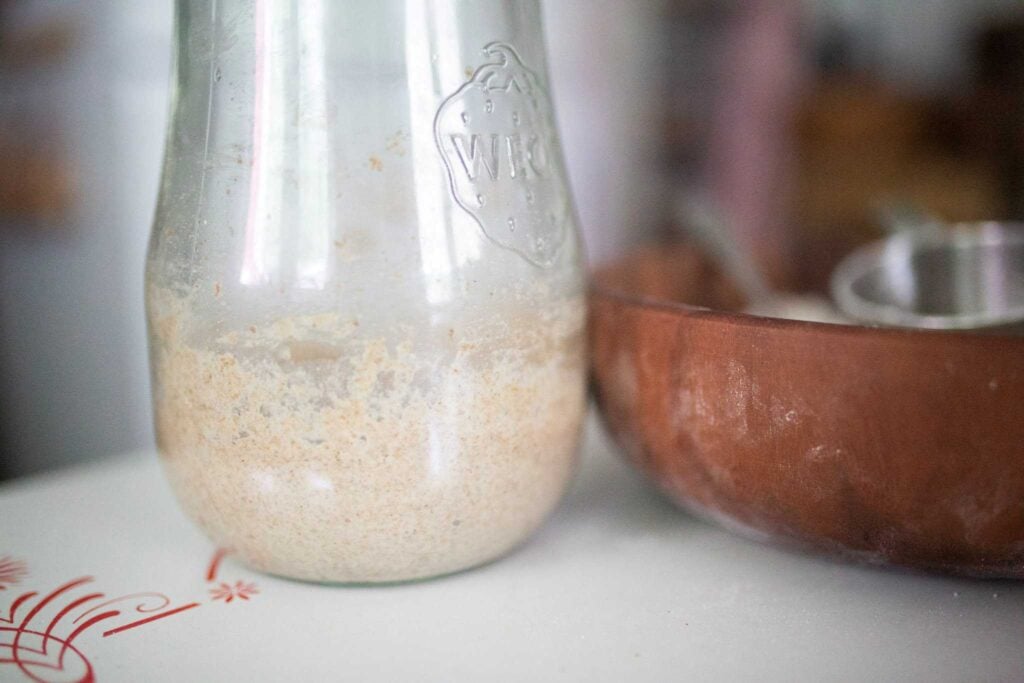
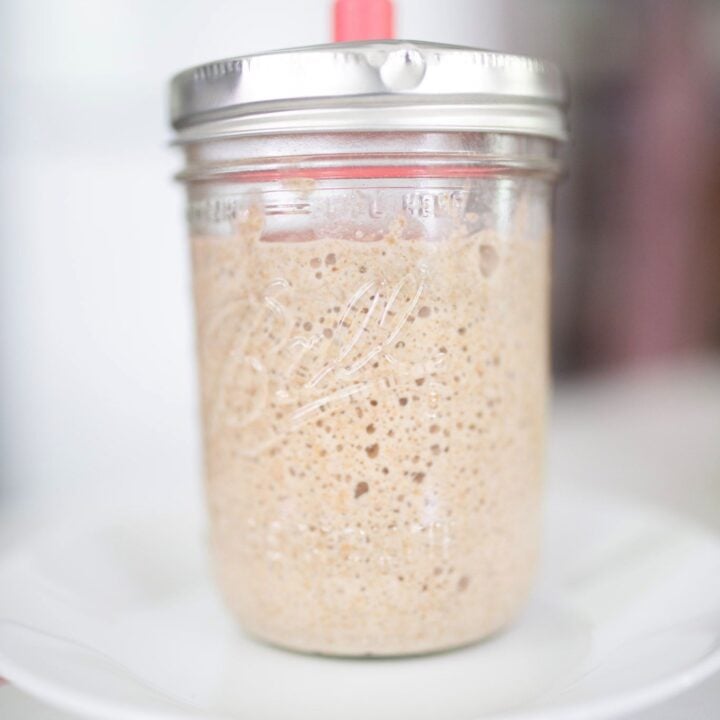
What does a healthy starter look like?
A healthy starter will have these characteristics:
- Bubbles
- Sweet, yeasty smell (note: after the starter ferments, it will have an acetone odor and a dark liquid on top, which is normal)
- Thick, pancake like batter
Common Problems with a Fresh Milled Starter
My starter smells terrible
This is quite normal in the first few days as the balance of yeast and bacteria are being made.
Normally, after the starter is active, the smells that are common are sweet & yeasty or Acetone like odor.
There’s a black liquid on top of your starter
This is normal and is called “hooch”. It is a byproduct of the fermentation process. You can either stir it in or pour it off.
The starter seems to be molded on top
True mold on a starter will be either green, pink, or fuzzy white.
If either of these are present, you need to discard that starter and make a new starter, unfortunately.
My starter doesn’t double in size after feeding
This actually doesn’t concern me with my sourdough starter. I look for bubbles more than growth.
The reason being is if you feed your starter fresh milled flour, it has bran and germ which will cut some gluten strands meaning the starter may not “rise” but should still have lots of bubbles. All these bubbles are the sign you have an active starter.
Tips for Success
- Use a kitchen scale for consistent results.
- Keep your starter in a warm spot during the activation stage.
- Mill your flour as you need it to feed the starter.
- Don’t give up if the starter takes longer.
- Always stir the starter very well to incorporate air into the starter.
Frequently Asked Questions
Yes! Sourdough starters made with fresh milled flour will tend to ferment more quickly than starters made with commercial flour.
Absolutely! If you want a gluten free starter, use fresh milled buckwheat flour or rice flour for best results.
Yes. I switch my flours regularly with no issues whatsoever!
A couple of reasons; 1. Fermentation has been exhausted and the starter becomes loose, 2. You need to use more flour. Keep in mind you can always add a bit more flour for a thicker starter or use a bit less water. The thickness of your starter is a personal preference so play around with flour-water ratios.
In Conclusion
Keep in mind that every starter will activate on its own schedule. If you don’t see the same results of someone else, just be patient and keep moving forward! The starter will eventually become active.
Please leave a comment with your progress on your sourdough journey or any questions you may have.
Fresh Milled Flour Sourdough Starter
Learn to make a Sourdough Starter with 100% Fresh Milled Flour with this step-by-step guide.
Materials
Tools
Instructions
- On day 1, place a clean, wide mouth mason jar on the kitchen scale and turn it on. Make sure it is zeroed out. Add 32.5g flour and 32.5g water. Mix very well and place a loose fitting lid on top. Place in a warm, dark place and let ferment for 24 hours.
- On day 2, you won't notice a change in the mixture. However, depending on the temperature of your room, you may notice a few small bubbles. Also, if you notice an off-putting smell, that's normal! The odor will change as the starter develops. Remove the lid and place the jar on the kitchen scale. Zero the scale out and weigh the flour and water at the same amount as day 1. Mix well, cover loosely, and let rest or ferment for 24 hours at room temperature.
- On day 3, You may notice more bubbles on day 3. Also, the off-putting odor may be stronger as the bacteria and yeast are building. As on day 2, weigh 65g flour and 65g water and mix until completely combined. Cover loosely and let ferment at room temperature for 24 hours.
- Days 4-7, For the next several days, we will change how we feed the starter. On day 4 you may notice a drop in activity from day 3 and that is completely normal. Remove half the starter and feed what's left by weighing on a scale at 65g flour and 65g water. Cover loosely and let the mixture ferment for 24 hours at room temperature. Days 5-7 will be identical to day 4. If you see consistent activity on days 4-7 (meaning there are lots of bubbles and a slight rise in the jar), you know the start is becoming active and the balance of bacteria and yeast are good.
- Day 8, On day 8 (if you have had consistent activity on days 4-7), you will discard most of the starter until you only have no more than a quarter cup of the starter left in the jar. Feed this small amount of starter with the 130g of flour and 130g water. Either mark the jar with a rubber band or sharpie where the level of the starter is in the jar after feeding. Cover loosely and let ferment on the counter for up to 24 hours. Set a timer to check on the starter after 6-8 hours and look for activity and growth. If you see lots of bubbles and a slight rise in the starter above the marker your made, the starter is active and ready to be moved to the fridge.