Fresh Milled Flour Breadsticks – Made with Purple Wheat!
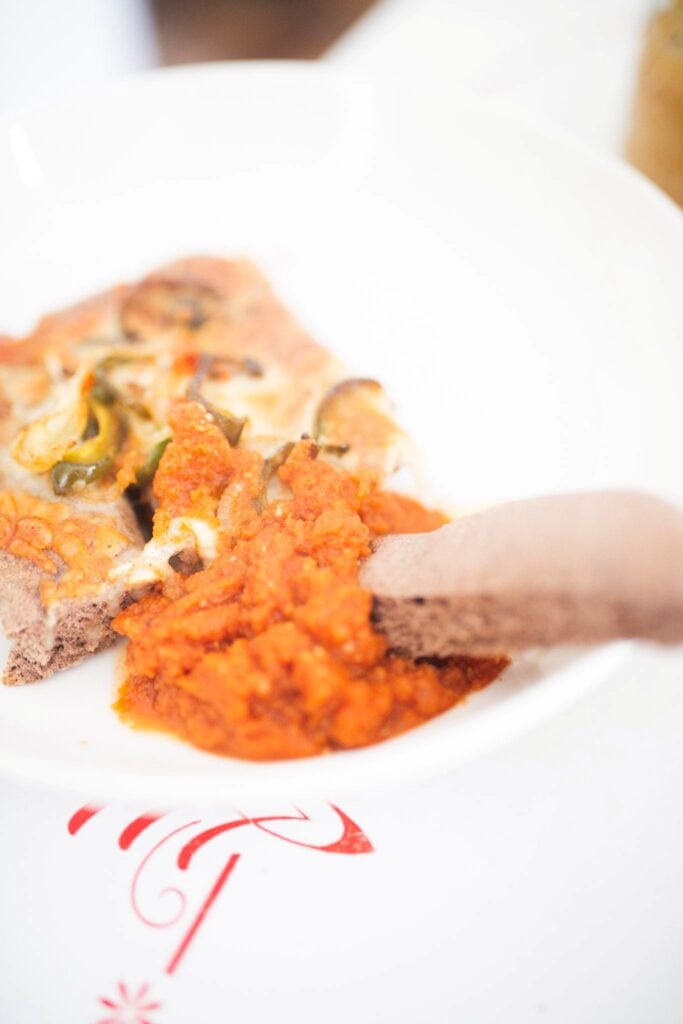
Wondering if you can make delicious, soft breadsticks with 100% Fresh Milled Flour? Absolutely! Soft and tender on the inside with a golden-brown crust. Top with cheese and veggies and dip in a tasty tomato sauce for a quick and easy meal!
These breadsticks are easy to make and are perfect served alongside soup, pasta, or salad. The fresh milled flour gives the breadsticks an amazing flavor that the whole family will love!
This post contains affiliate links. I may make a small commission on sales at no extra cost to you. As an Amazon Associate, I may make commissions on qualifying purchases
Why You’ll Love These Fresh Milled Flour Breadsticks
There are several reasons I think breadsticks made with fresh milled flour are the best!
- Soft and fluffy
- Made with 100% fresh milled flour
- Simple ingredients
- Beginner-friendly
- Great for serving with dinner
- Can be made ahead
- Freezer-friendly
Ingredients for Fresh Milled Flour Breadsticks
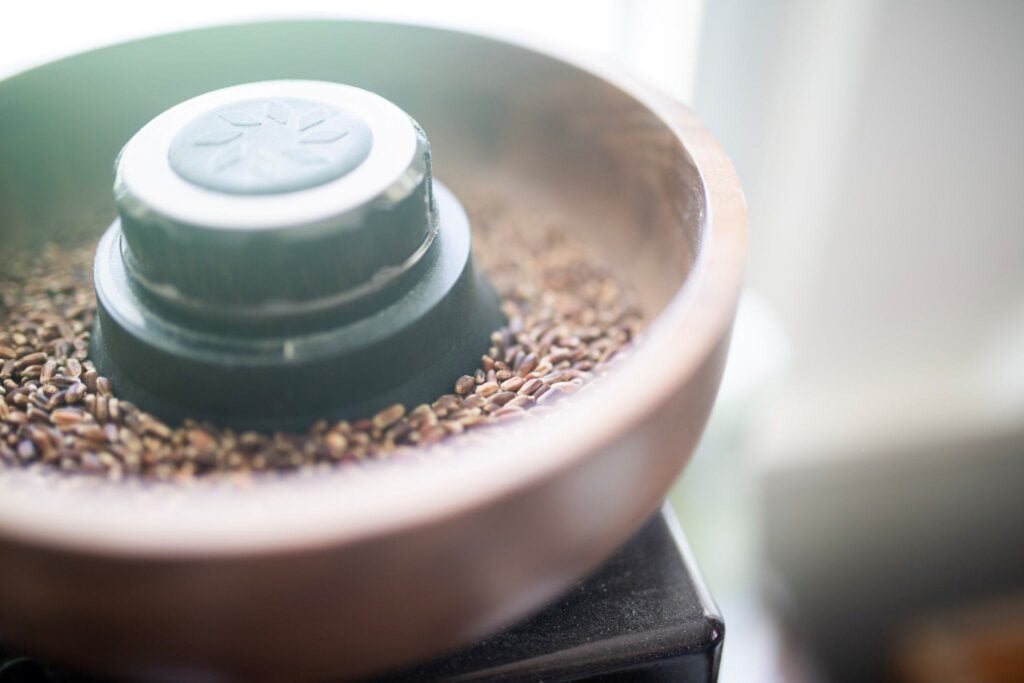
- 390 grams Fresh Milled Flour – I am using HEARTWELL WHEAT for its eye popping purple color!
- 3 tsp Instant Yeast
- 254 grams Water
- 1 tbsp Olive Oil/Butter
- 1 tsp Salt
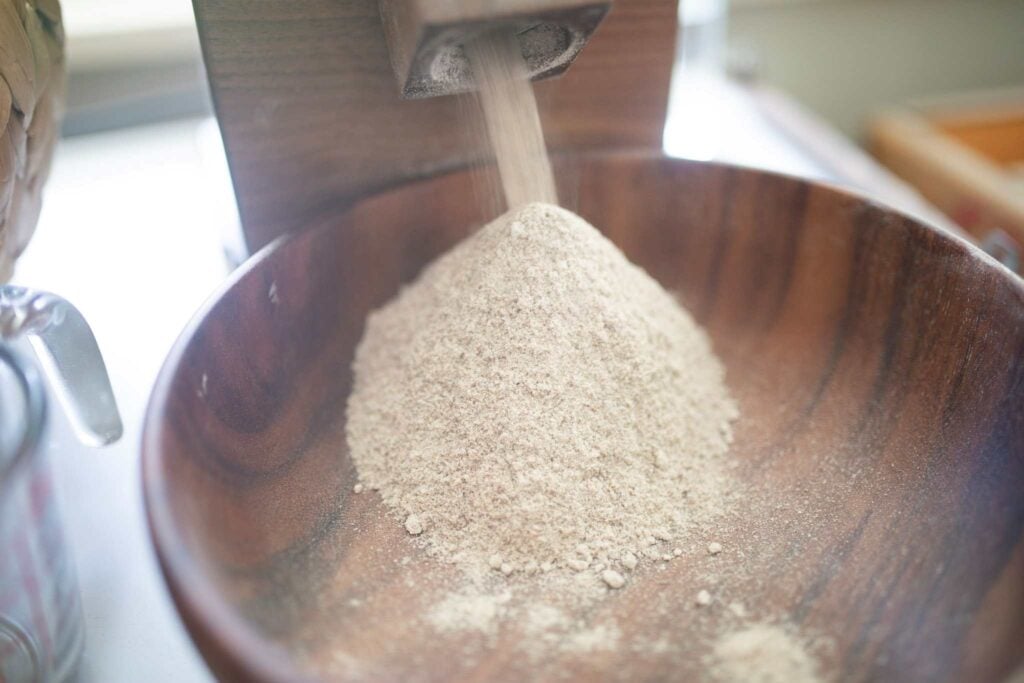
Freshly Milled Flour
You can use Hard White Wheat, Hard Red Wheat, or a combination of the two. I used HEARTWELL wheat which is a purple wheat and is perfect for this recipe!
Yeast
I am using Instant Yeast in this recipe, however you can use Active Dry Yeast if you prefer. Reserve 1/4 cup of the water to proof the yeast in before adding to the recipe after the Autolyse.
Water
Warm your water to 100-110 degrees F.
Butter or Oil
Fat is important in this recipe because it gives the finished product softness and tenderness. I used olive oil, however you can use melted butter for even more flavor.
Salt
Salt adds flavor and helps control fermentation.
Optional (but I highly recommend!)
Shredded cheese, peppers, and onions for topping the breadsticks.
How to Make Fresh Milled Flour Breadsticks
1. Mill the Wheat
Mill 390 grams of wheat on the fine setting of your grain mill.
2. Mix the Dough/Autolyse
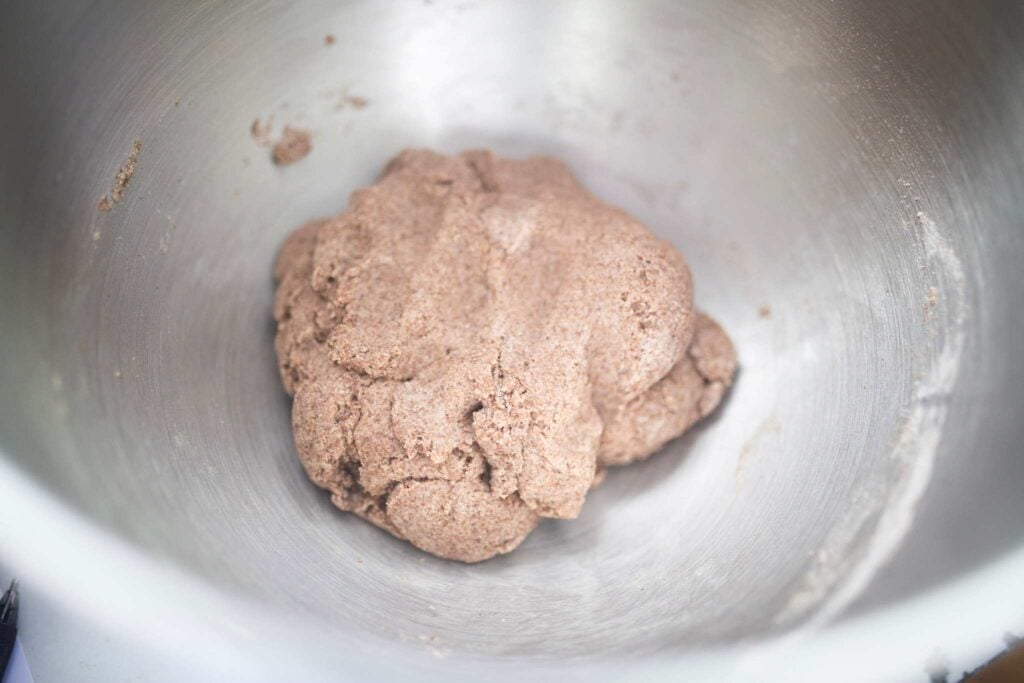
In the bowl of stand mixer, add the warm water and olive oil or butter. Pour the milled flour over the liquids and mix on speed 1 just until the dough comes together and there are no dry bits of dough remaining.
Cover the bowl with a towel and let soak or autolyse for 30 minutes.
While the dough is soaking, measure your salt and yeast in a small bowl.
Fresh milled flour tip: Because fresh milled flour absorbs water more slowly than store-bought flour, this soaking period is imperative for good dough development. The bran and germ in fresh milled flour softens during this Autolyse period making the gluten easier to develop.
3. Knead the Dough
After the dough has soaked for 30 minutes, pour the yeast and salt over the dough.
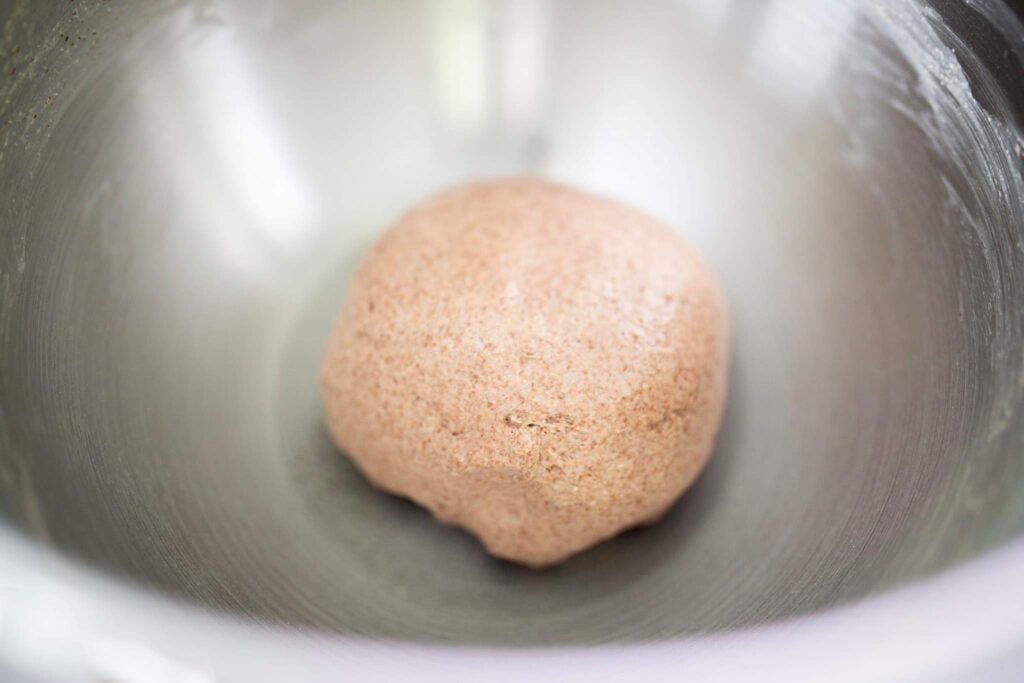
Turn on speed 2 and let the dough knead for 6-8 minutes checking the dough after 6 minutes for gluten development.
To check for development, spritz your hands with a bit of water and tear a small piece of dough off. Stretch this piece of dough between your fingers and if it stretches without tearing right away, it is kneaded properly.
This is call the window-pane test.
4. Let the Dough Rise
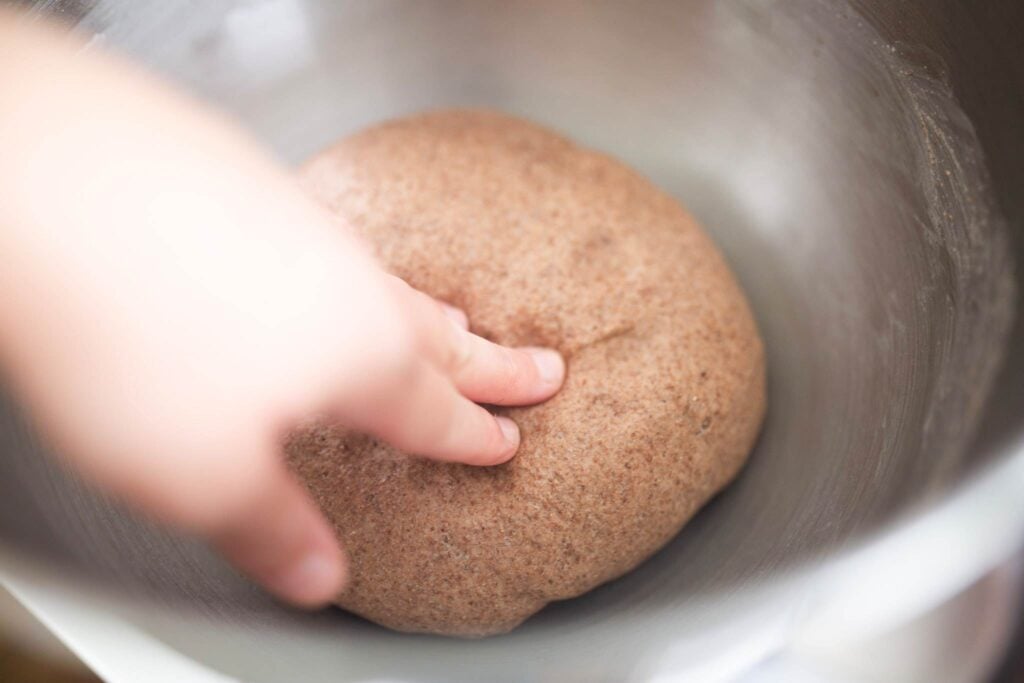
Cover the bowl with plastic wrap or a damp kitchen towel and let it rise at room temperature for 1 1/2-2 hours. You are looking for the dough to roughly double in size, be very puffy, and have a dome shape.
If your kitchen is on the cool side, this may take a little longer. On the other hand, if your kitchen is on the warm side, it may happen a bit more quickly.
5. Shape the Breadsticks
Once the dough has risen and doubled in size, punch down the dough ball and transfer it to a silicone baking mat or a very lightly floured surface.
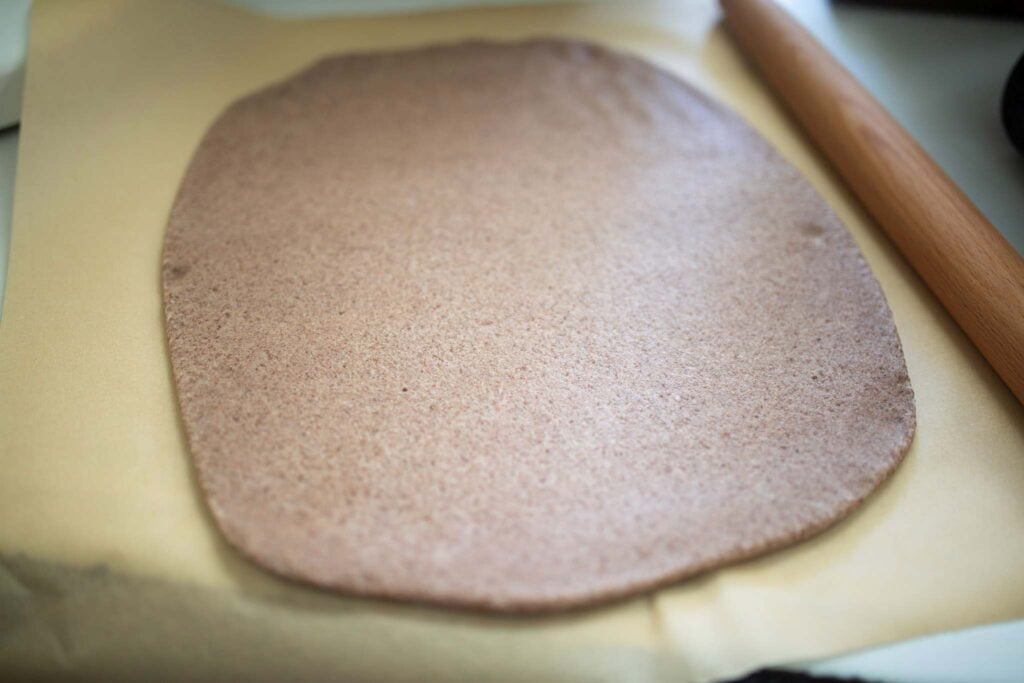
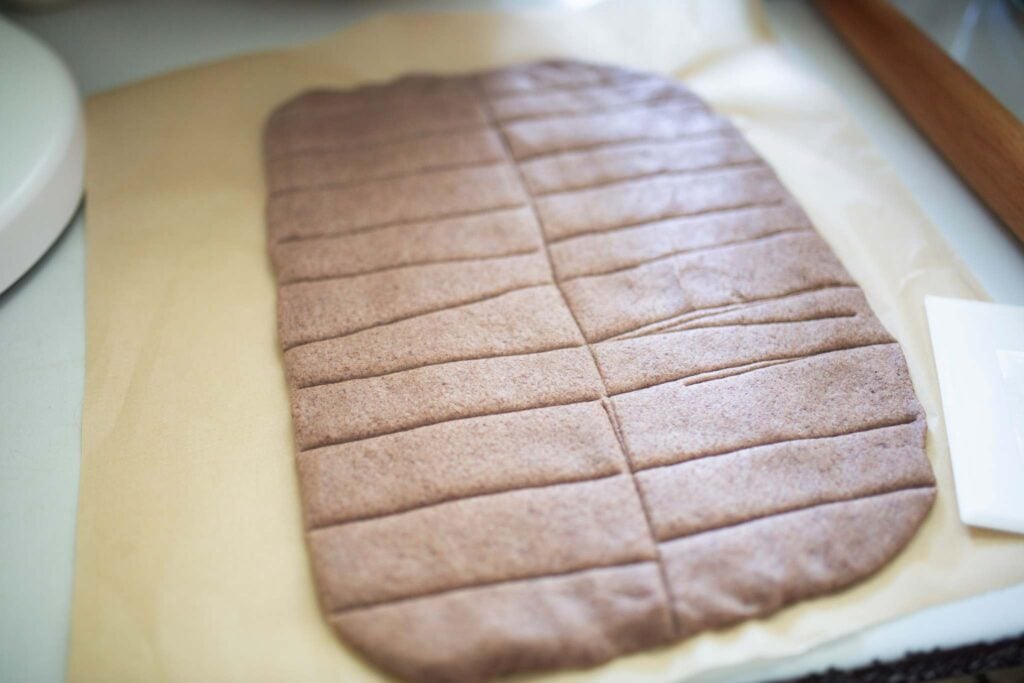
You have 2 options for shaping:
- Roll the dough out into a rectangle that is approximately 1/2 inch thick. (You can always make this thicker if you prefer). Score the rectangle in half lengthwise and then score each half into several breadsticks. These can be as big or as small as you wish. Transfer these to a parchment lined baking sheet and cover with a towel.
- Divide the dough into 12-14 equal pieces. Roll each piece of dough into a log shape and place each one on the parchment lined baking sheet to rise covered with a towel.
6. Second Rise
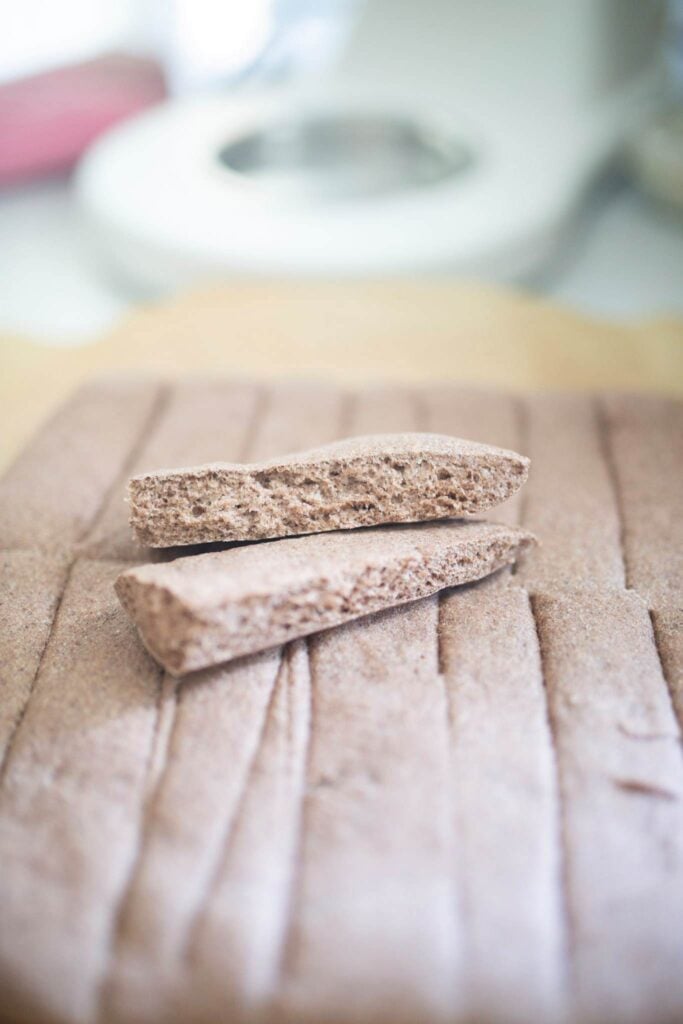
Let the shaped breadsticks rise for 30 minutes to 1 hour or until noticeably puffy and airy.
This second rise makes the breadsticks softer and lighter.
7. Bake
Preheat the oven to 400 degrees F.
Bake for 15-18 minutes or until lightly golden brown. Smaller breadsticks will bake a bit more quickly so check after 15 minutes.
8. Brush With Butter or Top and Broil
Brush tops with butter as soon as they come out of the oven and sprinkle with herbs of your choice.
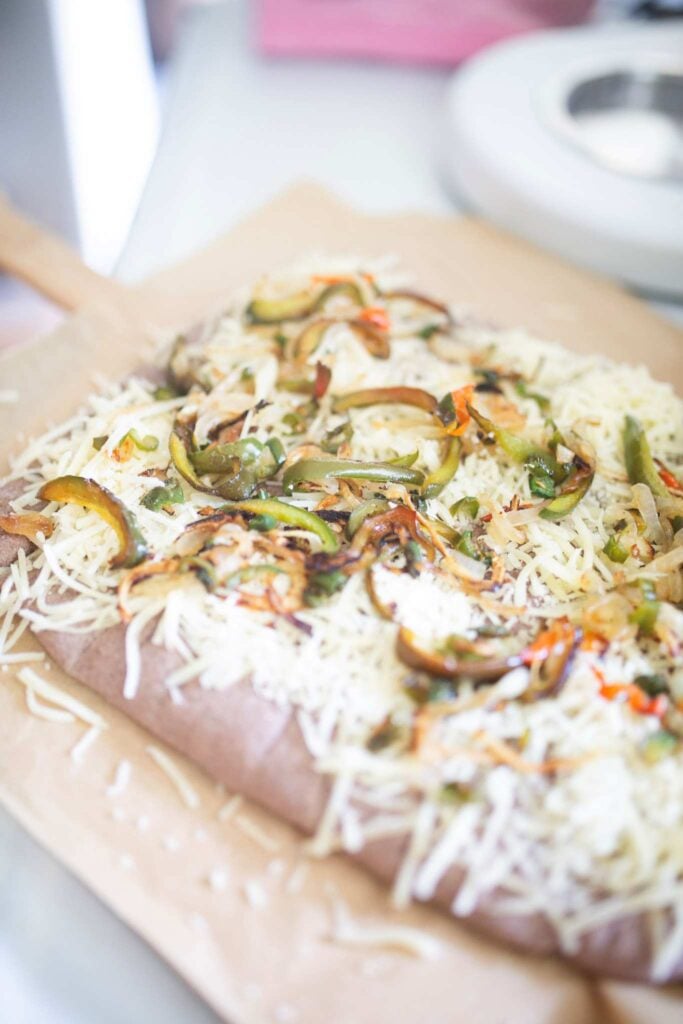
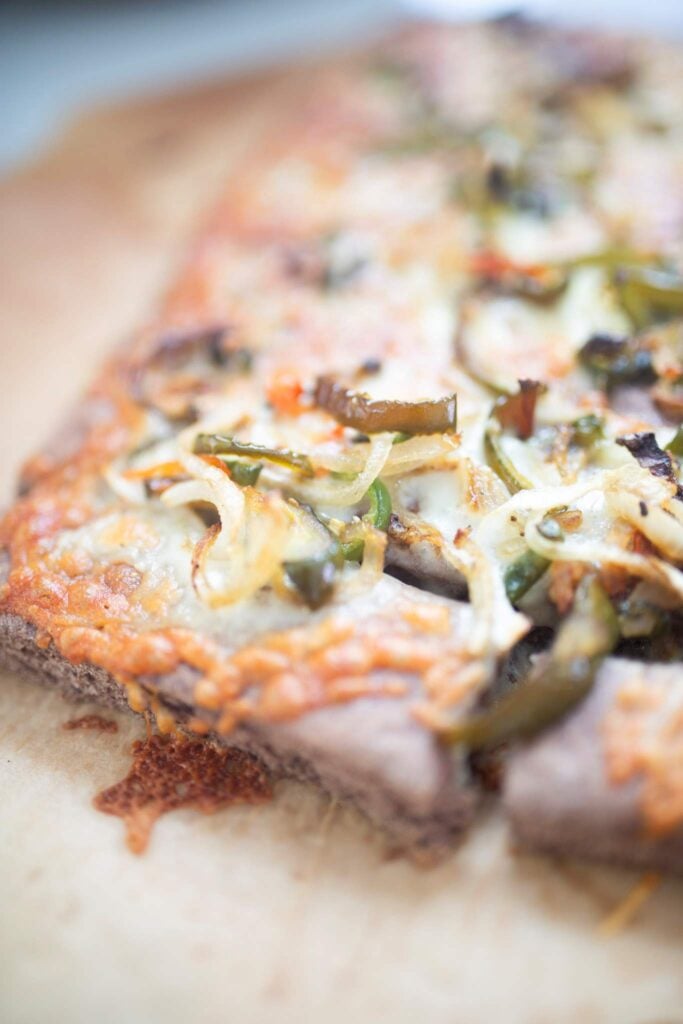
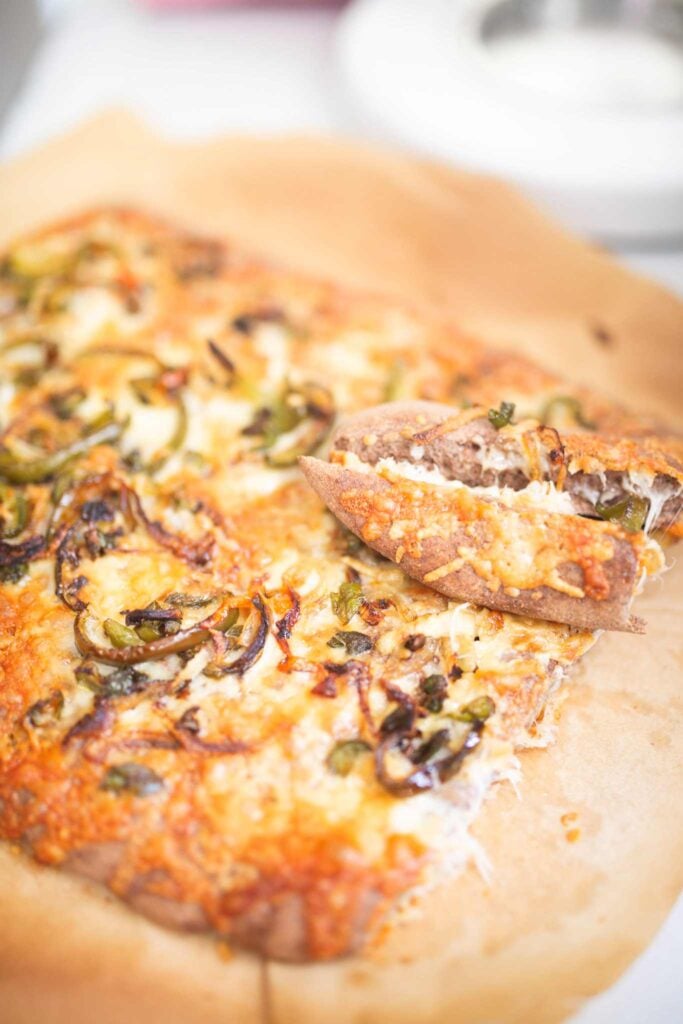
We prefer topping with shredded cheese, peppers, and onions and putting under the broiler until golden brown and melty!
Tips for Making Soft Fresh Milled Flour Breadsticks
Don’t Add Too Much Flour
The dough should be a bit tacky, soft, and supple for best results. Allowing the dough to soak for 30 minutes gives a better texture for kneading and negates the urge to add more flour to the recipe. This will give you the lightest, softest breadsticks!
Give the Flour Time to Hydrate
Never skip the soak! Because fresh milled flour has the bran and germ intact, the soaking time is imperative for the best results.
Don’t Overbake
As soon as the breadsticks are lightly golden brown, remove them from the oven. Over baking will lend to dense breadsticks.
Watch the Dough, Not the Clock
Always keep an eye on your dough. Humidity and temperature play a huge role in how long the dough will need to rise. Best to watch it closely for the best outcome.
What Wheat Is Best for Breadsticks?
In my experience, this recipe works best with hard white wheat or hard red wheat flour or a combination of the two. You can add up to 1/3 ancient grains if you wish and still get great results.
As long as the majority of the flour is hard white or red, these will turn out well. This is because of the higher protein and lower moisture of these varieties.
Can I Use Store-Bought Whole Wheat Flour?
Yes, you can make this recipe with store-bought whole wheat flour. The dough may be a bit more tacky, but after kneading it will work out similarly.
One other consideration when using store bought is that the texture will not be quite as soft and light as store bought wheat flour tends to be denser when baked.
How to Store Fresh Milled Flour Breadsticks
- Store leftover breadsticks in an airtight container on the counter for 3-4 days.
- For best results, use a container with an airtight lid or a bread bag.
- Reheat in a 300 degree F oven for 5-7 minutes or until warmed through.
Can You Freeze Homemade Breadsticks?
These breadsticks freeze very well. Freeze the cooled breadsticks in a freezer safe bag for up to 3 months.
What to Serve With Fresh Milled Flour Breadsticks
- SOURDOUGH PASTA
- Easy Creamy Roasted Butternut Squash Soup
- Rustic Sourdough Chicken Pot Pie
- Delicious Sourdough Sweet Potato Casserole
- Simple Homemade Roasted Tomato and Garlic Sauce
Frequently Asked Questions
Why are my fresh milled flour breadsticks dense?
Typically, when fresh milled flour bread products turn out dense, too much flour was added. This happens because the dough is sticky at first and needs time to hydrate before adding more flour. Mix the flour and wet ingredients together and let them soak for 30 minutes before adding the yeast and salt and then proceed to kneading for best results.
What is the best flour for homemade breadsticks?
I prefer a mixture of hard white wheat and Khorasan. I use 1/3 part Khorasan to 2/3 Hard White Wheat.Can I use hard white wheat for breadsticks?
Can I substitute whole wheat flour for fresh milled flour?
Yes, you can use store bought whole wheat flour for these recipes. They may be a bit more dense but will still turn out delicious!
How do I keep homemade breadsticks soft?
Be sure to allow them to cool completely before storing in an airtight container on the counter. Storing bread products in the fridge will dry them out much more quickly.
Can fresh milled flour breadsticks be frozen?
Yes. Freeze cooled breadsticks in a freezer safe bag for up to 3 months.
More Fresh Milled Flour Recipes You’ll Love
- The Best Fresh Milled Dinner Rolls (Yeast Recipe)
- Easy Soft Freshly Milled Sandwich Bread
- Easy Fresh Milled Baguettes Recipe for Beginners
- How to Make Ciabatta Bread with Fresh Milled Flour
- Homemade Pizza Crust made with Fresh Milled Flour
- Mile High Biscuits Made with Fresh Milled Flour
Shop this post
Grain Mill: NUTRIMILL HARVEST
Stand Mixer: ZACME 8.4 QUART MIXER
Baking Sheet: USA PAN BAKING SHEET
Fresh Milled Flour Breadsticks – Soft, Buttery & Easy

Equipment
Ingredients
- 390 grams Fresh Milled Flour
- 3 tsp Instant Yeast
- 254 grams Water (warmed to 105-110 degrees F)
- 1 tbsp Olive Oil/Butter
- 1 tsp Salt
Instructions
- Mill 390 grams of wheat on the fine setting of your grain mill.
- In the bowl of stand mixer, add the warm water and olive oil or butter. Pour the milled flour over the liquids and mix on speed 1 just until the dough comes together and there are no dry bits of dough remaining.
- Cover the bowl with a towel and let soak or autolyse for 30 minutes.
- While the dough is soaking, measure your salt and yeast in a small bowl.
- Fresh milled flour tip: Because fresh milled flour absorbs water more slowly than store-bought flour, this soaking period is imperative for good dough development. The bran and germ in fresh milled flour softens during this Autolyse period making the gluten easier to develop.
- After the dough has soaked for 30 minutes, pour the yeast and salt over the dough.
- Turn on speed 2 and let the dough knead for 6-8 minutes checking the dough after 6 minutes for gluten development.
- To check for development, spritz your hands with a bit of water and tear a small piece of dough off. Stretch this piece of dough between your fingers and if it stretches without tearing right away, it is kneaded properly.
- Cover the bowl with plastic wrap or a damp kitchen towel and let it rise at room temperature for 1 1/2-2 hours. You are looking for the dough to roughly double in size, be very puffy, and have a dome shape.
- Once the dough has risen and doubled in size, punch down the dough ball and transfer it to a silicone baking mat or a very lightly floured surface.
- You have 2 options for shaping:
- Roll the dough out into a rectangle that is approximately 1/2 inch thick. (You can always make this thicker if you prefer). Score the rectangle in half lengthwise and then score each half into several breadsticks. These can be as big or as small as you wish. Transfer these to a parchment lined baking sheet and cover with a towel.
- Divide the dough into 12-14 equal pieces. Roll each piece of dough into a log shape and place each one on the parchment lined baking sheet to rise covered with a towel.
- Let the shaped breadsticks rise for 30 minutes to 1 hour or until noticeably puffy and airy.
- Preheat the oven to 400 degrees F.
- Bake for 15-18 minutes or until lightly golden brown. Smaller breadsticks will bake a bit more quickly so check after 15 minutes.
Notes
- Store leftover breadsticks in an airtight container on the counter for 3-4 days.
- For best results, use a container with an airtight lid or a bread bag.
- Reheat in a 300-degree F oven for 5-7 minutes or until warmed through.
Nutrition
Final Thoughts
If you have struggled with dense fresh milled flour bread products, these breadsticks are the perfect beginner recipe that is approachable without any complicated techniques and will turn out light and fluffy every time!
Fresh Milled Flour Breadsticks – Soft, Buttery & Easy