How to Tell If Your Sourdough Starter Is Ready to Use (The Fail-Proof Dough Test)
You’ve spent a week or more feeding a new starter (and its bubbly!) but worry you will waste flour when you try to bake with it. Let me show you the signs and give you a fail-safe way to test your new starter: THE READY-TO-BAKE DOUGH TEST!
This post contains affiliate links. I may make a small commission on sales at no extra cost to you. As an Amazon Associate, I make commissions on qualifying purchases
Even though there are visual signs of an active starter, my easy test will let you know definitively if your starter will work without wasting expensive ingredients!
Want to make your own sourdough starter? START HERE to begin your sourdough journey today!
How do you know if a Sourdough Starter is ready to use?
Knowing if your sourdough starter is ready to use can be tricky.
I have an easy way to be sure your starter is ready that will take all the guess work out of the equation!
Mixing a dough with inexpensive flour, water, salt, and starter is a sure-fire way to know for sure if your starter is ready or not!
You check this dough ball at 8 hour intervals for fermentation to judge how strong and active the starter actually is!
My Fail-Safe Dough Test for Sourdough Starters
This easy test will definitively tell you if your new sourdough starter is actually able to raise dough!
In this test, we will mix up a “dough” with cheap flour, water, salt, and starter.
This dough will ferment for up to 24 hours. We will check the dough for signs of the fermentation process at approximately 8-hour increments.
If the dough rises (doubles in size) within the 24-hour period, you will know without a doubt that your starter is ready to bake with.
My method proves your starter without wasting expensive fresh milled flour or organic all-purpose flour while also taking the guess work out of when your starter is ready to use!
Having this test done, the next time you use your starter for bread, you can be confident that you will get a tasty loaf of sourdough bread that rises beautifully!
Why I stopped relying on the float test
The float test is performed by scooping a dollop of starter into a glass of water to see if the starter floats or sinks.
- Sometimes, even a strong and mature starter doesn’t float
- Hydration affects the float test
- Gas can make a weak starter float
- Bubbles don’t equate to strength in a starter
What actually makes a Sourdough Starter ready to use?
- Balance of Bacteria – In a starter, the good bacteria and yeast work to build carbon dioxide or gas that will make the dough rise.
- Yeast Population – Sourdough starters are made up of the good lactic acid bacteria and wild yeast. These work in unison to ferment bread dough.
- Consistent Bubbling and Rising – Visual cues are easier to gauge when looking at your sourdough starter.
- Reliable Activity after Feeding
Helpful Tools for this Test
To mix the dough, I use this STONEWARE BOWL
I like to use a DOUGH WHISK for mixing the dough
This is the LOAF PAN I USE to proof my dough
Shop my favorite grain mills and stand mixers HERE! (Use my coupon: rose20 for $20 off mixers and Impact grain mills!)
Ingredients you will need for this dough test
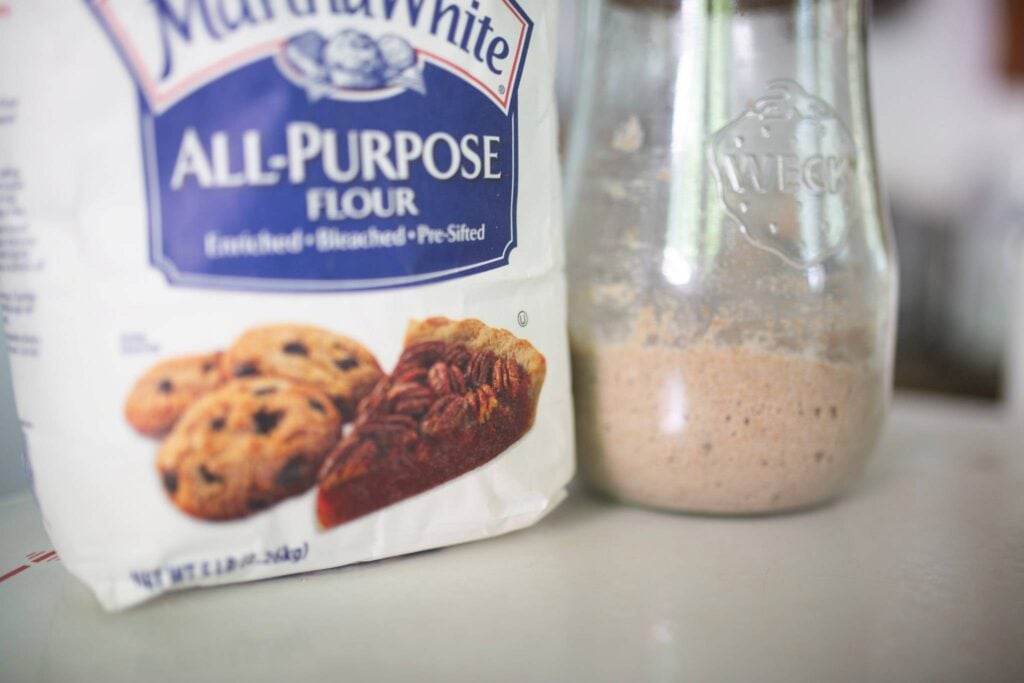
For this test, we will use the cheapest all purpose flour we can find at the grocery store. It doesn’t matter if it is bleached or enriched.
- 3 cups Flour – Use the cheapest bag of flour you can find for this test. All purpose or bread flour work great.
- 1 cup Water – For best results, I recommend using filtered water to make sure chlorine (from tap water) doesn’t inhibit the starter.
- 1 tsp Salt – Any salt will work just fine.
- 1/2 cup Sourdough Starter – Use your new active sourdough starter while it is bubbly and active looking.
How to perform The Ready-to-Bake Dough Test
In a large mixing bowl, add the water and fresh sourdough starter and mix until cloudy in nature.
Next, add the flour and salt and mix until a soft dough forms with no dry bits of flour remaining.
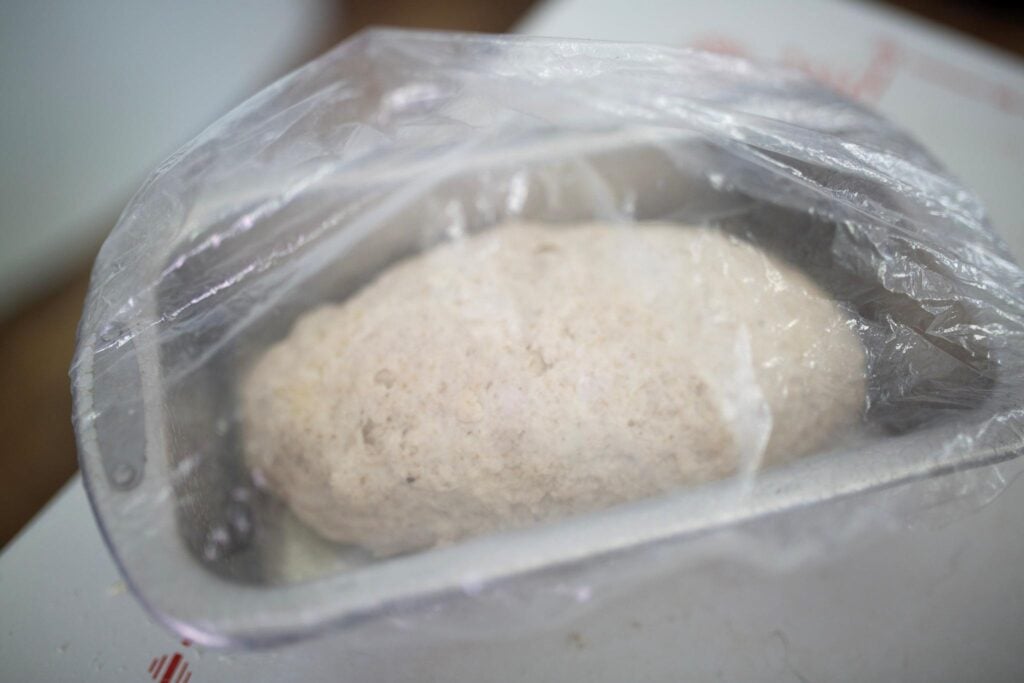
Cover the bowl with plastic wrap or a bowl cover.
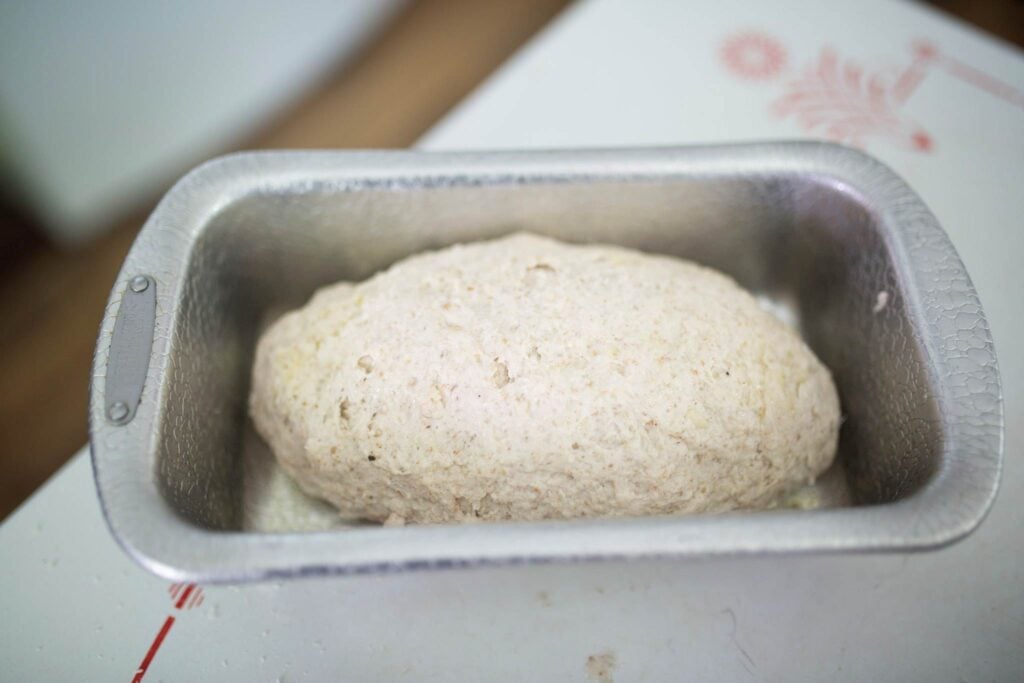
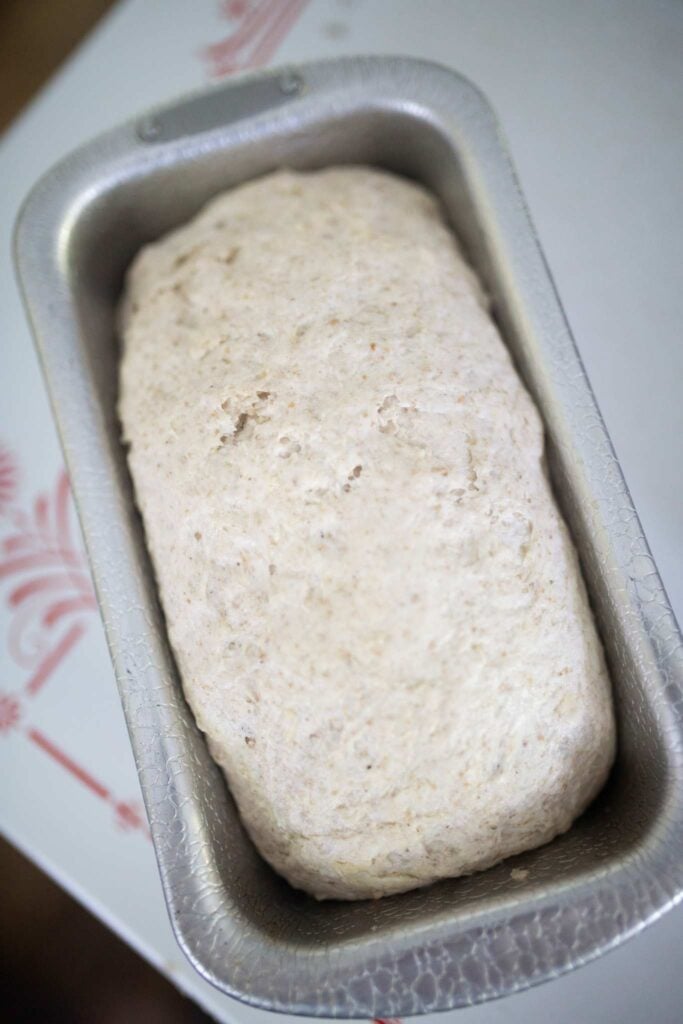
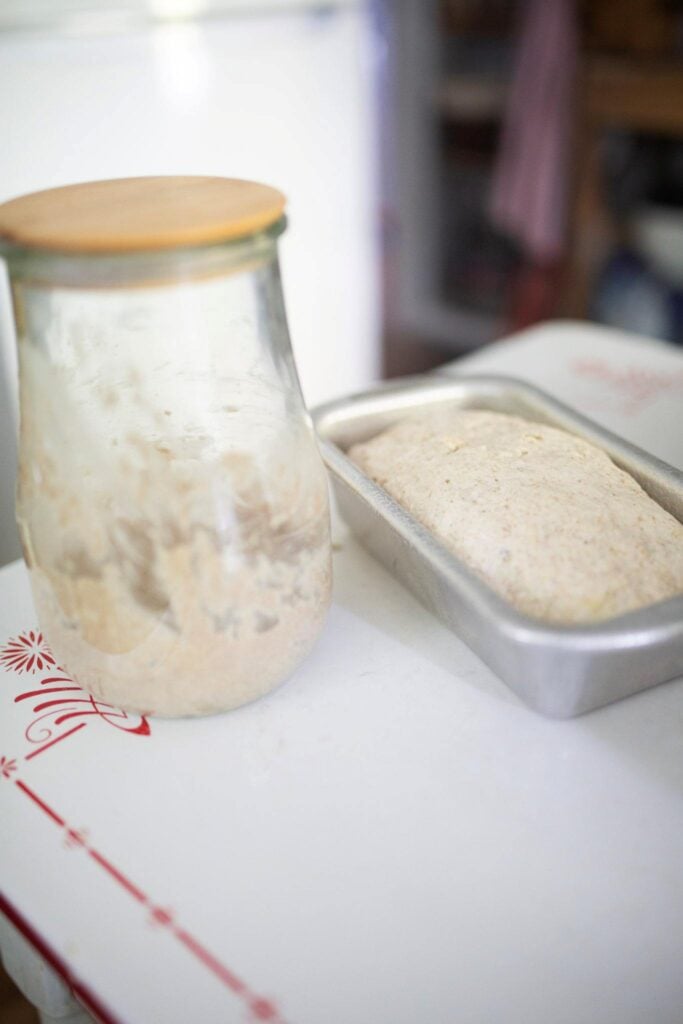
TIP: It’s easier to gauge the dough ball if you put it in a loaf pan. I prefer the loaf pan method as I can clearly see if the dough rose in the pan
Let ferment at room temperature for up to 24 hours.
A note on room temperature: Fermentation happens more quickly at a warm room temperature and more slowly at cooler temperatures. If your kitchen is on the cool side, move the dough to a warm spot. On the other hand, if the kitchen is very warm, move the dough to a cooler spot in your home.
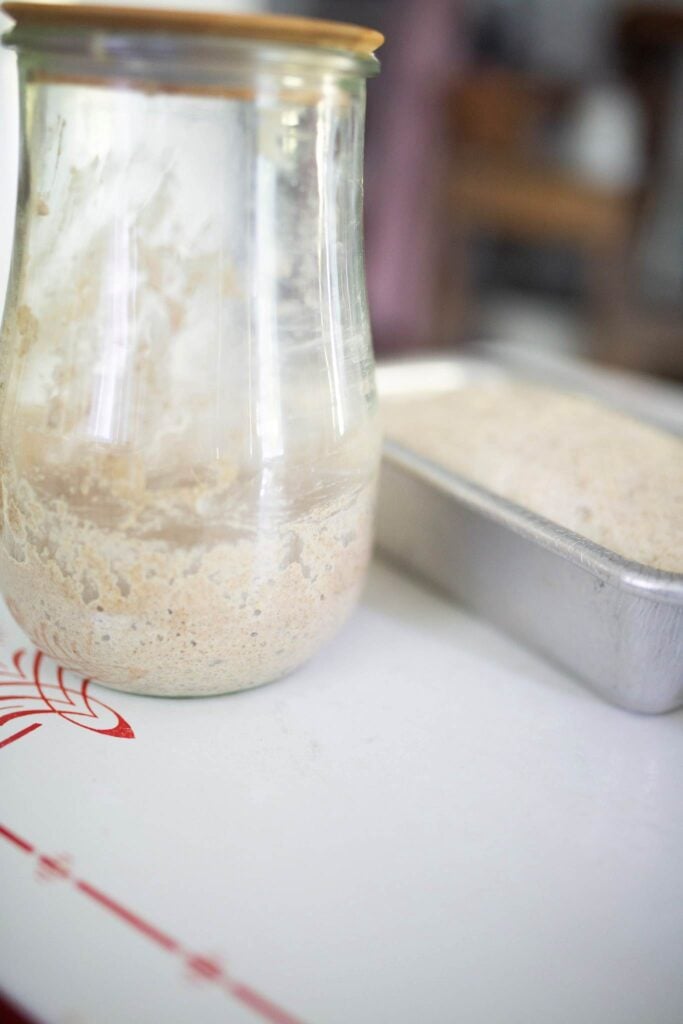
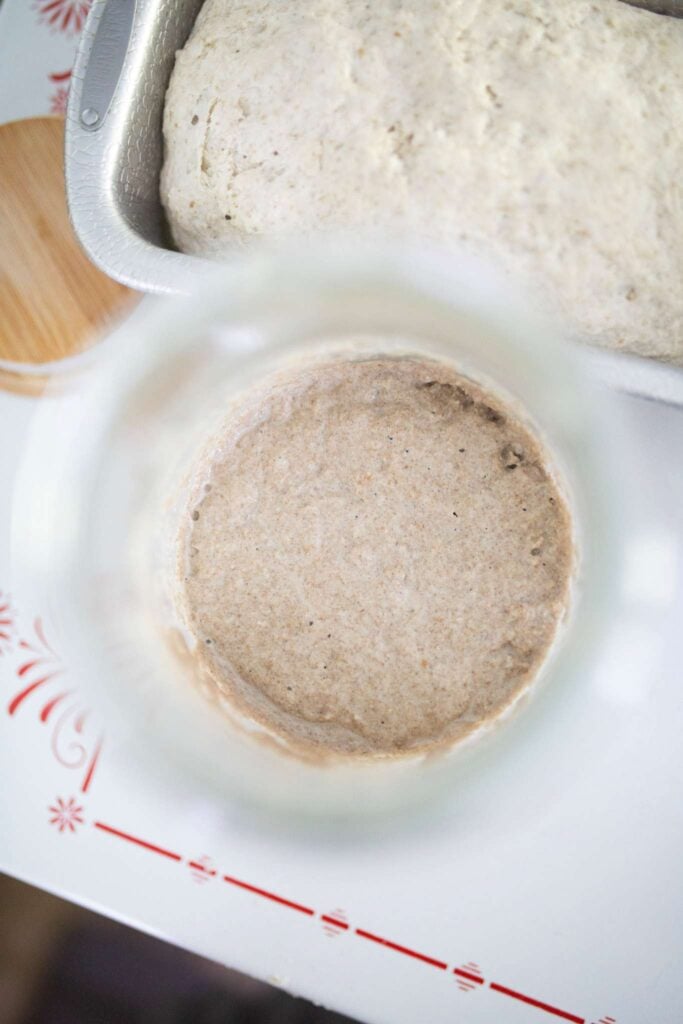
Every 8 hours or so, look at the dough for signs of fermentation including bubbles on the surface of the dough, a domed shape to the dough, and noticeable rise in the dough up the sides of the bowl.
MY TOP TIP: Use a glass bowl and look at the bottom of the bowl for bubbles forming in the dough which can help gauge activity as well
How to read the RESULTS of the test
If the dough didn’t change any or at all during the 24 hours
Your dough should show signs of fermentation if the sourdough starter is active and strong.
If you noticed no change in the dough at all or very little, you need to continue feeding the starter and using it in DISCARD RECIPES in the meantime.
You can perform this test weekly to gauge the strength of your starter before baking bread with it.
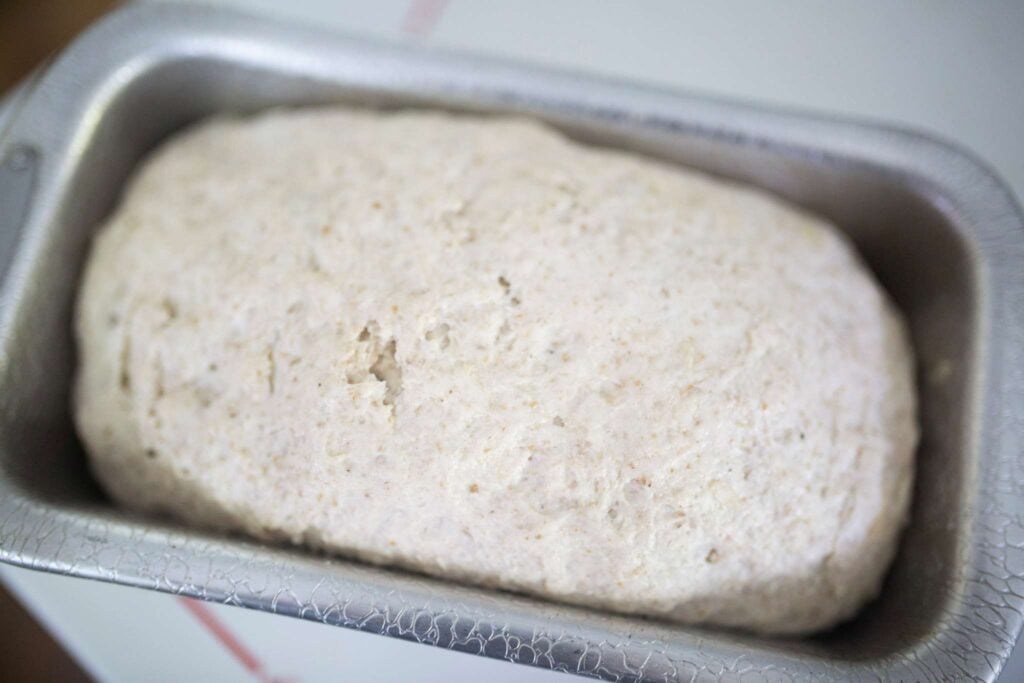
The dough rose very slowly but did not double in size
This is a great sign! Your starter has some strength and is able to leaven a dough ball, albeit not yet able to double the dough.
In this scenario, my recommendation would be to give the starter a few more days of feeding and then do this test again to see if the starter doubles the dough ball.
If your dough ball doubled in size within 24 hours
YAY! This means your starter is ready to start baking bread with!
Head over to my post on HOW I MAINTAIN MY STARTER IN THE FRIDGE post and maintain your starter the easy way in between bakes!
The dough over fermented or turned into a soupy mess
This means your starter is a little too active for a 24 hour ferment.
If this happens, lower the fermentation time of the recipe you are going to make or consider doing a portion of the rise in the fridge to slow the starter down a bit.
How long should I do the test?
This test should last up to 24 hours. If you notice your dough doubled in 16 hours, you can end the test.
Common Reasons Dough Doesn’t Rise
- Starter is too young
- Room is too cold for fermentation
- Chlorinated water
- Inactive starter
Keep in mind, these are just a few reasons your dough ball may not rise. I highly recommend maintaining the starter and repeating this test at least weekly until your dough ball doubles in size within 24 hours.
The readiness of a sourdough starter depends on many factors such as temperature, flour used, feeding ratio, and the abundance of natural yeast in your home. Flour choice also matters as whole grain flours will cause the starter to ferment more quickly.
Frequently Asked Questions
Yes! I just recommend buying the cheapest option for this test since you do not know if your starter is strong enough to rise the dough. I would caution against using fresh flour or fresh milled flour as it is more expensive.
Although a starter doubles in size and bubbles, it can still be too young or weak to rise a full dough ball. It may have all the signs of readiness, however will not leaven a ball of dough. Keep moving forward with feeding the starter and repeat the test in a week.
The float test can be deceptive, actually. I have had my starter “fail” the float test and make wonderful sourdough bread. On the flip side, I have had it “pass” the test and the bread flopped. I take it with a grain of salt.
This means your starter is much too weak to make bread dough. Discard the dough and try again in a week or so after maintaining the starter and using it in discard recipes.
My Best Tips
- Be patient – Sourdough starters take some time to become strong and mature, so a little bit of patience is needed.
- Keep feeding your starter – Regular feedings are what make a starter become strong. Use the starter in sourdough discard recipes and feed it in between.
- Use the starter at its peak – When performing this test, use the starter when it has risen and is has lots of bubbles.
- Don’t give up! – Keep working with the starter until it will leaven the dough ball. After that, you are good to go!
Final Thoughts
This dough test will save you a lot of expensive flour and give you a definite snapshot of the strength of your sourdough starter.
Inexpensive and easy to do, I think you will find this test to be a game changer on your sourdough journey!
Sourdough starters take time to activate and become strong, so be patient and press on until the starter passes the READY-TO-BAKE DOUGH TEST!
Continue reading and learning about Fresh Milled Flour and Sourdough with these Posts:
Follow along with my SOURDOUGH BAKING TIMELINE
Have problems with your dough tearing instead of stretching? Let me help you with THESE TIPS!
Getting lost in the Sourdough Jargon? Let me help you understand SOURDOUGH TERMS AND WHAT THEY MEAN
Did you make your starter with fresh milled flour? Let me show you HOW I MAINTAIN MY FRESH MILLED STARTER
When your starter is ready, try my BEGINNER SOURDOUGH LOAF WITH FRESH MILLED FLOUR