Raising Heritage Turkey Breeds
If you have a homestead, chances are you have probably, at least once, played with the idea of raising turkeys. Raising Heritage Turkey Breeds was always a goal of ours on our homestead.

This post may contain Affiliate links. I may receive a small commission at no cost to you.
In this blog post, I want to give you the pros and cons, as well as some valuable information you need before jumping into raising turkeys.
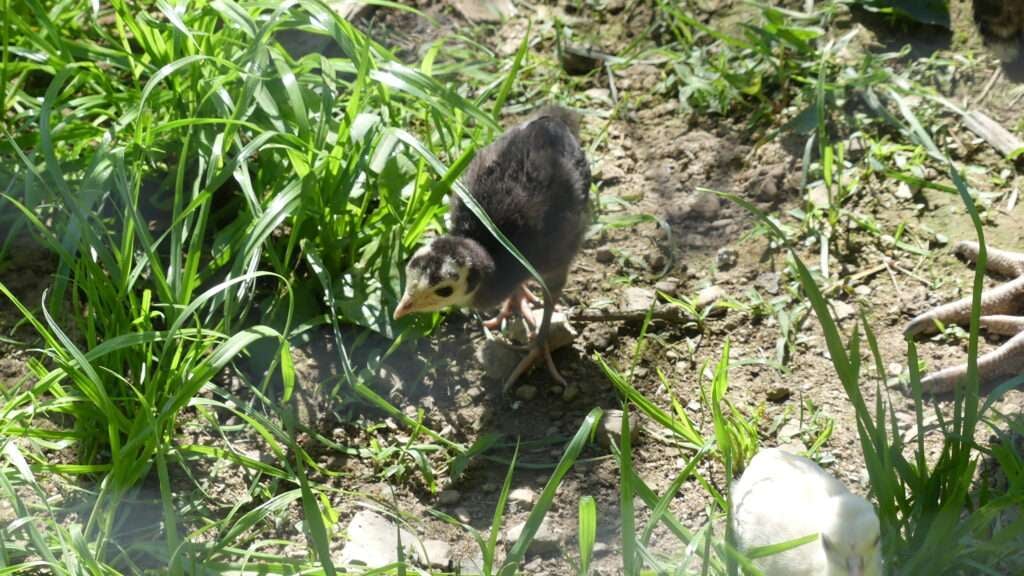
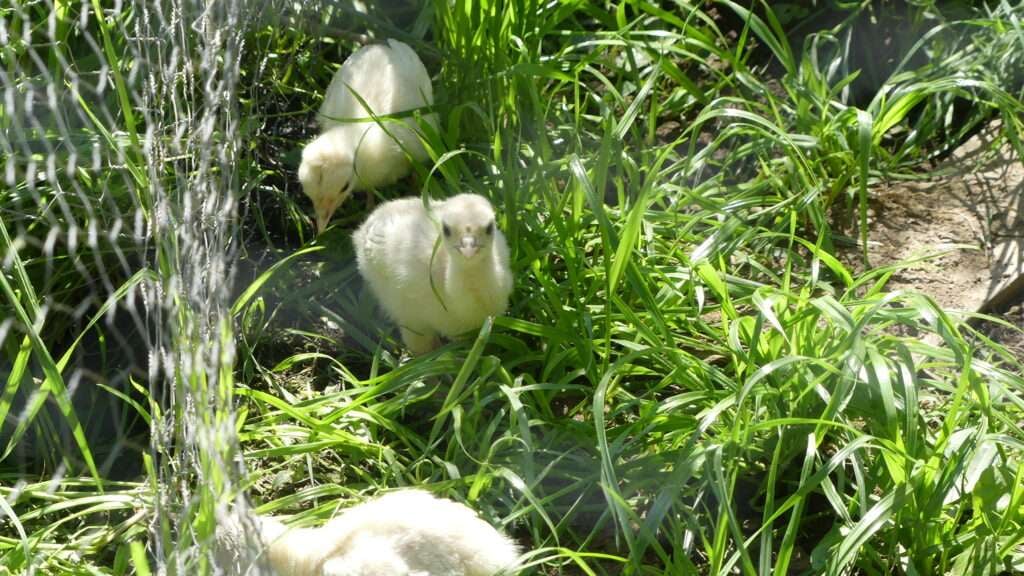
Turkey poults are notoriously more fragile than baby chicks. You have to be more vigilant with your care and observation of your baby poults.
We have had heritage breed turkeys for 3 1/2 years. In that time, we have had a hen raise 2 rounds of poults.
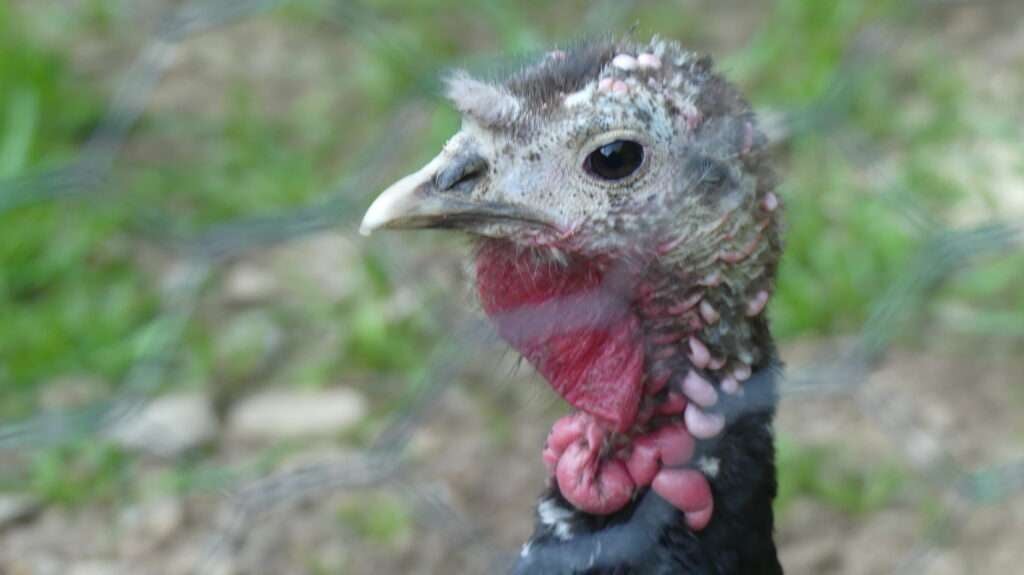
Since we started raising heritage breed turkeys, we have had Royal Palms, Black Spanish, and Blue Slates.
Our favorite breed by far is the Black Spanish. They are very docile and easy to handle as adult turkeys.

We process all of our turkeys that have been raised each year in the Fall. We always keep 1 Tom and 1 to 2 Hens for the next breeding season. Letting your hens raise the next clutch makes things so much easier!
I am going to break this down into 3 parts. Poult care, Diet and Nutrition, and Coop care.
Poult Care
Whether you order your poults or get some from a friend, you will need to have a basic incubating infrastructure in place prior to bringing the poults home.

The first thing you will needs is a brooder box. You don’t have to get fancy or technical about this. We use a big Rubbermaid tote like this: https://amzn.to/3ggcNPZ
Next, you need a heat source. We use heat lamps like this: Heat Lamp but, you can also use a brooder heat like this if you are apprehensive of using the lamps: Brooder Light
Once you have your brooder box and heat source in place, you will need a feeder and waterer. These are the ones we use: Feeder and Waterer
You’re almost finished with your brooder! All you need now is bedding. We use pine shavings. They work great and very inexpensive at your local farm store.
I highly recommend cleaning the brooder at least every other day. Turkey poults are more fragile, and, in my opinion, thrive better in the cleanest of environments.
Diet and Nutrition
Turkey poults require a high protein feed. It’s also a good idea to keep the feed you start with the same until it’s time to change the type of feed they will require as adults.
We prefer an a non-medicated starter grower. We have been using this particular brand for over 2 years and have found it to be of the highest quality: Starter Feed
As poults, you want to give them free choice feed. Which means you keep the feed bowl full at all times.
We put chick grit in the feed to make sure they are able to digest properly, as well. Chick Grit
A turkey poults water quality is very important, as well. I choose to add molasses and apple cider vinegar to the water for added nutrition.
For one waterer full of water, I add 1 tablespoon of each and shake well. Also, I have found the poults do great with warm water instead of cold. But, that is totally up to you.

Coop Care
After about 6-8 weeks, your poults will be ready to move to their coop! Having a coop with plenty of room for them to grow and roost is best. We use the same bedding as when the poults were in the brooder.
I don’t change their feeder/waterer set up until they are around 10 weeks old. Turkey poults are notorious for getting stuck in a water bowl and possibly drowning or catching a chill.
I sprinkle grit on the ground to encourage them to learn to forage for it.
You will need a covered area for them to congregate when it is raining.
We choose to have the turkey pen covered with bird netting to keep the poults in and the hawks out.
Conclusion
While raising turkeys can be a bit different from raising chickens, it is a very rewarding venture and one we have never regretted.
I hope you found this article informative and educational.
See you soon!


