Easy Rustic Whole Wheat Sourdough Bread Recipe
Artisan Sourdough bread recipes almost always call for white flour or bread flour. However, in my kitchen I like to mill my own whole grains for flour, so, an artisan loaf using freshly milled flour was a recipe I needed to perfect. Come along as I show you my recipe for this Rustic Whole Wheat Sourdough Bread.
**This post may contain affiliate links. I receive a small commission on sales at no cost to you**
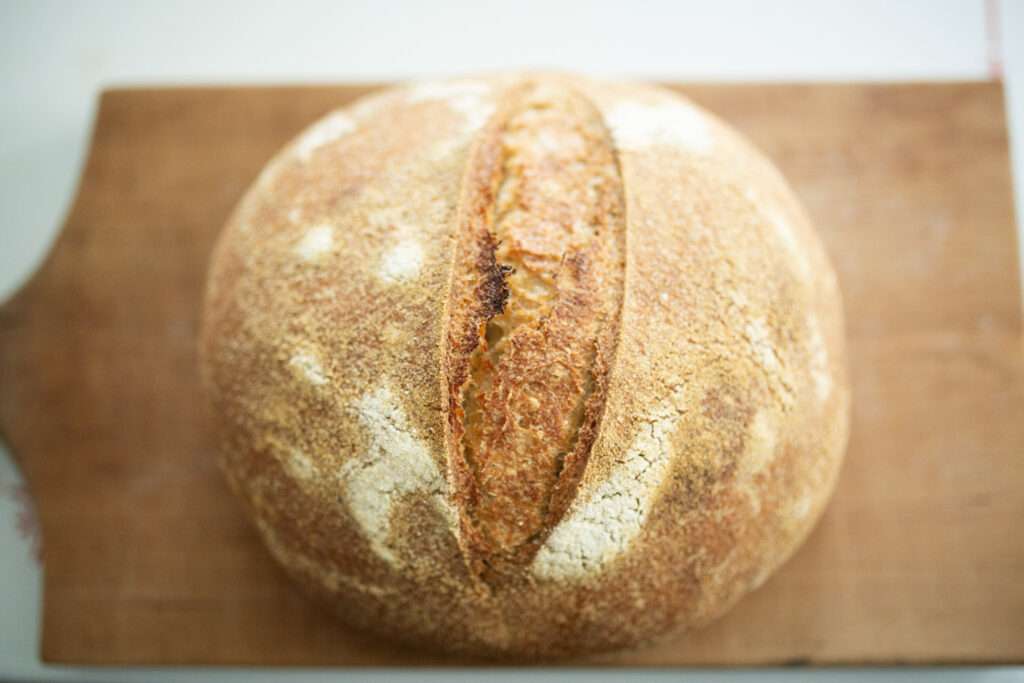
I have been making sourdough bread for many years. Milling my own wheat berries for years has been very important to me in my kitchen, as well. However, I always cut the whole wheat flour with a little all-purpose or bread flour for a better rise and softer texture.
If you are brand new to sourdough, start here: How to make a Sourdough Starter
Back in the spring of this year, I decided to transition all of my flour to freshly milled. I was met with a few challenges along the way. I also still had a lot of all-purpose flour that I had bought in bulk back in the winter. So, I found myself still reaching for the all-purpose flour to make my bread.
Well, that flour is soon to run out, so, I know I had to come up with a good recipe for sourdough bread using only freshly milled flour.

In this recipe, I use organic hard white wheat berries. These are the ones I use:Wheat Berries
This is the grain mill I use: Nutrimill Classic Grain Mill
Why you will love this recipe for whole wheat sourdough bread
This loaf is a true artisan loaf in that it only contains flour, water, starter, and salt. I start the dough in the morning, let it rise for 4-6 hours, shape it, allow it to rise an additional 1-3 hours, then bake. So, it’s a true same day artisan loaf!
Having a whole wheat sourdough bread recipe is great if you are wanting to add in some whole grains to your diet.
What you will need for this recipe:
Flour
This recipe calls for whole wheat flour. I prefer to grind mine fresh using a grain mill. But you can certainly use store-bought whole-wheat flour.
Freshly milled flour has all the nutrients intact. Store-bought flour has been sifted of the bran and germ to make it more shelf stable. Unfortunately, this also removes the nutritional value of the flour.
Sourdough starter
You will want to use active starter. This means it has been fed in the past 24 hours and is bubbly. Sourdough starter is wild yeast and takes longer to rise than conventional yeast.
Water
For best results, use a filtered water. Tap water usually contains chlorine which can inhibit the growth of yeast when making sourdough bread. This recipe calls for room temperature water.
If your home is very cool you may want to start with warm water. Not hot, just lukewarm to jumpstart the fermentation process.
Salt
I prefer to use Redmond’s Real Salt. It has a mild flavor and is perfect for baking.
*Full Ingredient amounts in recipe card below*
Equipment you may need to make this whole wheat sourdough bread recipe:
Grain Mill
A grain mill is a machine that grinds wheat berries and other grains to make fresh flour. This is the one I have been using for years and it is a true workhorse in my kitchen: Nutrimill Classic Grain Mill
Fresh flour makes for the best rustic sourdough bread recipe.
Banneton Basket
A banneton basket is a vessel that holds the bread dough after it is shaped. It helps to hold the shape of the dough during the second rise.
This one is similar to the one I use: Banneton Basket
Bench Scraper
A bench scraper is so useful when making sourdough bread. You can use it while shaping and to scrape your work surface clean afterwards.
I love this one: Bench Scraper
Cast Iron Dutch Oven
When baking rustic style loaves, you want a closed vessel and a cast iron Dutch oven works remarkably well.
With the lid on the steam is trapped and keeps the crust from forming on the dough too quickly for a better rise.
Taking the lid off allows for a crispy deep brown crust.
This is the Dutch oven I use: Lodge Dutch Oven
Step by Step Instructions for making Rustic Whole Wheat Sourdough Bread
Mixing the dough
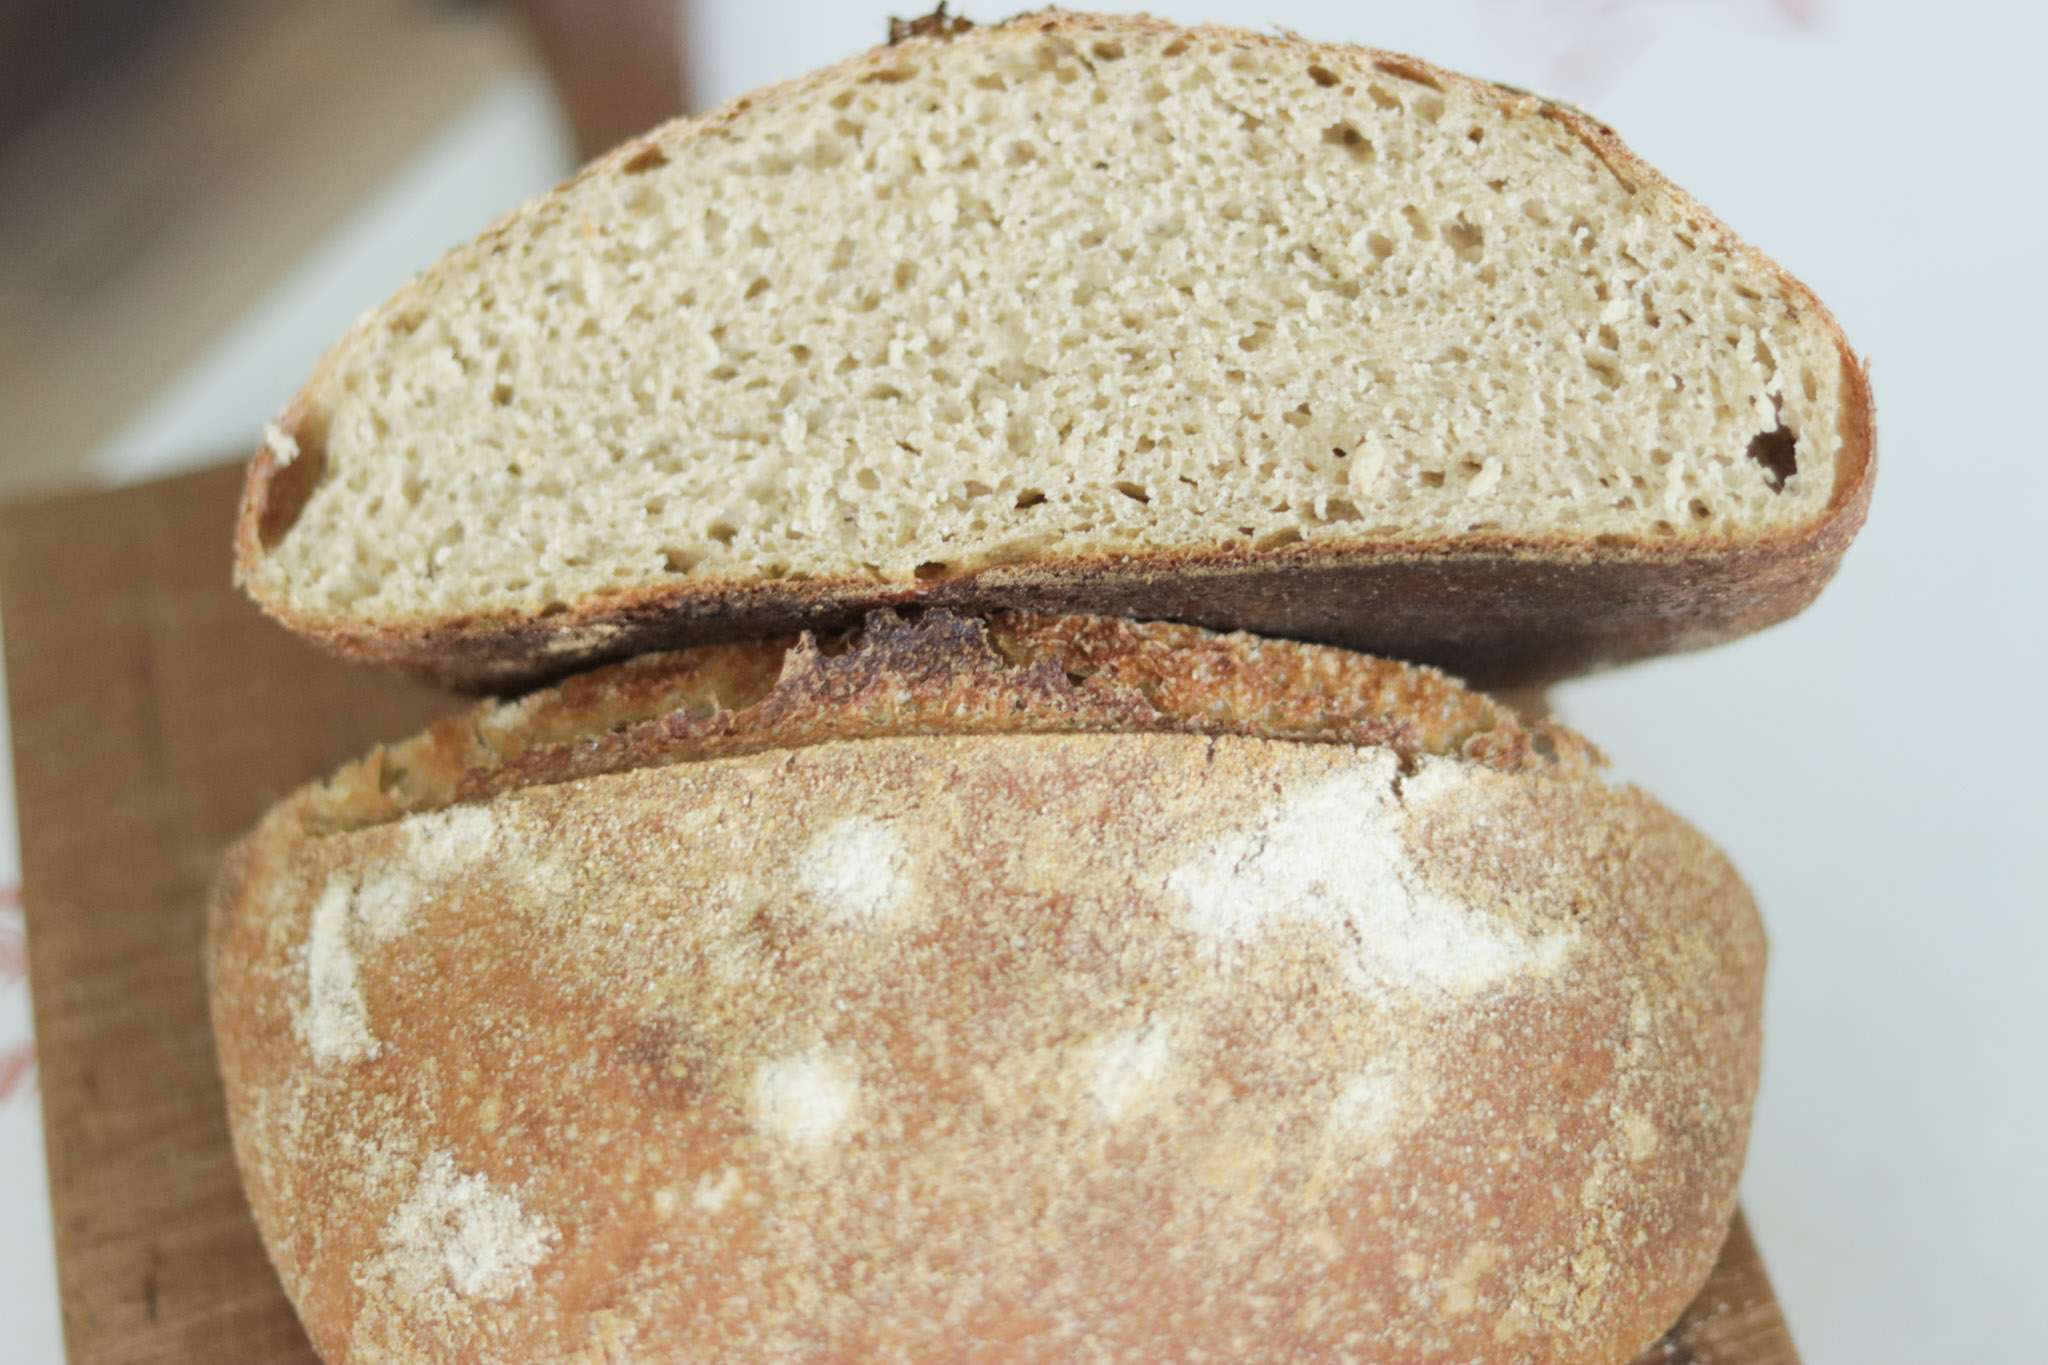
First thing in the morning, I mix all the ingredients in a large bowl until I have a cohesive, smooth ball of dough. I like to use a dough whisk for mixing the dough.
This is a higher hydration dough as most artisan loaves are. You may need to dip your fingers in water to handle the dough.
I cover it tightly with plastic wrap and let the dough rest for about 30 minutes.
You will want to use active sourdough starter for this recipe. Meaning it has been fed in the last 4-12 hours preferably. Or, it has been fed, become active, and has been in the fridge.
Stretch and Folds
After 30 minutes, I will do a few stretch and folds. This will give the dough structure, which is very important when using 100% whole grain flour.
To stretch and fold, simply grab a handful of the dough and lift it up and fold it back over itself. Turn the bowl and continue this until you’ve made back to the starting point.
Aim to do 4-6 sets of stretch and folds spaced 30 minutes apart.
Bulk Fermentation
After these, I cover tightly and allow to rise in a warm spot for 3-5 more hours. This is called the bulk fermentation or first rise.
It won’t exactly double in volume, but you will be able to tell it has risen quite a bit and it will be bubbly and airy.
After it has risen, DON’T DEFLATE THE DOUGH! You want to keep all those air bubbles created from the fermentation process.
Prepare the banneton basket
I like to spritz mine with a little water and generously cover with white rice flour. White rice flour works remarkably well at preventing the dough from sticking to the basket.
You can also just let it do its second rise in a loaf pan. This makes it super easy to slice for sandwiches. It still has the crusty exterior and chewy crumb, just in a more familiar shape.
A banneton basket is a special vessel for the second rise of your bread. It keeps the shape of the dough by not allowing it to spread out as it rises. You can use a colander lined with a floured tea towel. I have done this before and it works great.
Shaping the dough
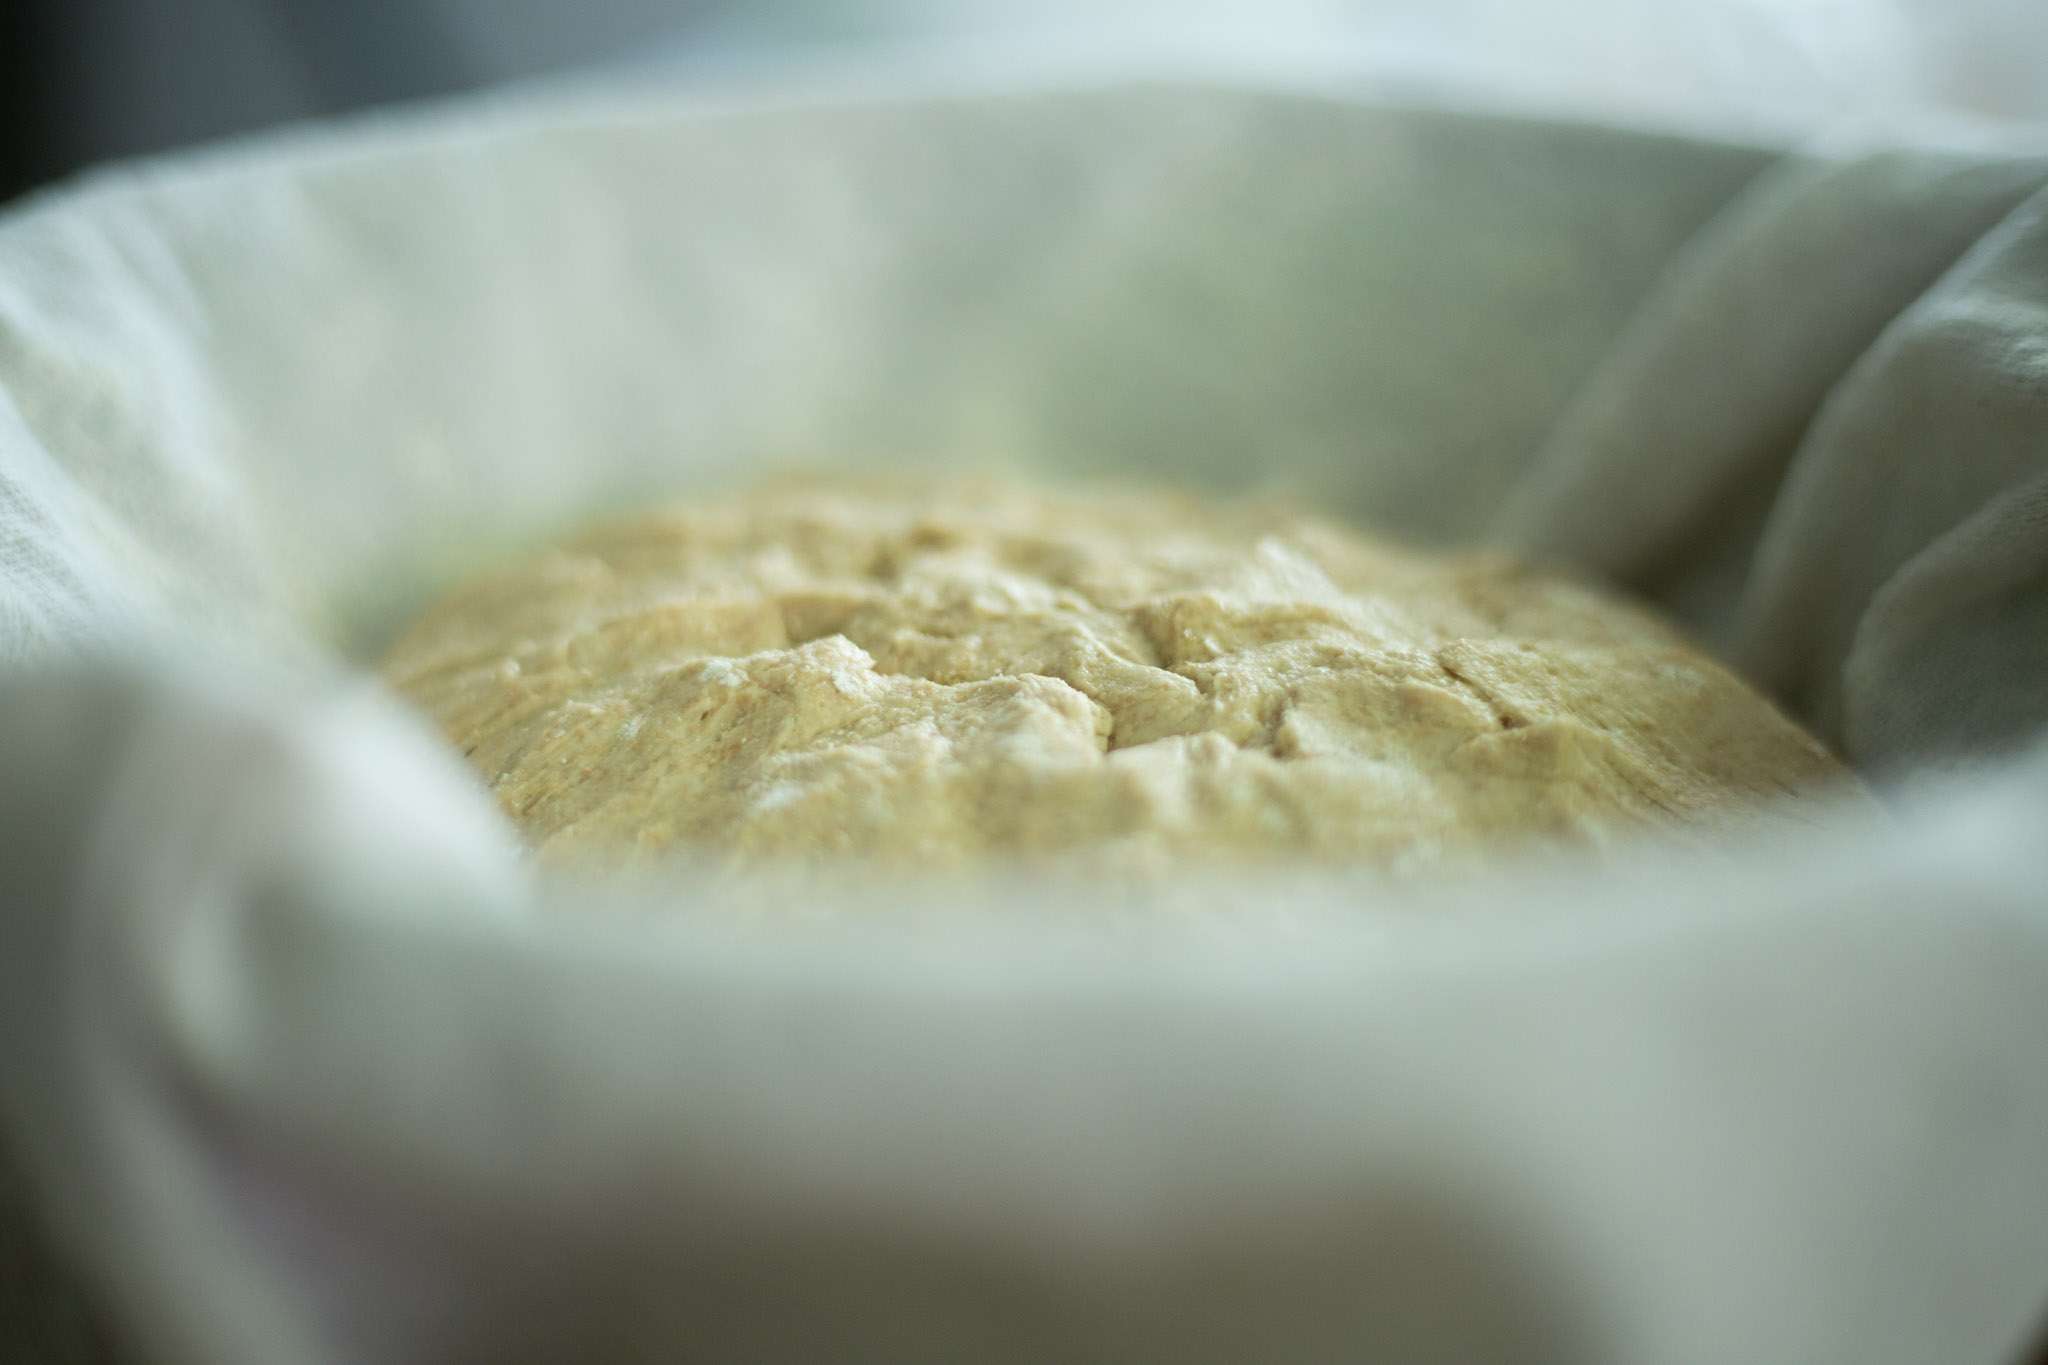
Once your basket it ready, gently turn the dough onto a lightly watered work surface. Pull all the sides into the middle of the ball of dough and turn the dough over.
Roll it around on the surface to build surface tension. Sprinkle with rice flour and turn top side down into the basket.
Remember this is a rustic loaf and the shaping doesn’t have to be perfect. But building the tension is what matters most.
Second Rise
Cover tightly and place in the fridge overnight or up to 2-3 days before baking.
Baking the Bread
Place a Dutch oven in the oven to preheat to 450 degrees F.
After it is preheated, remove the dough from the fridge and gently turn the dough onto a piece of parchment paper. If using a loaf pan you will not have to remove dough before baking.
It’s time to score the dough. I use a lame, but you can use a razor or a very sharp paring knife. The top of the dough is cut into to not only make it pretty but allow it to open where you want it to.
Choose how you will score before you start. Then deliberately score deeply in at least on area for expansion.
You can also do a few decorative scores just because it’s beautiful! The first time you score may feel awkward but you will get the hang of it.
Carefully remove the Dutch oven from the oven and remove the lid. Place the dough, using the edges of the parchment paper, into the Dutch oven.
Be careful! It’s amazingly hot! If using a loaf pan, put a oblong roasting pan in the oven instead and bake the same.
**You can also use a Challenger Bread Pan to bake the loaf of bread**
Put the lid back on and bake for 20 minutes.
Remove the lid and bake an additional 15-20 minutes until golden brown.
Allow to cool completely on a wire rack before slicing.
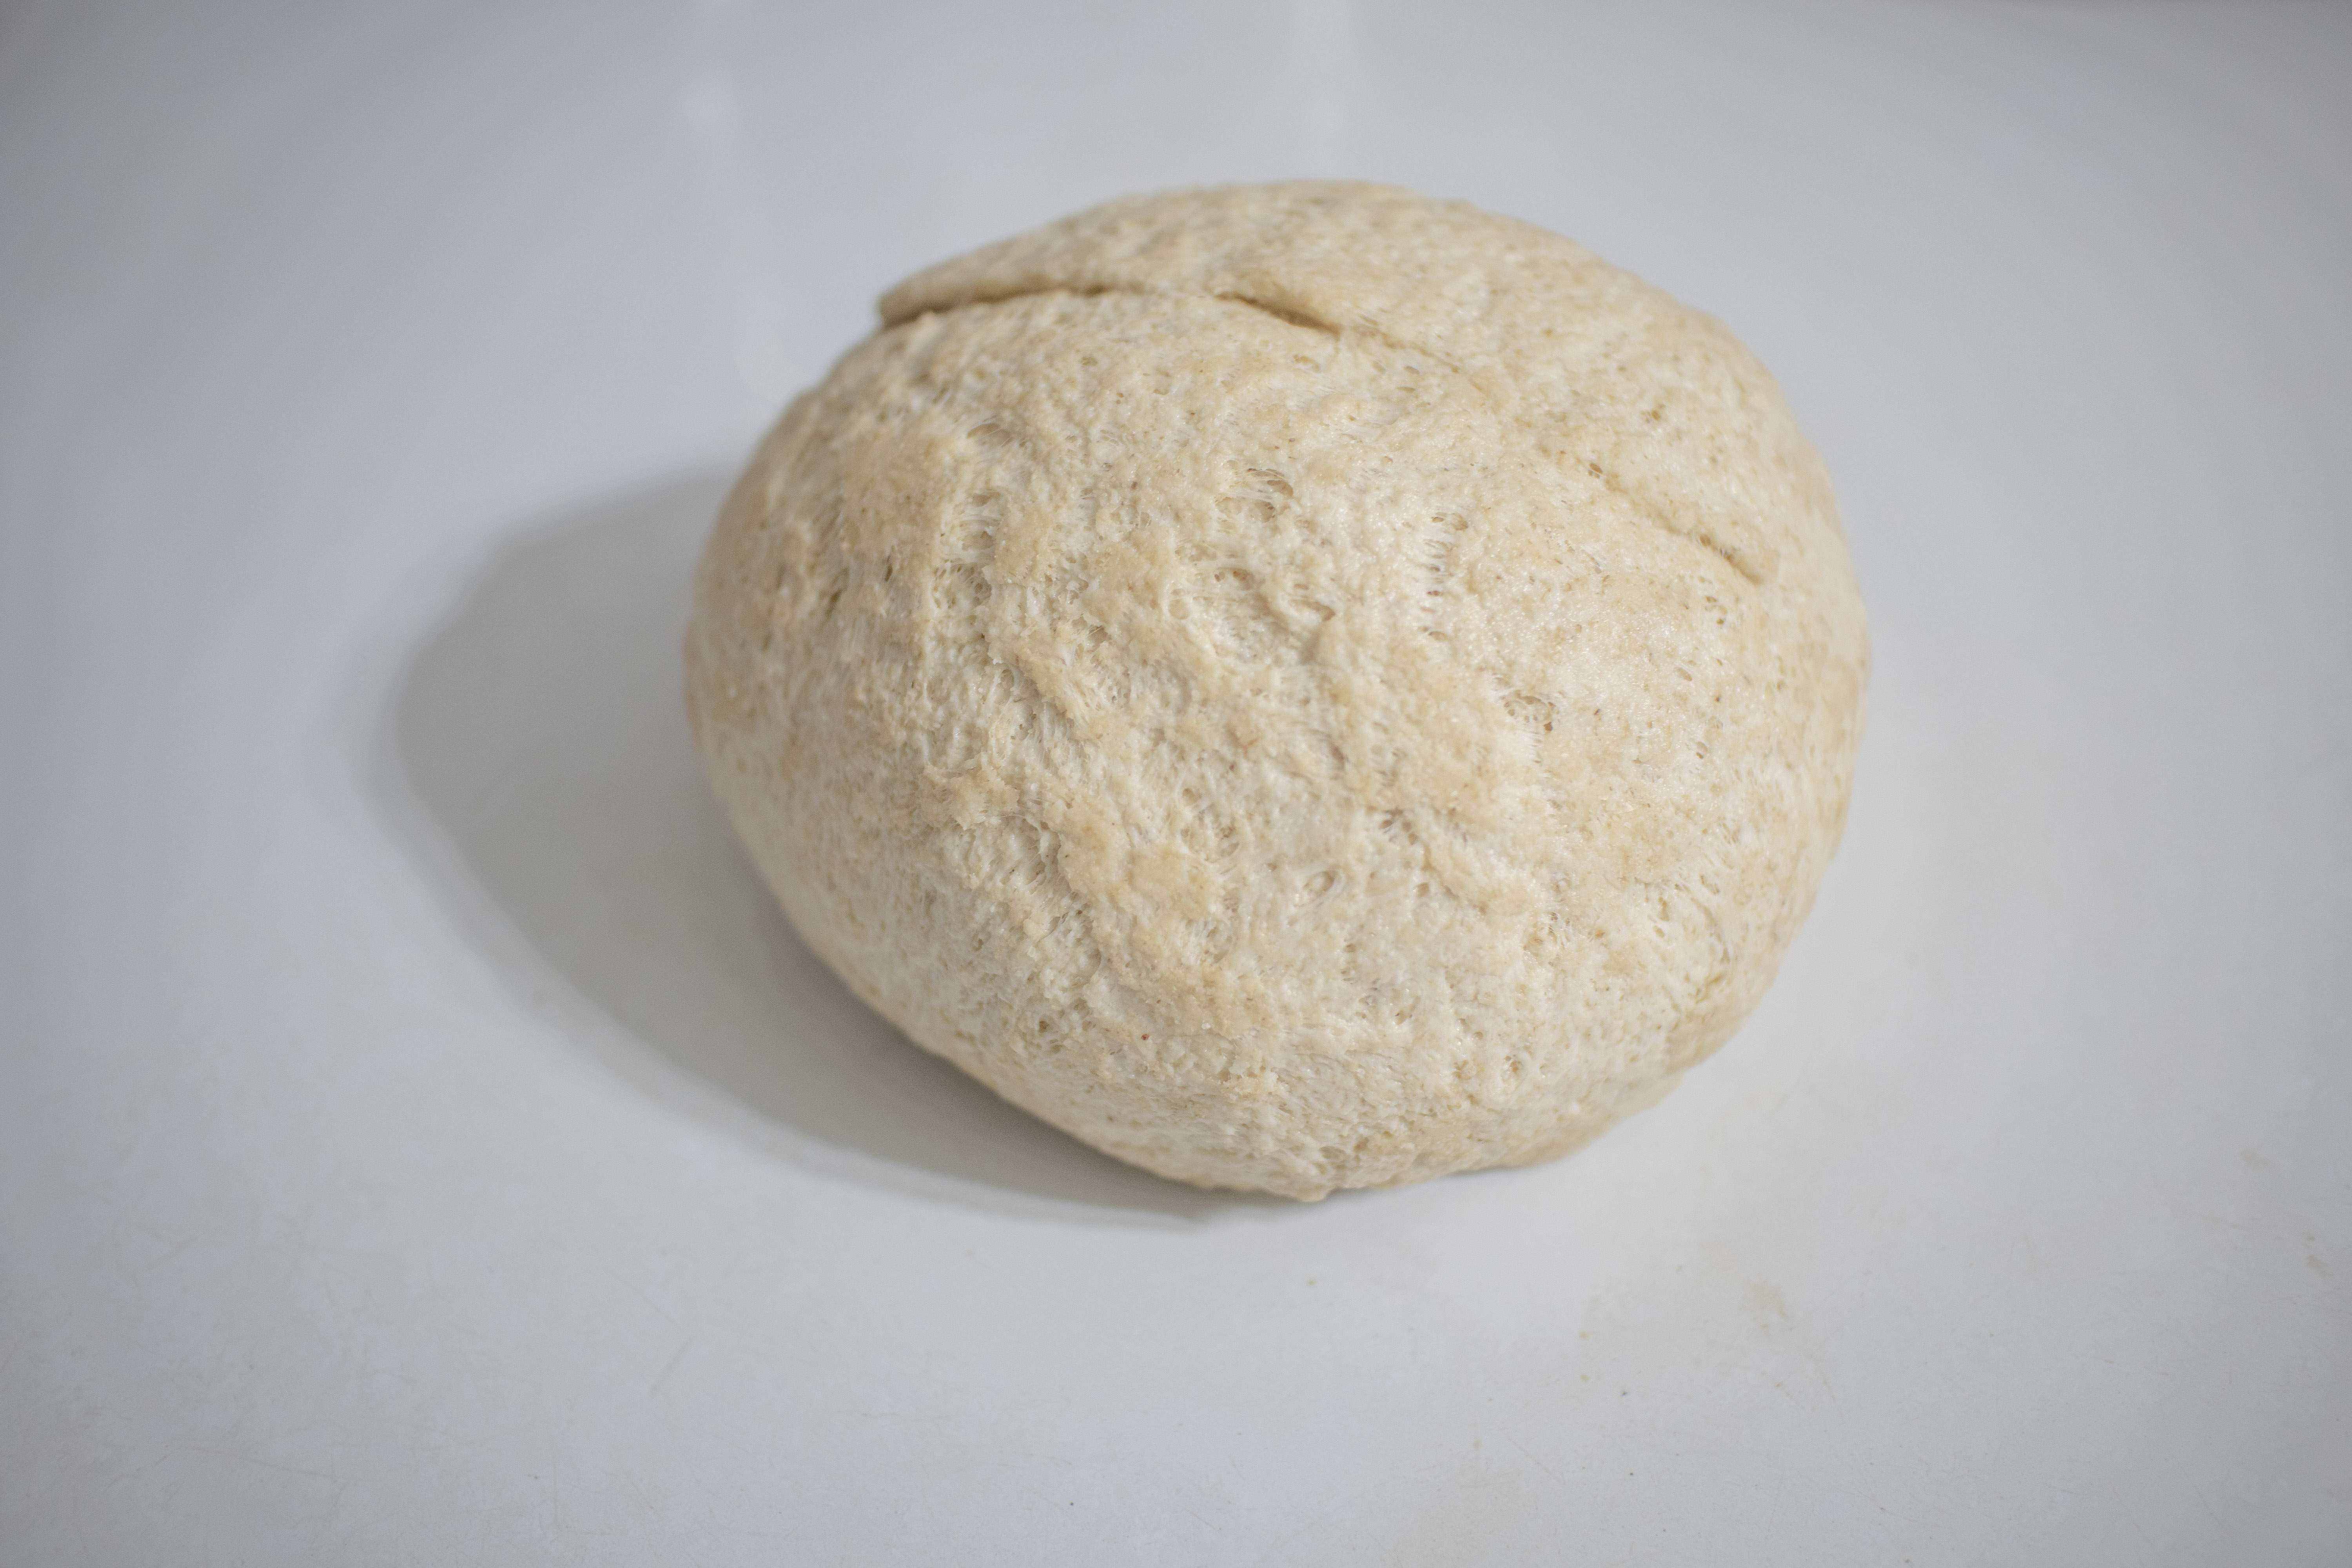
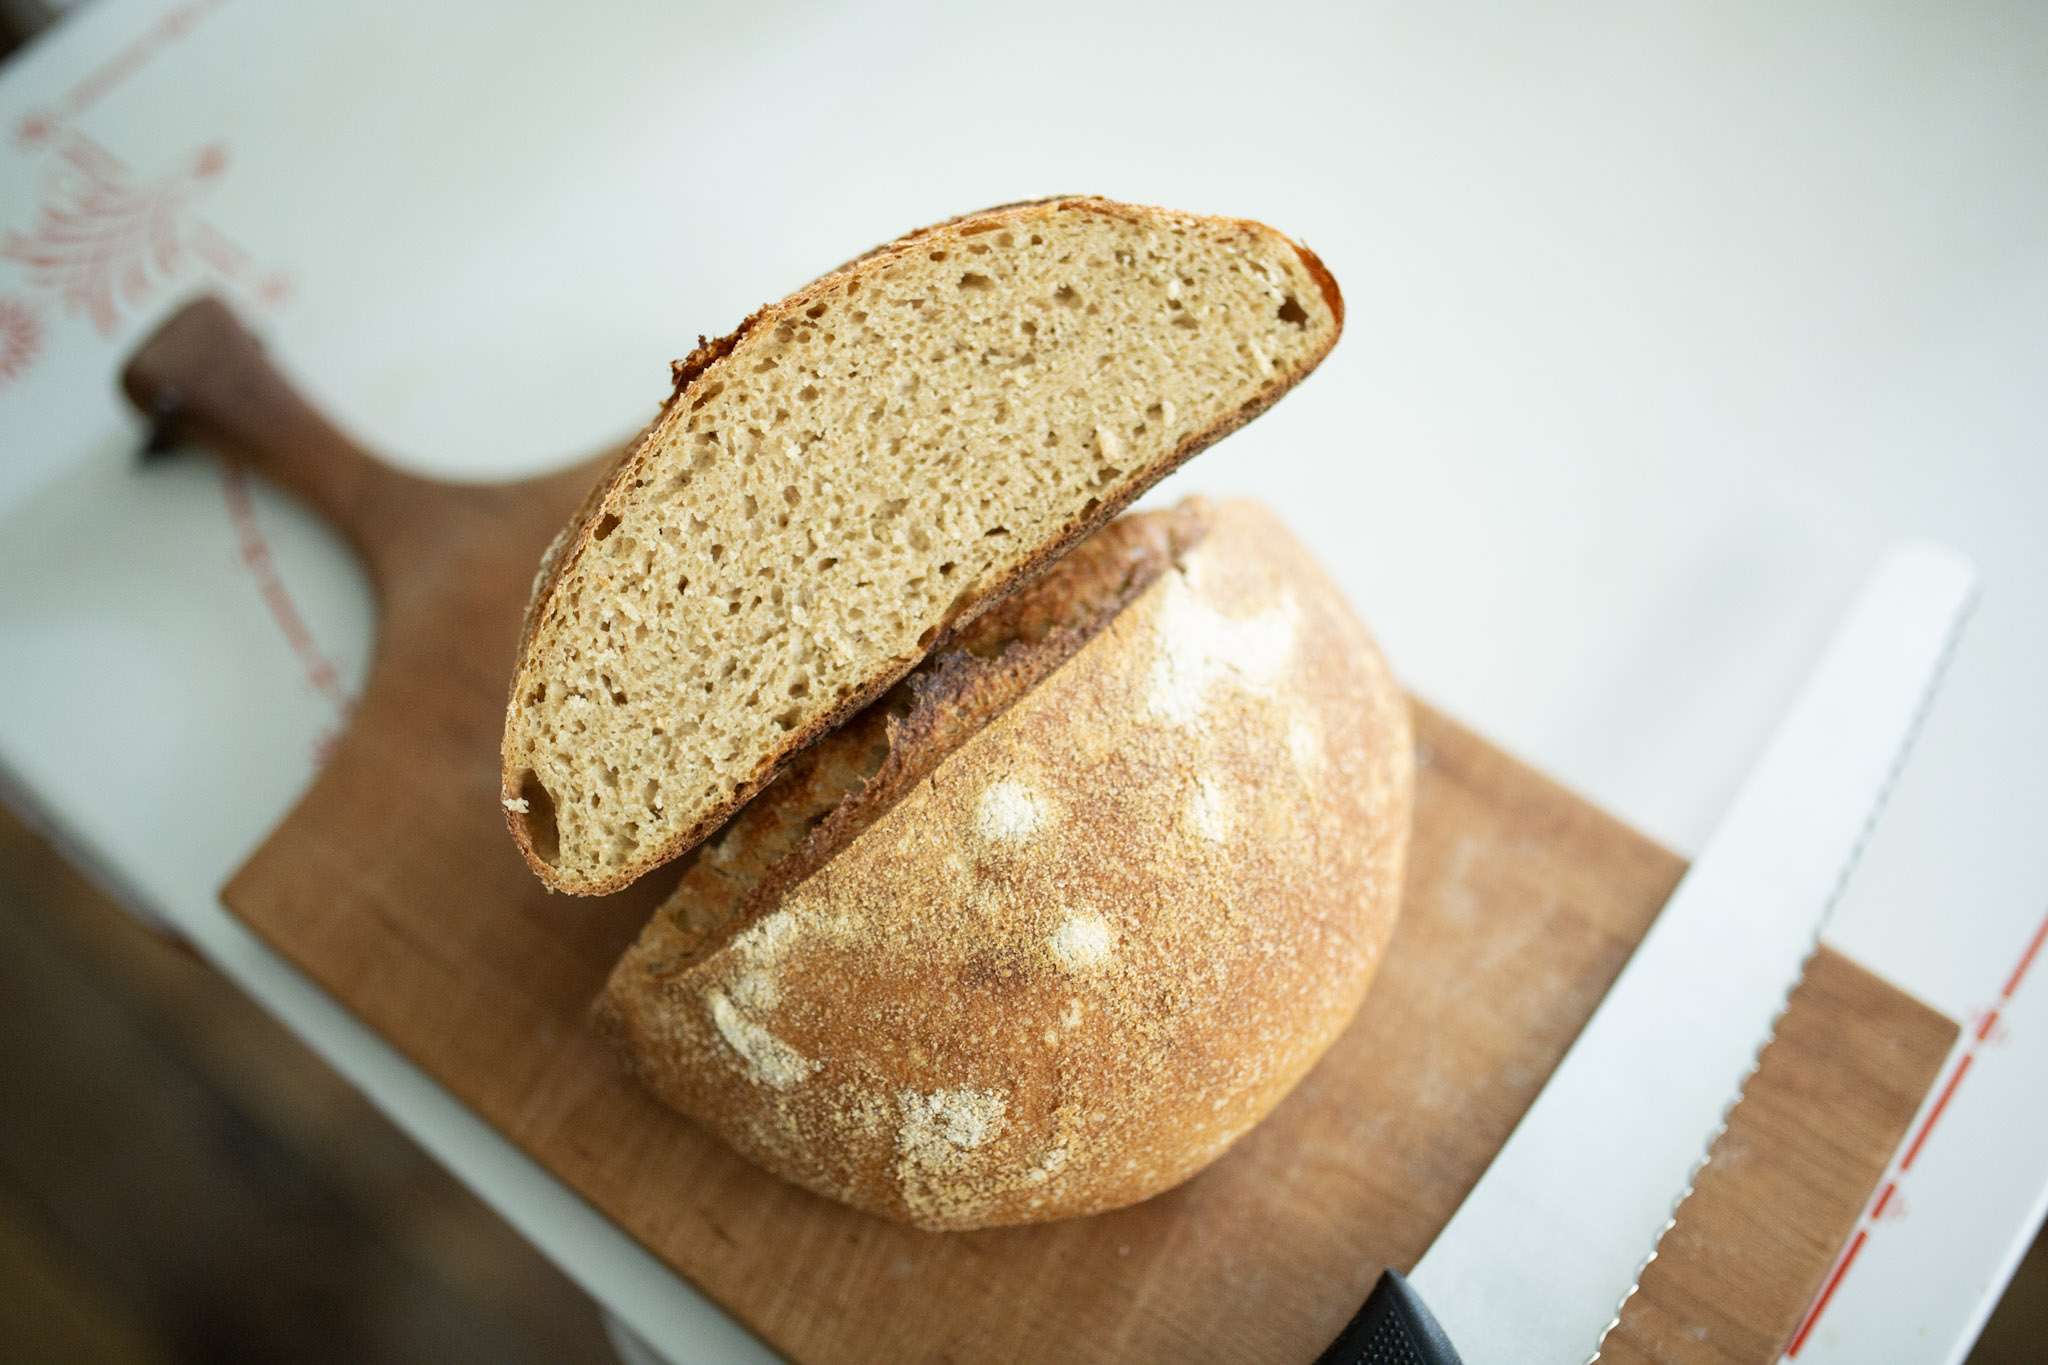
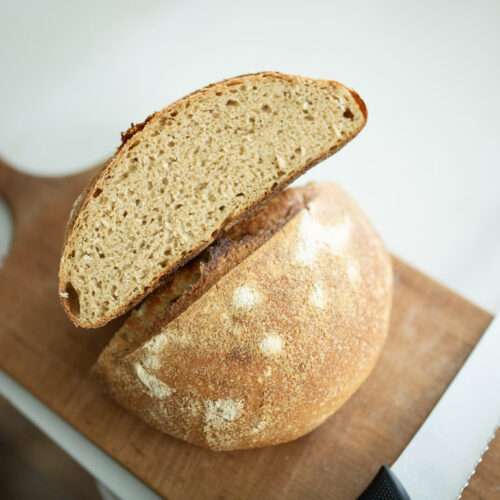
A few notes about whole grain sourdough bread: This Rustic Loaf doesn’t rise quite as much, and it does not have the open crumb of a white loaf. But the taste will more than make up for that! I promise!
FAQ’S
Yes, you can use store bought. You can still get a great result. Just keep in mind that this type of flour will not have the bran and germ so there is some nutrition lost.
Put the dough in the fridge until you are ready to bake it. This is a sourdough bakers’ best friend! It can stay in there for days if need be. The fermentation process is slowed down so that you don’t have to worry about it over proofing.
Storage Tips
Store the bread in a plastic bag at room temperature for up to 5 days.
Store in freezer bag in freezer for up the 6 months.
Rustic Whole Wheat Sourdough Bread
Equipment
- 1 Large mixing bowl
- 1 Banneton Basket
- 1 Dutch Oven
Ingredients
- 1 1/4 cup filtered water
- 1/2 cup active sourdough starter
- 3-3 1/4 cups whole grain flour
- 1 1/2 tsp salt
Instructions
- Frist thing in the morning, mix all the ingredients in a large mixing bowl until the dough comes together and is a smooth ball of dough.
- Cover tightly and allow to rest for around 30 minutes. After 30 minutes, perform 4-6 sets of stretching and folding spaced 30 minutes apart.After that, cover tightly and allow to rise for 3-5 more hours in a warm place until it becomes bubbly and airy. It doesn't exactly double, but, you will be able to tell it has risen.
- Do not deflate the dough! Prepare a banneton basket by spritzing it with a bit of water and generously covering it with rice flour.
- Gently turn the dough onto a lightly watered work surface. Pull all sides of the dough onto itself all the way around.
- Turn the dough upside down and sprinkle with rice flour.
- Place top side down in the banneton basket.
- Cover tightly and move to the fridge overnight or up to 2-3 days before baking.
- When ready to bake, preheat the oven with the dutch oven inside to 450 degrees F.
- Once preheated, remove the dough from the fridge and turn the dough onto a piece of parchment paper and score with a lame or sharp paring knife. Being sure to score deep enough for expansion.
- Bake with lid on for 20 minutes and lid off for an additional 15 minutes or until deeply golden brown.
- Allow cool completely before slicing.


Thank you for sharing, I’m going to try this. I don’t do enough baking, it’s definitely my weak point.
Thanks! I hope you like it!
This recipe sounds awesome! Can’t wait to try.
Thanks!
Thank you for this recipe! I love baking sourdough myself, both gluten and gluten free. Your loaf looks great!
Thanks!