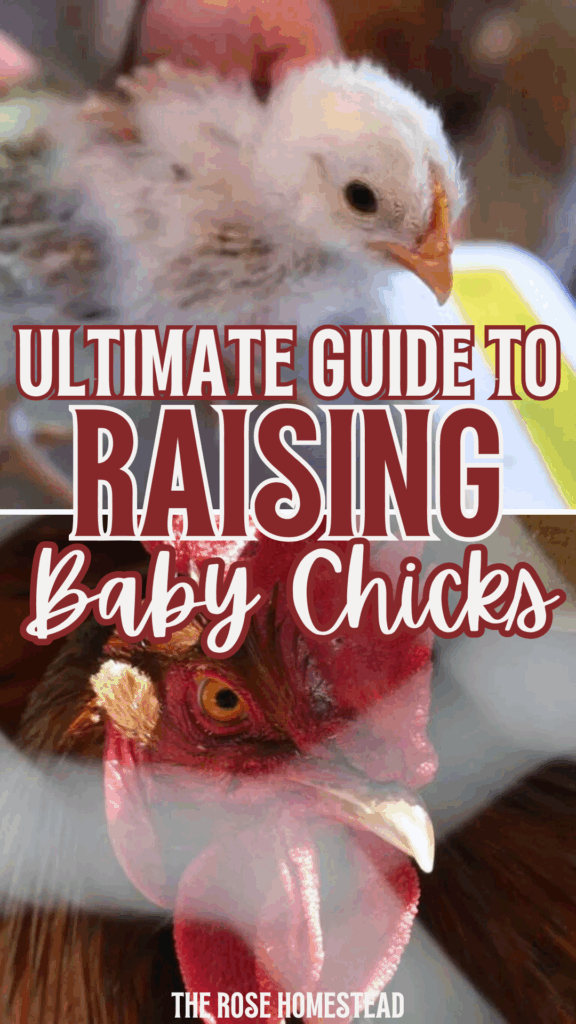
The Ultimate Guide to Raising Healthy Baby Chicks
One of the most rewarding journeys in Homesteading is raising baby chicks! It’s full of fun, laughter, and in the end lots of eggs!
This post contains affiliate links. I may make a small commission on sales at no extra cost to you. As an Amazon Associate, I make commissions on qualifying purchases
In this post, I want to give you all the tips to raise healthy baby chicks that grow into productive hens for your backyard flock.
Before you go out and get a batch of biddies, make sure you are prepared for success with just a few tips!
While having a mama hen to raise the chicks would be ideal, it can be quite a fun experience to raise them yourself!
What type of chicks should you choose?
Before you choose your own chicks, you need to decide what you want the main duty of the grown chickens to be: Egg layer, Meat Bird….
Egg Layers – If your main purpose for getting chicks is to have a steady supply of fresh eggs, you will want to buy sexed chicks or pullets.
Some great breeds for egg layers are Leghorns, Rhode Island Reds, Orpingtons, Barred Rocks, and Golden Comets among many others.
These breeds are bred primarily for laying lots of eggs for several years.
Meat Birds – If you want to raise chicks for butchering, I recommend you purchase Cornish Cross, Red Broilers, etc… They are bred primarily for a short growing time and for size.
Getting Prepared for Chicks
Having a safe place where the chicks will stay warm and protected is one of the most important preparations you need to make before bringing chicks home.
Brooder
On our Homestead, we use EXTRA LARGE PLASTIC BINS because they are inexpensive and easy to clean. A large plastic tub is nice because it has high sides which keeps the chicks from jumping out.
You could also use a GALVINIZED GARDEN BED. Your local farm store will also tubs available for brooding.

Bedding
Next you will need to cover the bottom of the bin with PINE SHAVINGS to not only absorb droppings and moisture, but to also make a safe place for the chicks to walk without slipping and hurting their legs.
Wood shavings also help control odor in the brooder box.
Waterer and Feeder
Once you have the bin bottom covered in shavings, add the WATERER AND FEEDER.
A water source and steady supply of food is of utmost importance before you put the chicks in the brooder.
Be sure to give them fresh water once or twice a day.
A chick waterer and feeder are quite small and made specifically for their size so they can drown in the water or eat too much feed at a time.
Heat Lamp/Brooder Heater
Quite possibly the most important thing to have ready before you bring the chicks home is the heat source. Young chicks have to have a warm place to brood as they can not regulate their own body temperature until they are completely feathered out.
You have 2 choices; you can use a HEAT LAMP or a BROODER HEATER. Both are great choices and are personal preference as to which you choose.
A brooder heater is a heat plate that the chicks learn to gather under to stay warm and is considered the safest way to keep them warm.

What type of feed do I need to buy?
Be sure to buy feed specifically for chicks up to a certain age. Follow the directions on the bag to ensure you feed the chicks the proper amount.
We use PURINA START AND GROW, UNMEDICATED a chick starter feed.
Buying the chicks
Yay! It’s time to go to the local farm supply store and pick out your chicks! Most stores will allow you to pick and choose, so look for active chicks that are eating and drinking while you watch.
Most chicks at the farm store are day-old chicks.
The first day having the chicks is the best! They eat, drink water, and sleep A LOT! They will never be as little and cute again, ha ha!
Caring for the baby chicks
Heat
Now that you have your chicks home, put them in the brooder with the light over the bin. You can put a thermometer in the brooder box to ensure it doesn’t get too hot or too chilly.
Chicks cannot regulate their body heat without some help.
Aim to keep the brooder box around 95 degrees F for the first week and decrease that by 5 degrees F every week thereafter until they are feathered out and are at least 6 weeks of age.
Knowing when to raise or lower the heat lamp is as easy as watching the little chicks and their behavior. If they are huddling together under the lamp, lower it a bit.
If they are trying to get as far away as possible from the lamp or panting, raise it a bit. Happy chicks will be spread around the brooder box and just appear comfortable.
Consider as they get older moving the light to one end of the brooder so they have a choice to get under the light or not.
Food and Water
Ensure your chicks have clean water regularly. Also, make sure their feeder is filled when it goes empty.
I like to add a tablespoon of apple cider vinegar to their water to help their immune systems.
It is also highly recommended that you use chick grit in your feeders to help keep their crops healthy.

What if a chick gets sick?
No doubt, one of the hardest parts of keeping backyard chickens is that inevitably, you will have baby chickens or grown chicken become sick.
Usually this happens out of nowhere, meaning you didn’t see any signs.
Chicks and chickens are very good at hiding their sicknesses. With that being said, if you notice a chick that is slumping, not walking, not eating, etc…my first piece of advice would be to give them a multivitamin in their water.
I wish I could tell you that you will never lose a chick, but unfortunately, I would be lying to you.
Sometimes, no matter what you do, a chick will pass. If you did everything you could to prevent sickness, don’t be too hard on yourself if the unexpected happens.

Forever Home
One step that sometimes goes overlooked when buying new chicks is having their “forever home” or chicken coop ready to go as soon as possible.
Chicks will generally move outside to their new home at 6-8 weeks of life depending on your climate.
You have the choice to buy a ready-made coop from the farm store or build one yourself. If you are handy, it is so much more economical to build on site using reclaimed wood.
When you build your own, you choose size, entrances, and other features.
Keep in mind that in the winter, hens will generally stop laying eggs. Some people like to add light to the coop to encourage them to keep laying, but we give our girls a break:)
No, once they are feathered out, they will no longer need heat. They are able to regulate their body temperature and will huddle at night, as well.
This is called pasty butt and it is important you know how to fix this as quickly as possible. It will happen if the chick gets too warm or cool. The best way to remedy it is keep the heat source constant and use a thermometer. To remove the poop, use a damp cloth or paper towel with a bit of dawn dishwashing liquid on it. Dab it gently to soften it and then wipe it off. You can then add a touch of vaseline to the bottom to help prevent it from happening again.