How to shape Sourdough Artisan Bread | With Video
Making a beautiful loaf of sourdough bread is such a rewarding experience. Shaping the sourdough loaf is more important than you might thing. I use a simple shaping method and want to show you how to shape sourdough bread the easy way for the best results.
*This post contains affiliate links. I may make a small commission on sales at no extra cost to you*
The truth is there are many methods for shaping sourdough bread. Some are very technical and some, like mine, are quite simple and not fussy at all.
My approach to sourdough is quite laid back and by baking process is no different.
The trick to getting good oven spring is in the shaping.
You will hear the phrase “surface tension” a lot when it comes to shaping a loaf of sourdough bread.
That’s because it is very important to the final outcome of your loaf of bread.
But, first things first, let get back to basics before shaping the loaf.
If you are brand new to sourdough and want to make your own sourdough starter, click here: How to make a Sourdough Starter
There are a couple of things to keep in mind before starting your first loaf of homemade sourdough bread
Age of your sourdough starter
The younger the sourdough starter the more dense and less rise you will get. As you use the starter more and more, it will produce light and airy loaves.
The hydration of the dough for the recipe you are using
High hydration dough is generally harder to work with than lower hydrations especially in the shaping process.
Low hydration bread dough is much better for beginner sourdough bakers as it is much easier to handle.

Choosing a recipe
There are so many recipes for sourdough bread. I have so many here on my channel.
One of my most popular is a same day artisan loaf linked here: Easiest Sourdough Artisan Bread Recipe
For this blog post I used this recipe: Basic Sourdough Artisan Loaf

Choosing the shape of your loaf
There are basically 2 shapes of artisan bread you can make. There is an oval shape or Batard and a round shape or Boule.
I usually make a sourdough batard because I prefer the slices more for sandwiches.
The boule is the classic artisan shape and makes a round loaf of crusty bread. This shape also gives your bread a more rustic feel.
Either way, the shaping process is basically the same.

Equipment you may need to make a loaf of Sourdough Artisan Bread
Proofing Basket
I suggest purchasing a proofing basket that is washable. They last really well and you don’t have to worry about mold.
This is the one I suggest and use when I make a boule: Round Banneton Basket
Bench Scraper or Bench Knife
This little tool is so handy when shaping sourdough bread.
This is the one I use: Bench Scraper
Dutch Oven
For best results with your sourdough loaf, you want a baking vessel that holds heat well and has a tight lid.
A Dutch oven is the perfect vessel for baking sourdough bread.
I really love this one: Dutch Oven

Making your loaf of sourdough bread
Depending on the recipe you choose, the process will generally go as follows:
Mix the dough
Depending on the recipe you use, you may only mix the water and flour. Others may have you mix the water, flour, and starter.
Let dough soak or autolyse
This process allows the flour to fully absorb the liquid.
Stretch and fold the dough
This process builds gluten development and in essence is the kneading process, though much more slowly. Some recipes call for coil folds which are a bit more technical.
Stretching and folding is when you lift a piece of dough and stretch it up and fold it back onto itself. You want to continue this process until you go the round of the bowl.

Bulk Fermentation
The fermentation process is the first rise. After you do a series of stretch and folds, you will let the dough rise covered at room temperature for 4-6 hours.
Shape the dough
In some recipes they will call for an initial shape and then let the dough rest before the final shaping step.
I generally just go right into shaping and putting the dough into the basket. However, follow the steps for your specific recipe for best results.
Final Rise
This is the final proof. I prefer to do the final rise in the fridge. It firms up the dough for easier scoring.
Baking the bread
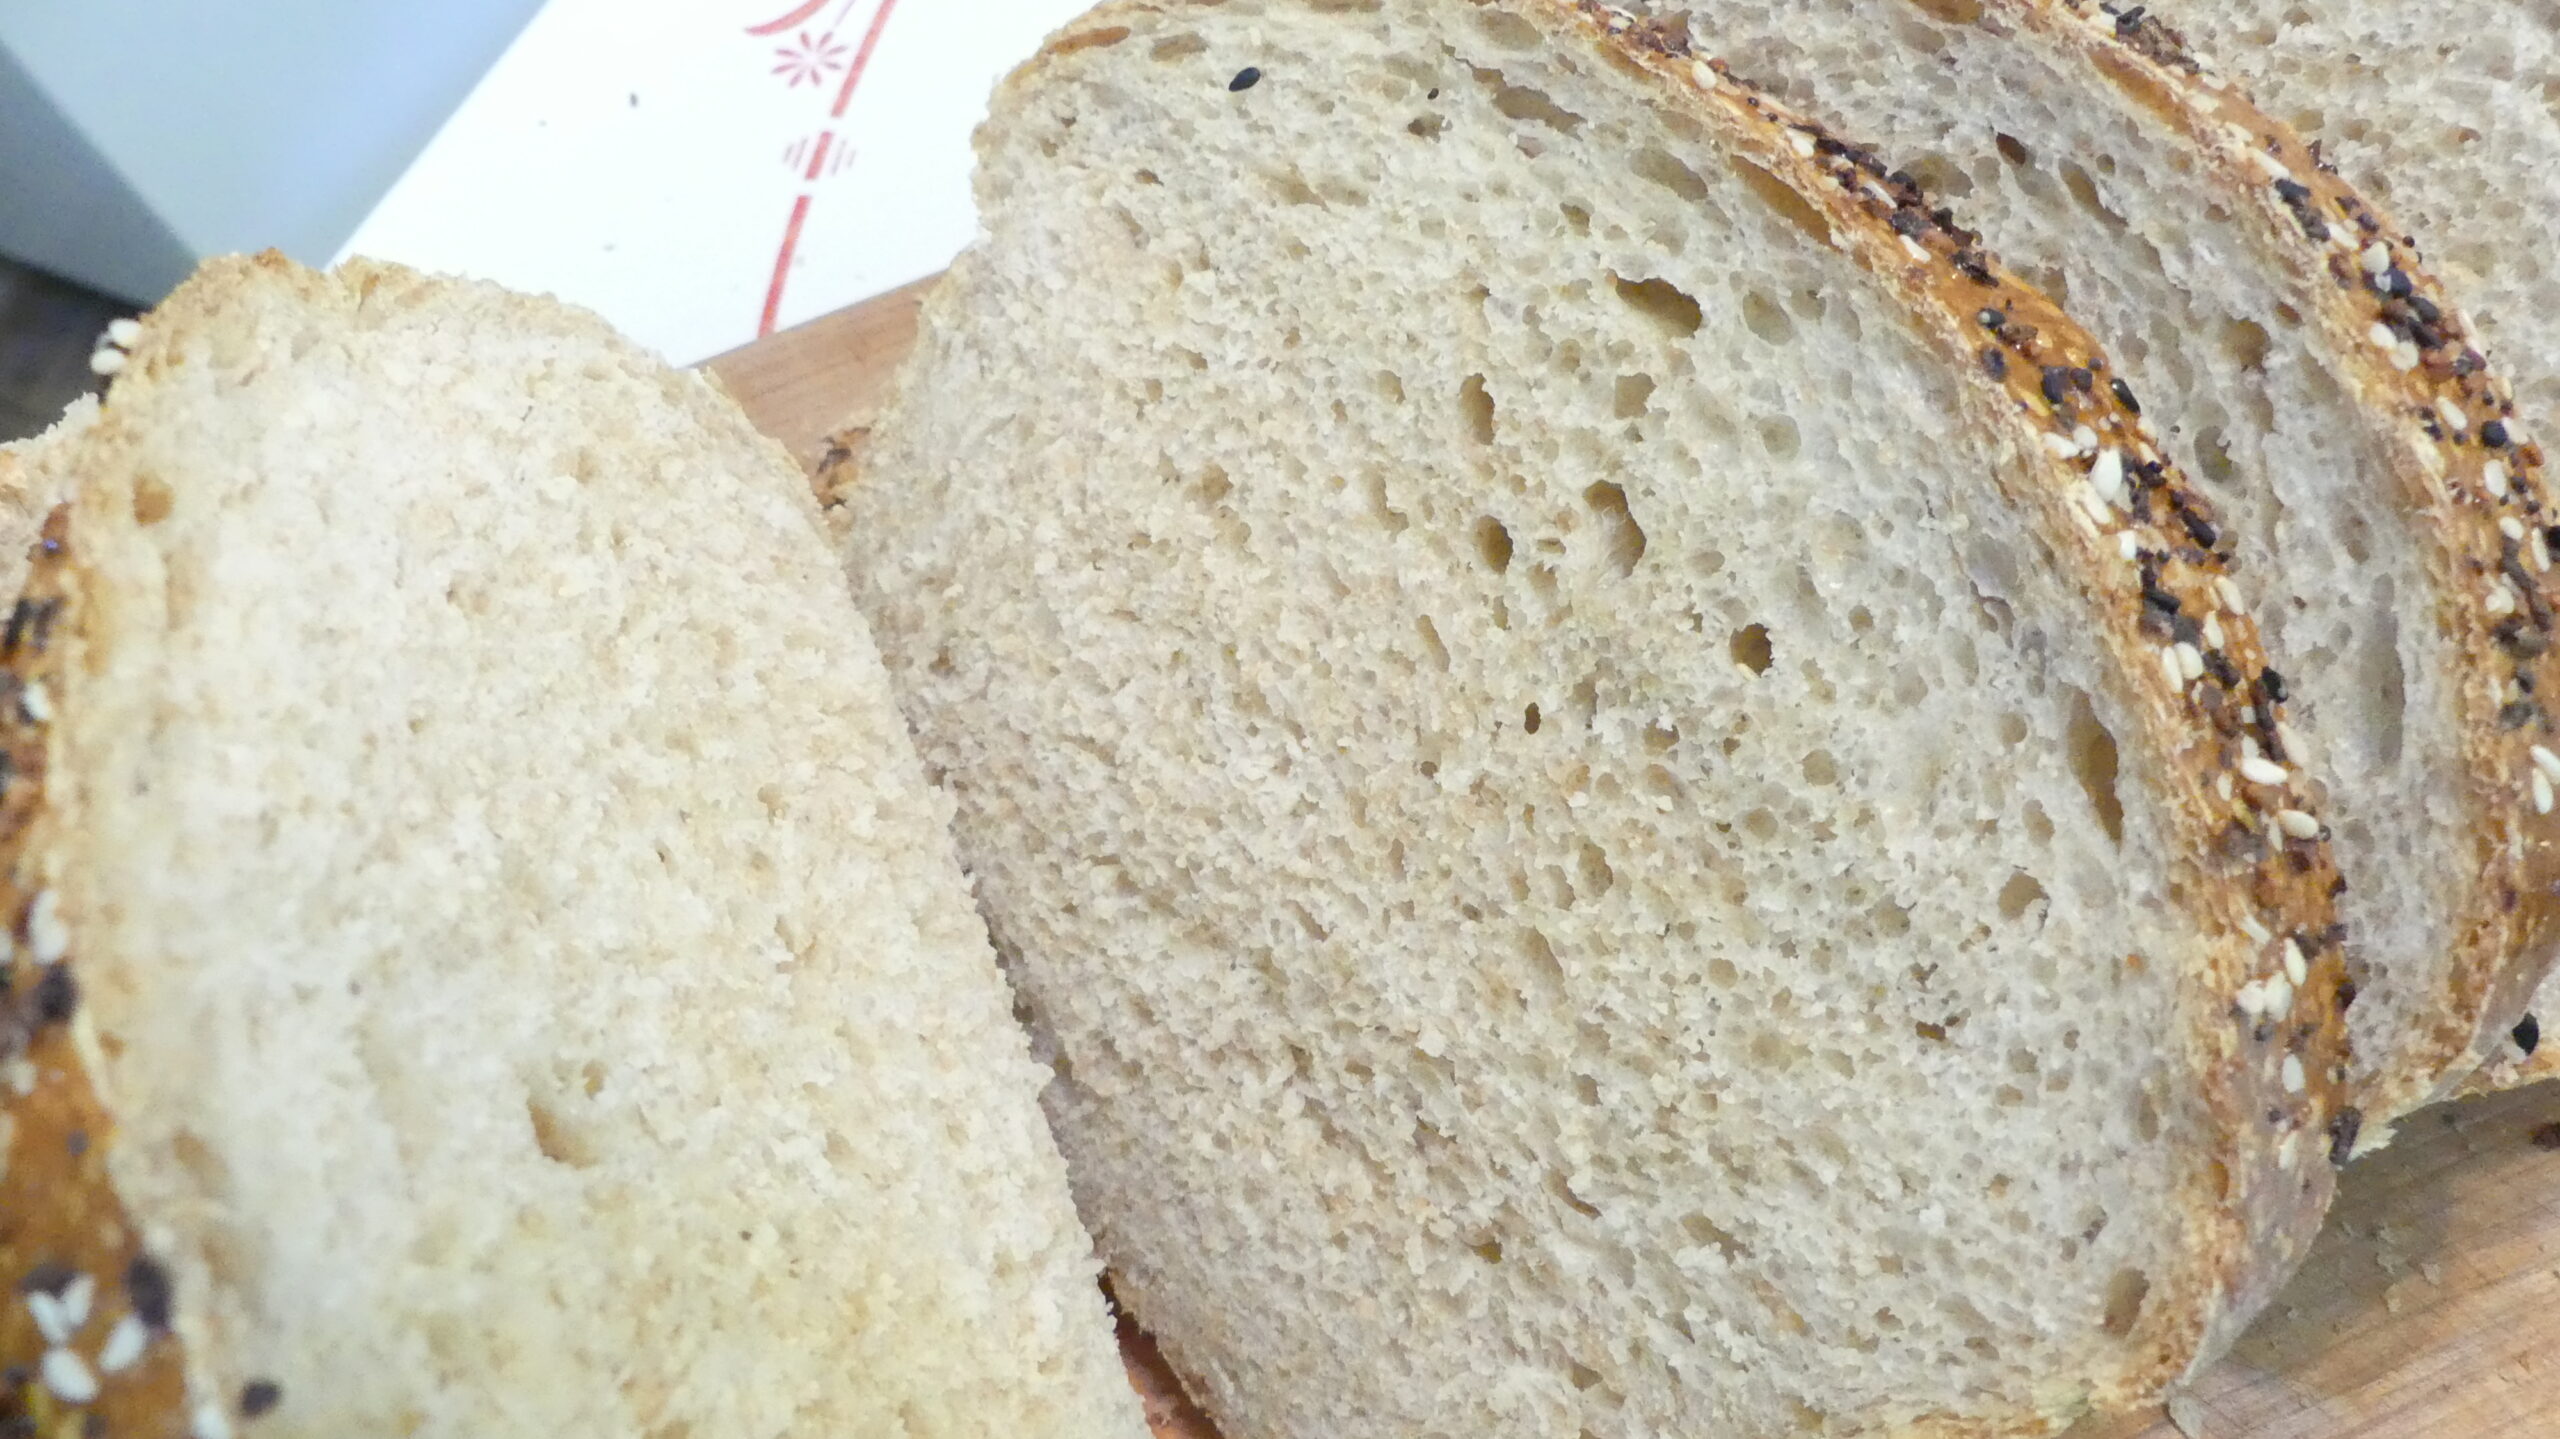
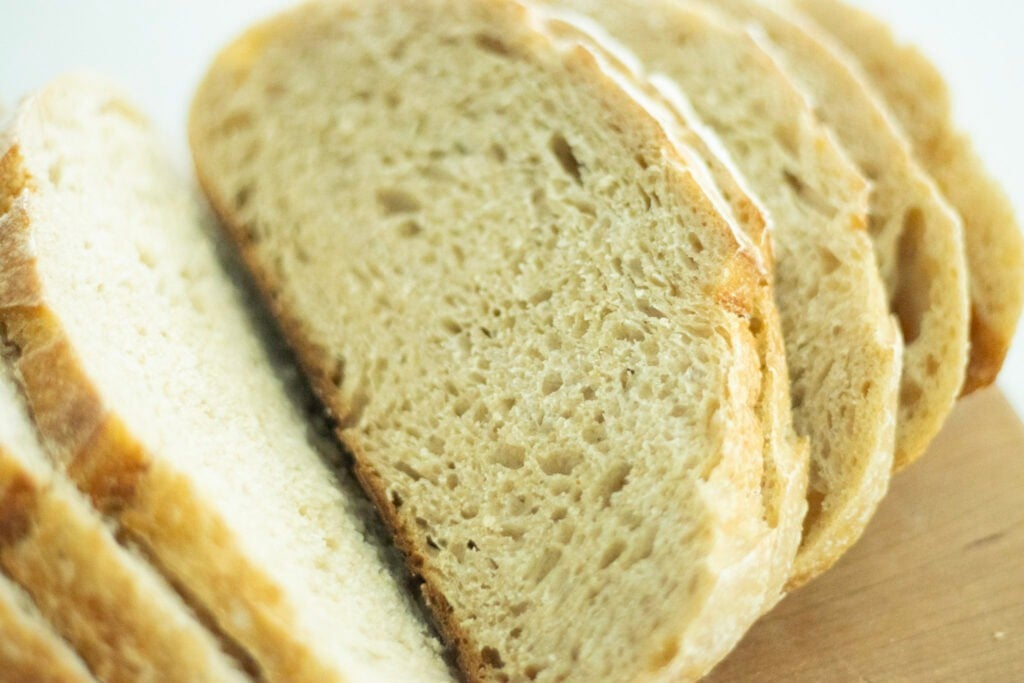
How to Shape Sourdough Bread
After the bulk fermentation or first rise, you will lightly flour your work surface or dampen it with a bit of water. Use only enough flour to keep the dough from sticking to your table.
Gently turn the dough ball onto the work surface taking care to not deflate the dough.
Once the dough is on the table you want to start folding it onto itself by pulling up one side of the dough and folding it onto the center of the dough.
Continue doing this until you have made it all the way around the dough.
With a bench scraper, gently turn the dough ball over.
Start pulling the dough toward you while dragging it on the work surface in a circular motion.
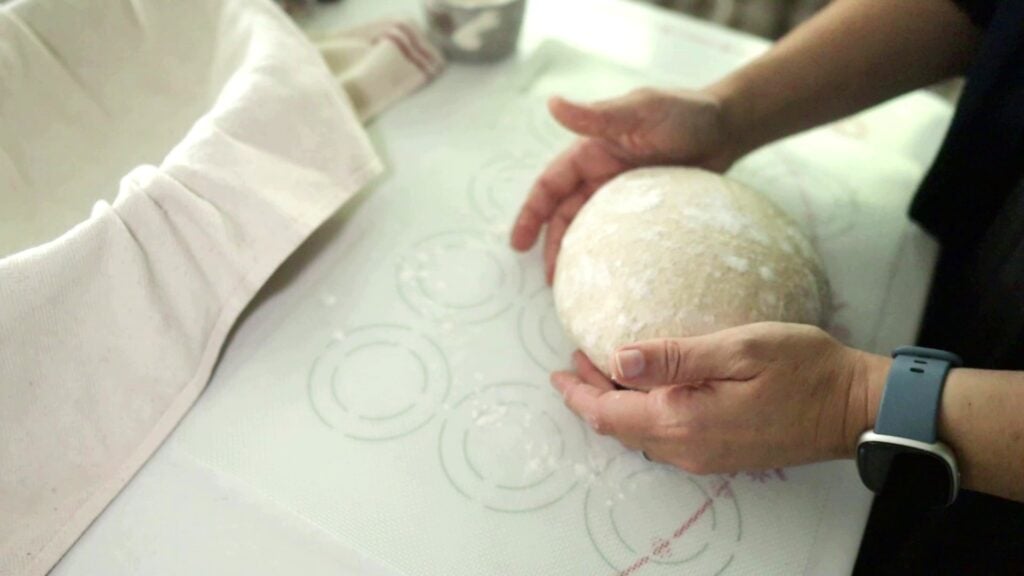
This will be tension and tighten the surface of the dough. You will notice the top of the dough getting tighter and smoother. You may see little bubbles form on the dough as you do this.
At this point, you want to prepare your banneton basket by generously flouring it. I prefer rice flour as it doesn’t absorb moisture as much as all purpose flour and tends to release the dough much easier.
Place the dough into the basket seam side up. Essentially the bottom of the dough is on top.
Tighten the seam (again for surface tension) by taking pieces from the left side to the right side of the dough as if you are latching it. Continue pulling from the edges of the dough until you have “latched” it all the way across the seam. Cover and proof the dough following your specific recipe.
Once the dough has proofed in the proofing basket and it is time to bake, turn the dough onto a piece of parchment paper.
Using a lame or razor blade make a deep cut in the dough. Any design or shape will work. This scoring gives the dough a place to expand without blowing out.
Once the bread is baked (using your recipes specific temperature and time) place the bread on a cooling rack to cool completely before slicing.
A simple shaping style can make the process of making sourdough bread much more relaxed.

Key points to keep in mind
Focus on surface tension when shaping. This step is essentially what gives good oven spring when baking.
Make a lower hydration dough at first until you feel more comfortable working with higher hydration doughs. Work up from low hydration to a medium-hydration dough and lastly to high hydration if you prefer.