How to Clean a Grain Mill (Stone Mill & Impact Mill)
If you mill your own flour, you know that your grain mill is one of the most important appliances in your kitchen! Keeping that investment working properly involves learning how to clean a grain mill.
Flour buildup in a mill can go rancid over time and cause odors. This flour build up can decrease the performance of a stone mill.
In this guide, I will show you step-by-step how to properly clean both a stone mill and an impact mill.
This post contains affiliate links. I may make a small commission on sales at no extra cost to you. As an Amazon Associate, I make commissions on qualifying purchases
Why cleaning your grain mill is important
- Buildup of flour can go rancid – Fresh milled flour contains oils that can go rancid after a few days leading to an off-putting flavor and smell. This is especially true for stone mills.
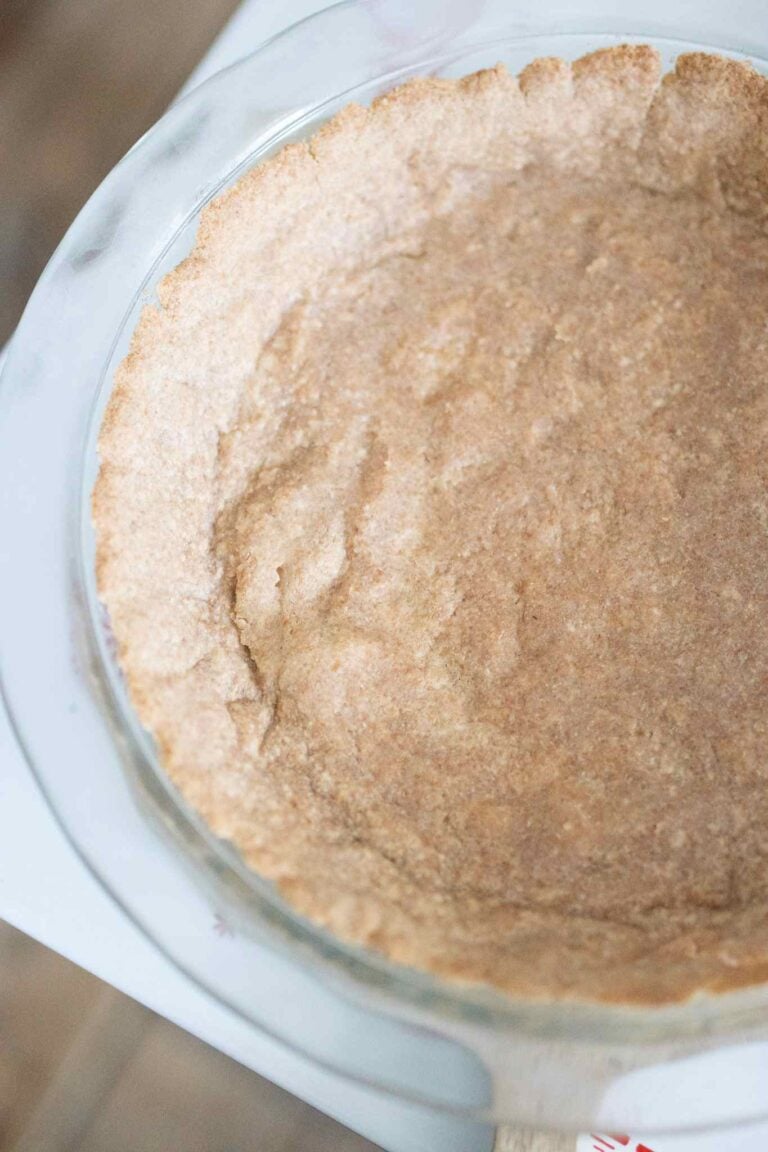
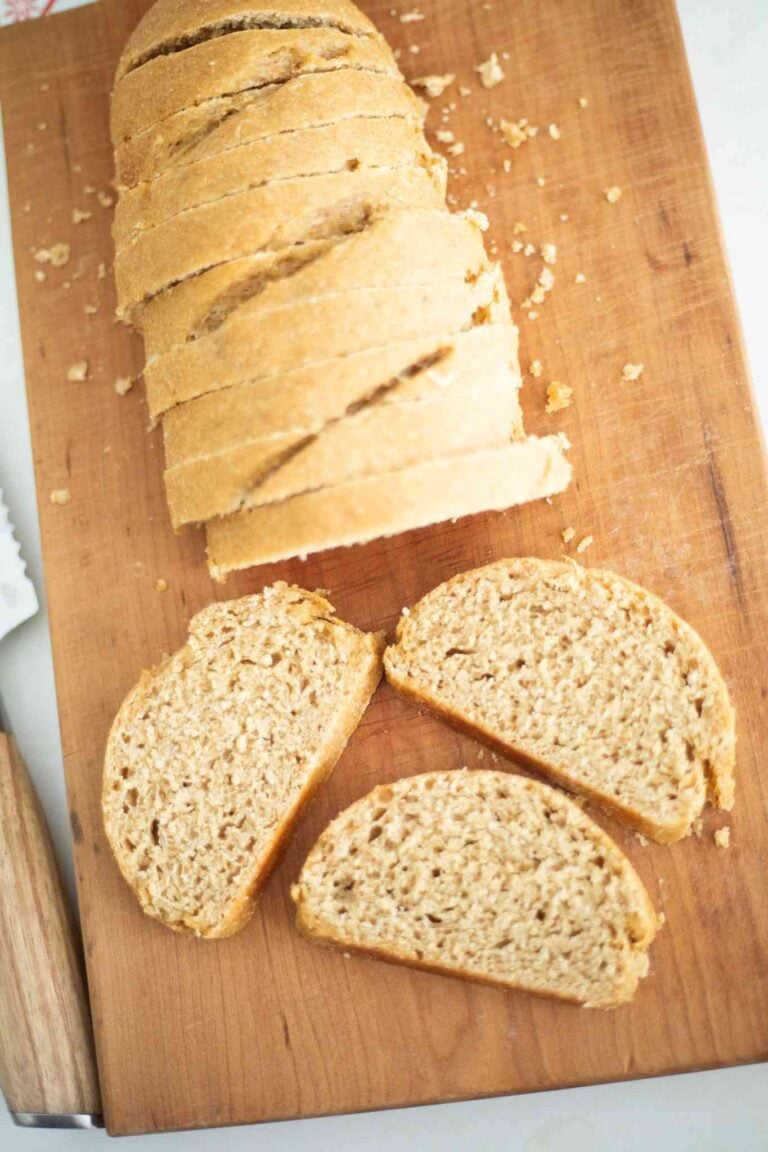
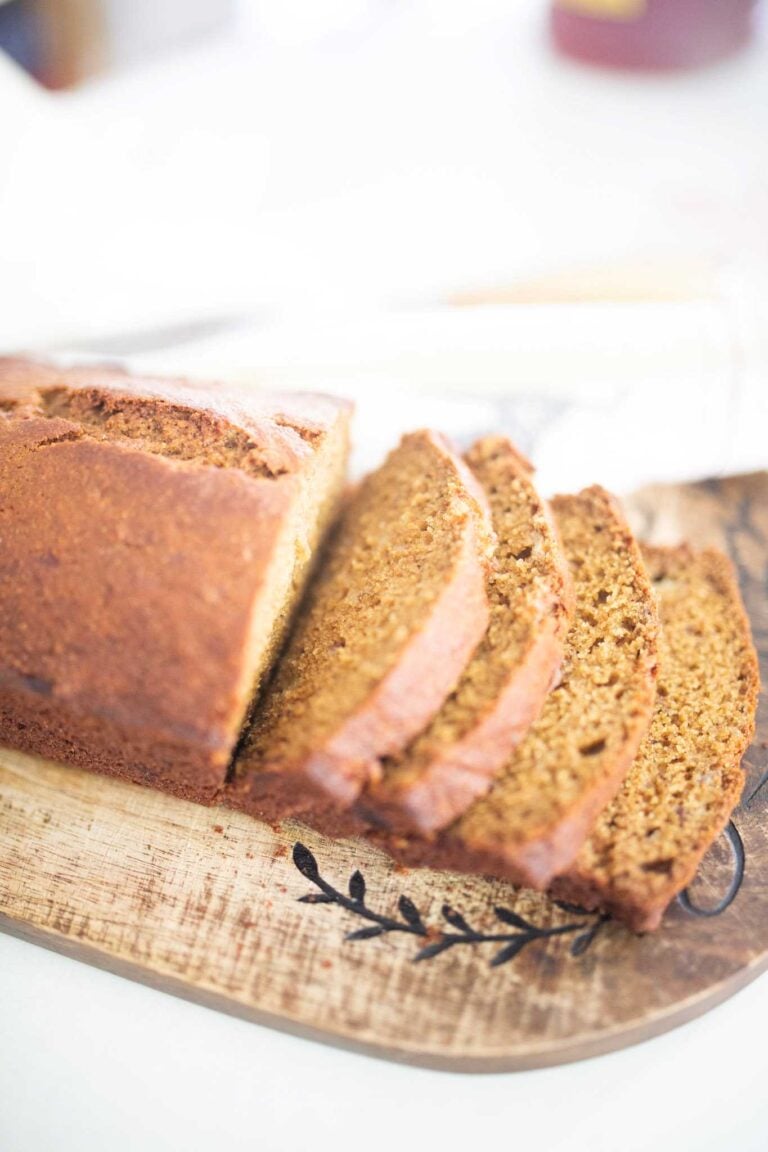
- Improves fresh milled flour quality – The above leftover flour, if it goes rancid, will affect the taste of your fresh milled flour. Keeping the mill cleaned on a regular basis can combat this problem.
- Prevents mold after using high moisture grains – Certain wheat berries, such as soft white wheat berries, are higher in moisture and residue left behind could lead to mold growth over time. REMEMBER, ONLY USE DRY GRAINS IN YOUR MILL.
- Maintains performance – Your mill works at its best when it breathes well. Allowing flour to accumulate can hinder this and cause strain on the motor. Regular proper cleaning will ensure optimal performance for many years to come.
Are you new to fresh milled flour? START HERE!
Learn about long term and short term storage for wheat berries HERE!
How often should you clean your grain mill?
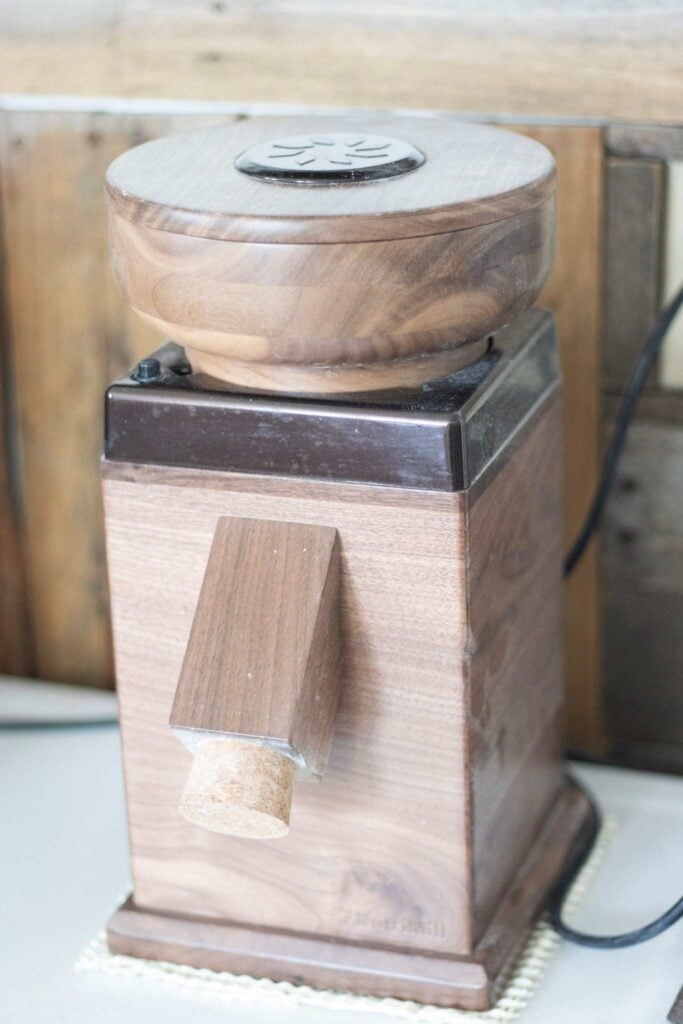
Stone Mills
When using stone mills, there is always a little leftover flour that accumulates around the stones and in the chute.
For this reason, I recommend cleaning the STONE MILL every 2-4 WEEKS with regular use (5-6 millings a week).
I recommend running WHITE RICE through the STONE MILL every 2-3 months or after the mill hasn’t been used for 1-2 months.
Running white rice through the mill is also necessary if you notice the flour output decreasing, as the STONES MAY BE GLAZED.

Impact Mills
The great thing about IMPACT MILLS is that the milling heads are SELF CLEANING!
Therefore, with an IMPACT MILL you will want to clean the catch bowl, separator cup, and lid ever 2-4 MONTHS by washing in warm soapy water and letting air dry completely before using.
As someone who has been milling several times a week for years, let me help you pick the right mill by CLICKING HERE!
CLEANING A GRAIN MILL (STEP BY STEP)
How to clean a stone mill
Tools you will need
- Pastry Brush to clean the grinding stones
- White Rice (if deep cleaning)
- Bowl to catch flour
Step-by-step instructions
OPTIONAL FIRST STEP FOR DEEP CLEANING OR IF STONES ARE GLAZED
Run 1 cup of white rice through the mill with the texture knob set to 5-6 o’clock. Discard the flour and continue with the next steps.
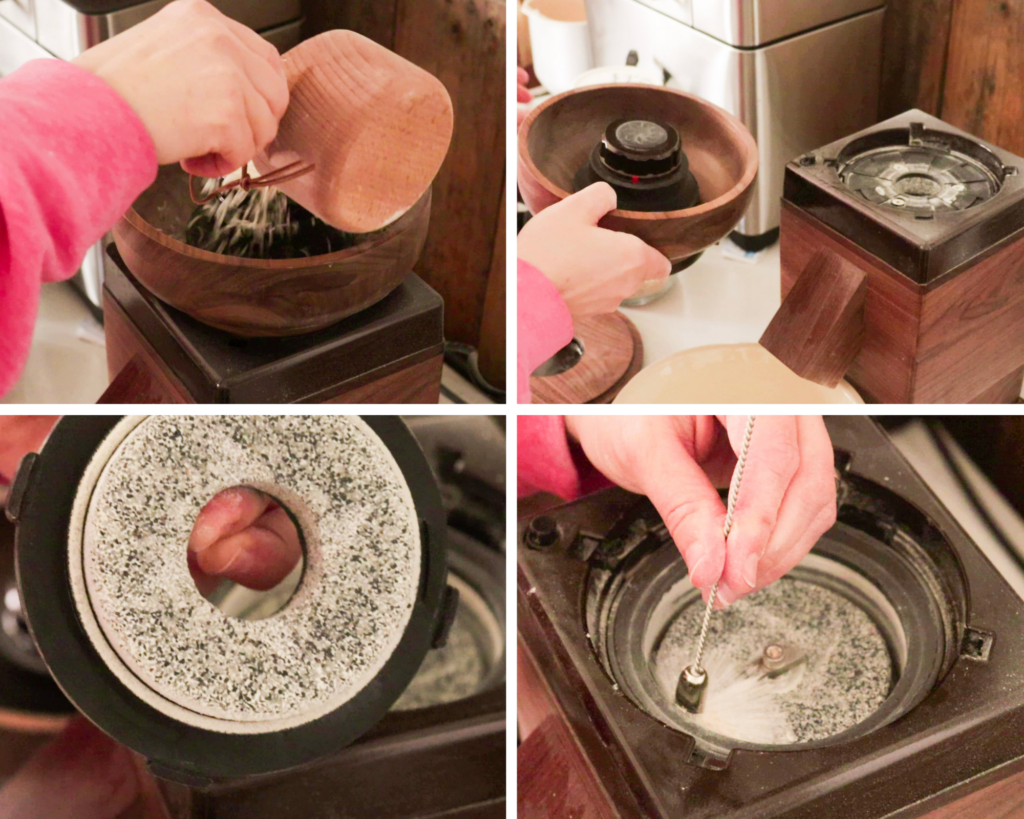
Step 1. Unplug the mill
Step 2. Remove the hopper
To remove the hopper, follow your particular manufactures instructions. On the NUTRIMILL HARVEST there is button on top of the mill under the hopper you depress and turn the hopper clockwise. Set the hopper aside.
Step 3. Remove the top stone
Once your hopper is removed, you can simply pull the top stone out of the grain mill. Brush the stone (over a bowl) with a pastry brush to remove excess flour and inspect the stone for glazing or damage. Take care to inspect the burr grooves on the stones for chips or damage.
Set the stone aside.
Step 4. Brush excess flour off the bottom stone
Using your dry brush, clean excess flour from the bottom stone that is still in the mill. Pay particular attention to the grooves. Place the brush between the bottom stone and the mill housing and turn clockwise to move the remaining flour down the chute into the bowl.
Step 5. Replace the top stone
Once the bottom stone has been cleaned, replace the top stone by lining up the tabs on the stone to the grooves in the housing.
Step 6. Replace the hopper
Place the feet on the hopper into the grooves on the housing and turn clockwise to replace the hopper.
If you are looking for replacement parts for your Nutrimill Grain Mill, CLICK HERE!

How to clean an Impact mill
Step-by-Step Instructions
OPTIONAL STEP: RUN A CUP OF RICE THROUGH THE MILL WITH THE TOP KNOB ALL THE WAY TO THE LEFT AND THE BOTTOM KNOB AT 11 O’CLOCK. DO THIS IF THE MILL HAS WENT UNUSED FOR 1-2 MONTHS.
Step 1. Unplug the machine.
This is for safety as the high-speed electric grain mill may accidentally be turned on while cleaning.
Step 2. Remove the collection bowl from the NUTRIMILL CLASSIC.
The collection bowl has a handle facing you that you can pull the bowl out with. Remove the lid and remove the separator cup from the lid.
REMOVE THE BLACK FILTER SPONGE AND SET ASIDE
Step 3. Wash bowl, separator cup, and lid.
Hand wash the bowl, separator cup, and lid with warm soapy water. Rinse well and let the pieces DRY COMPLETELY on a dish rack.
Step 4. Clean the black filter sponge.
Using a pastry brush and brush off the filter as well as tap the filter to expel excess flour dust that has accumulated in the sponge.
Step 5. Clean mill housing with a damp cloth.
Using a damp cloth, wipe off the housing of the mill as well as the space under the milling head where the collection bowl resides.
Take care that the HOPPER and the FLOUR SPOUT (located under the milling motor that attaches to the bowl to expel flour) NEVER GET WET!
Step 6. Reassemble bowl and place back in the mill housing.
After all parts are completely dry, reassemble and you’re all set for your next use!
PLEASE NOTE: IMPACT MILLING HEADS ARE SELF CLEANING AND DON’T REQUIRE MAINTENANCE

What NOT TO DO when cleaning grain mills
- Get milling heads or stones wet
- Mill wet grain/rice
- Scrape stones
- Disassemble Impact mill motor
Signs you need to clean your grain mill
- Reduced flour output
- Off-putting odor
- Visible buildup of flour residue
- You haven’t used the mill in 1-2 months
Frequently Asked Questions
It is recommended you only wipe it down with a damp cloth. Avoid using a soaking wet cloth.
Replace the top stone and hopper and repeat the milling of the rice again on a coarser texture.
Impact mills generally come with a lifetime warranty. Stone mills have a warranty of 5-12 years depending on the brand. With that being said, grain mills are work horses and with proper care can last many years without any issues!