The Perfect Honey Oat Sourdough Sandwich Bread
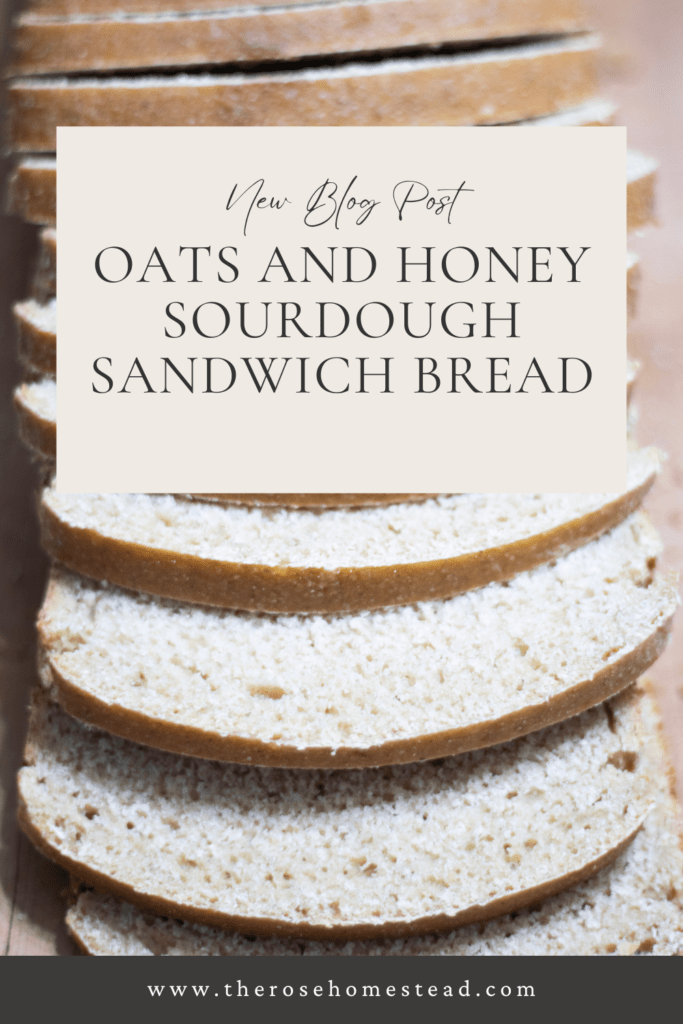
This honey oat sourdough sandwich bread is so delicious and will be liked by even the pickiest eaters. If someone in your life doesn’t prefer the sourness and crustiness of an artisan loaf, this loaf will convert them!
So, my husband really doesn’t like traditional sourdough bread. He prefers a sweeter and softer loaf and he also prefers a sandwich bread.
*This post contains affiliate links. I may receive a small commission on sales at no cost to you*
With that in mind, I wanted to try to come up with a sweeter loaf that would check all the boxes for his taste. This honey oat sourdough sandwich loaf has a great texture and is sweet with a little bit of tang.

I’ve been making sourdough bread for many years and made many different types, however, I always go back to sandwich loaf. Sandwich bread if perfect for not only sandwiches but for toast on those busy mornings.
One of my favorite recipes is my sourdough spelt sandwich bread: Sourdough Spelt Sandwich Bread
It’s not only tasty but uses an ancient wheat which makes it even more digestible for those who are gluten sensitive. This makes it the perfect loaf for those who want to eat more ancient grains.
If you find that you get bloated after eating bread products, try sourdough made with an ancient wheat. Many people have had great success with this method.

Why Sourdough?
Sourdough is a process of fermenting your bread dough with a sourdough starter. This process breaks down the gluten and proteins that can sometimes be hard to digest for gluten sensitive people.
In order to get the most benefits of the fermentation process, you need to let your dough ferment for at least 12-24 hours.
As you can see, the process of sourdough can be very helpful for many people. If you’ve never made a sourdough starter (How to make a sourdough starter) it’s easy and fairly quick to do.
The great news is that once you have an active starter, as long as you maintain it, it will last for as long as you want it. There are starters that have been handed down through generations!
If you are new around here, I choose to use freshly milled wheat in all of my bread products Why I Mill My Own Flour – The Rose Homestead, however, if you want to use all purpose flour for this recipe, it will work perfectly well.
For this bread, I use freshly milled hard white wheat which makes a milder flavored bread catering to those who do not prefer the stronger flavor of some of the other wheat varieties.
What you will need for this bread:
Flour
You can use bread flour, all purpose flour, or freshly milled whole wheat flour.
I find whole grains give such an amazing flavor to bread and have the added health benefits. This is one of those bread recipes that works with most any flour.
This is the Grain Mill I use.
Oats
You can use rolled oats or quick oats.
Water
For best results, I suggest using filtered water. Tap water commonly contains chlorine which can inhibit the good bacteria from working properly.
For an even softer, richer bread try using whole milk in place of the water.
Honey
Honey is what gives this sourdough honey oat bread it’s appeal! More of a sweet sandwich loaf, this bread will cater to more of the picky eaters.
Olive Oil
The olive oil makes the bread soft. You can use melted butter or coconut oil as well.
Salt
I use Redmond’s real salt in my baking. It’s mild and is an all purpose salt.
Sourdough starter
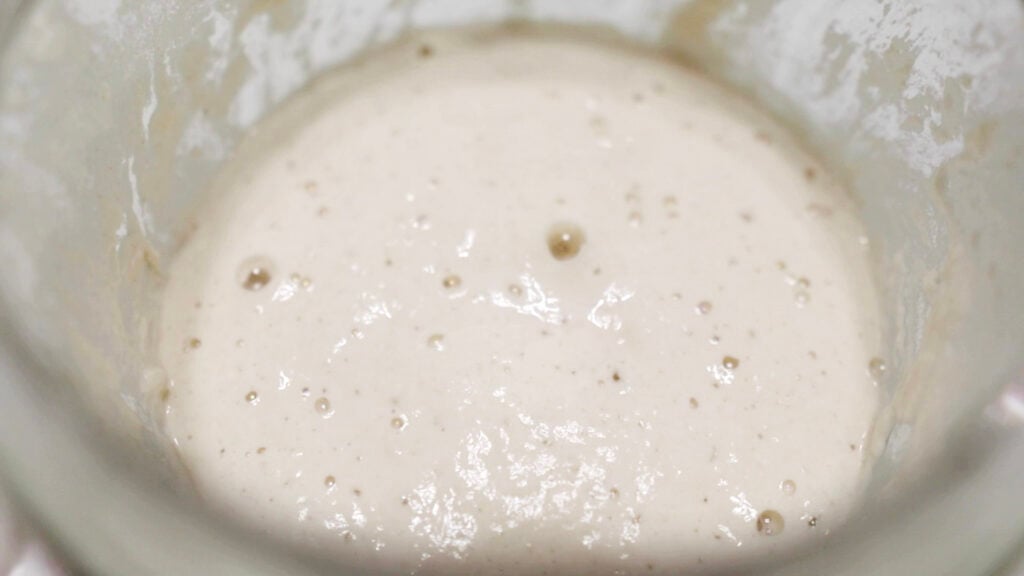
You will need to use active sourdough starter for this recipe. This is starter that has been fed within the last 24 hours and is bubbly and active. Feed your starter and the next day it will be ready to bake with.
Egg (optional)
Eggs help the texture of bread. Sunflower Lecithin can be used in place of the egg or they can be omitted all together.
Step by Step instructions for making this easy honey oat sourdough bread
Mixing the dough for honey oat sourdough sandwich bread:
In the bowl of a stand mixer with a dough hook attachment, add the water, honey, oil, and starter. Optionally, you can add an egg. Mix well.
This is the Mixer I use.
If not using a stand mixer, you can add these ingredients to a large bowl and knead by hand on the kneading step.
*If using 100% whole grain freshly milled flour, let this mixture soak for 30 minutes before moving on to the next step*
Add the oats and 3 cups of flour. Mix well then add the salt.
Kneading the dough:
Continue to add the flour until a soft dough forms that starts to pull away from the sides of the bowl.
The dough will still be sticky but after allowing it to knead for 10 minutes, it will come together into a cohesive ball of dough.
After kneading for 10 minutes, turn the dough onto a work surface. Roll or press the dough out into a rectangle. Roll the dough up into a loaf shape. I find a bench knife helpful in working with the dough.
If you find the dough to be pulling back when you roll it out, let the dough rest for 10 minutes and come back to allow the gluten to relax.
Fermentation time:
This recipe calls for one rise. There is no first rise and second rise. The rise in the pan is the bulk fermentation.
Place dough into a greased loaf pan. Alternatively, you can line your loaf pan with parchment paper.
The loaf pans I use are linked here: Lodge Loaf Pan Cover with plastic wrap and allow to rise in a warm place for 4-8 hours. I use a proofing box to proof my dough Proofing Box
Once the dough rises to the top of the pan, preheat your oven to 350 degrees F.
Bake the loaf:
For a fancy looking loaf you can score the top of your loaf down the middle with a sharp knife.
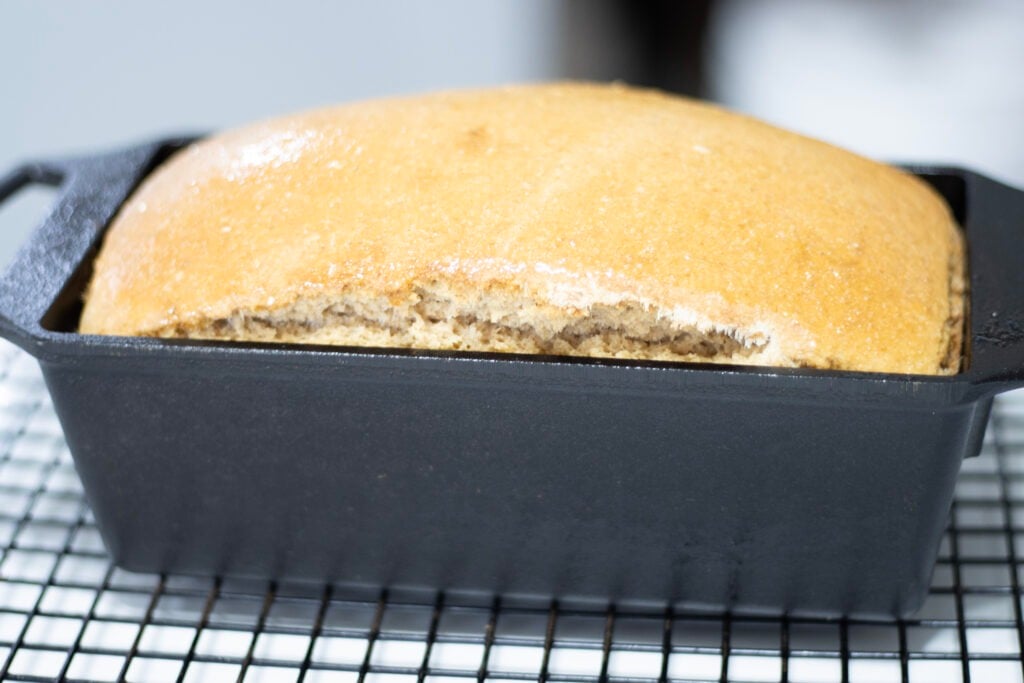
Bake the bread for 35-40 minutes or until it reaches 190-200 degrees F when using an instant read thermometer.
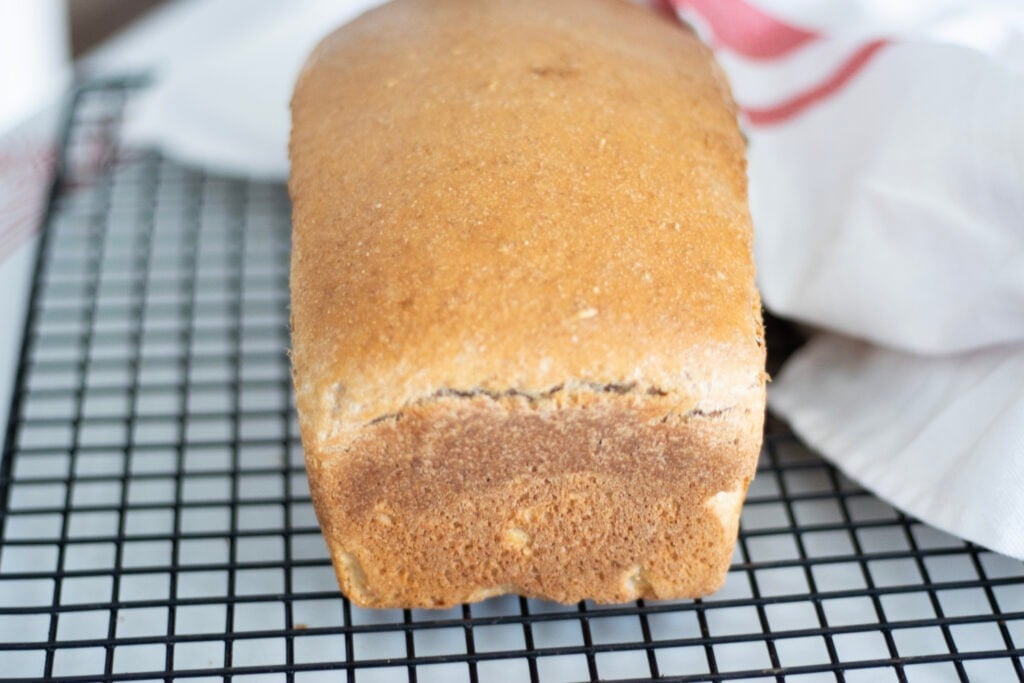
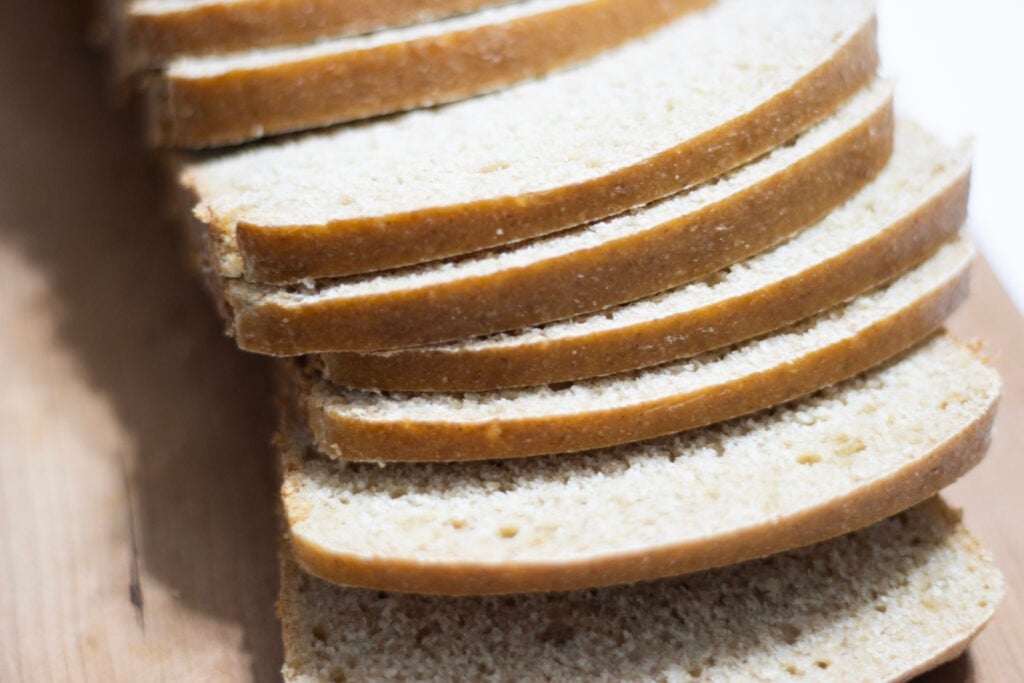
Promptly place on a cooling rack to cool and let the bread cool before slicing.
This bread makes the best toast! I like to heat a skillet on low to medium heat and spread the bread with butter. I toast it in the pan until golden brown. It is so delicious!
Storage Tips:
Store in a plastic bag at room temperature for up to 5 days.
Store in freezer in a freezer safe bag for up to 6 months.
Serving suggestions:
This honey oat sourdough sandwich bread makes the best French toast!
Use for sandwiches and toast alike.
If bread becomes stale, cut in cubes and bake in a low oven until dry. Process in a food processor until fine for breadcrumbs.
Honey Oat Sourdough Sandwich Bread
Equipment
- 1 Stand Mixer
- 1 Loaf Pan
Ingredients
- 1 cup lukewarm water
- 1 cup sourdough starter
- 1/3 cup olive oil
- 1/2 cup honey
- 1/2 cup oats
- 1 egg optional
- 1 tsp salt
- 4-4 1/2 cups flour I used freshly milled hard white wheat
Instructions
- In the bowl of your stand mixer add the water, oil, honey, starter, egg (if using), and the oats. Mix well.
- Add 3 cups of flour and mix in.
- Add salt.
- Continue adding flour just until the dough starts to pull from the sides of the bowl.
- Allow to knead for 10 minutes. The dough will start out sticky but will come together after kneading and developing the gluten.
- Turn onto a work surface and shape into a loaf shape.
- Put in greased loaf pan, cover, and allow to rise for 4-8 hours.
- Once dough rises to the top of the pan, preheat the oven to 350 degrees F.
- Bake for 35-40 minutes or until internal temperature reaches 190-200 degrees F.
- Promptly remove loaf and put on cooling rack to cool completely before slicing.


This loaf tastes amazing! I love the sourdough honey flavors and the softness of it too. It will definitely be a favorite at my house!
Beautiful recipe, thank you.
Delicious! I made a loaf today. Thank you for simplifying sourdough… I have had success with every recipe that I’ve tried from your site. My husband doesn’t love artisan loaves, so I’m grateful for the variety of yummy sandwich loaf recipes you have shared. This one is top notch!
I love this recipe. This is the sandwich bread recipe I use. Can I reduce the honey in this?
Excellent taste and texture. Definitely a keeper!
Fairly new to sourdough baking. Have tried several recipes for bun, crackers,sandwich loaves and herb and cheese roll up. Out of the 4 loaves I have made, this has the best taste! Its phenominal!
First loaf wasnt quite done in center. (Baked 35 minutes)Trying a 2nd loaf today. I will temp this one. I know it will be excellent! Thank you for sharing a great recipe!
Rose perfectly was not done in middle after 45 min. I tented the top & increased the temp to 375 and cooked in 5 minute checks for an additional 15 minutes. Have no idea if that was right but it looks beautiful. Had a glass loaf pan so thet could be the issue
Yes, that’s what I would do. How did it taste?
I am new to bread making. This is a pretty easy. My starter is about 4 weeks old. I used white unbleached flour about 3 1/2 cups I forgot the salt and it still came out yummy. I will make it again. I also like making her easy no knead sandwhich bread too!
Thank you Mary Rose.
Excuse my newbieness but do I use all purpose flour or bread flour?
You can use either with very similar results.
I want to bake this bread today but wanted to know how /if it can have a longer ferment and still work? Thank you for the recipe.
Absolutely. You can let it rise to near the top of the bread pan and then put it in the fridge until you are ready to bake. It can stay in there up to a week.
Your loaf looks wonderful!!
Considering a proofing box as I live in a rather cold climate and keep my house rather cool for economic reasons 🙂
You mentioned a proofing box in your comments, is there one you’d recommend?
Thanks and happy baking!!
Yes, this is the one I use several times a week in the colder months: https://amzn.to/4aGlNoI (This is an affiliate link from my Amazon Store) Thank you so much! Happy Baking to you, as well!
This dough is so easy to make. I forgot the salt and had just put the dough divided in to two loaf pans. I remembered as soon as I had put the dough in the pans so I pulled each one and hand mixed in half the salt for each and reshaped them into the pans. I hope that they turn out ok. I dived because it seemed like a lot of dough for my pan. Next, I plan to use this dough for cinnamon bread. I have learned so much watching your videos. Thank you, Rose!
This dough is so easy to make. I forgot the salt and had just put the dough divided in to two loaf pans. I remembered as soon as I had put the dough in the pans so I pulled each one and hand mixed in half the salt for each and reshaped them into the pans. I hope that they turn out ok. I halved the dough because it seemed like a lot of dough for my pan. Next, I plan to use this dough for cinnamon bread. I have learned so much watching your videos. Thank you, Mary!
I’m sure it will turn out great! Thank you so much!
To follow up, it did turn out just great and it tastes fantastic. Working the salt in last minute was fine. I had two loaves since my pans were a bit smaller and they rose beautifully. It is the new sandwich bread for my grandkids and me. No more store bought breads. Thank you for the great recipe! 😊
I am so new to all of this! I keep my starter in the fridge (it’s Tuesday and hasn’t been fed since last week). Do I let it come to room temp, then feed, then let it rise before using? Do I use it straight out of the fridge? I don’t know what to do!!
Can I use buttermilk instead of water?
Yes, that would be delicious!
I let it rise in the pans with a damp cloth over it. It raised perfectly and when I took the cloth off, it stuck and ruined the rise😞 Does plastic wrap work better?
I think plastic wrap works better that has been sprayed with a little oil.
Could you please post recipe with ingredients in grams as well? Especially need gram measurements for freshly milled flour. That would be awesome. Thanks!
Delicious! This is the first loaf I’ve baked and loved! I liked that it was sweet and not sour as my other loaves have been. Im guessing it is due to all the honey (last loaf was only 2T and made two loaves.) While my loaf didn’t rise much, I am sure that is my fault as I’m new to baking and was a little short on starter. I’ve been using weight for everything and this recipe doesn’t have the grams listed. That threw me some too. I baked it, took temp which was good but a little dough stuck to thermometer so I baked another 4 min and thought maybe it continued to bake while cooling. Waited until cool, slices off the butt, gave my husband a nice slice, and the next slice was a little doughy in the middle. It has amazing flavor!
Thank you for this recipe. Quick question: if you don’t use the egg, do you increase the water to compensate? thanks
No, you don’t have to change any other ingredients when omitting the egg.
What size loaf pan do you use?
I use an 8.5×4.5.